Green Smoothie Challenge: Prep
Green Smoothie Challenge: Day 0.5
Green Smoothie Challenge: Day 1
Green Smoothie Challenge: Day 2
Today is actually Day 5 of our Challenge, but my full school day (which means I’m gone for almost 12 hours) didn’t leave any time for posting.
Things are going pretty good. I’m feeling less hungry and have more energy than I thought I would. I am enjoying the food once I’m eating it, but am having to talk myself into making it. Still daydreaming about all the other things I’d like to be eating. Like bread and avocado and Granny Smith Apples and coffee and dark chocolate and peanut butter… Only three more days to go!
All recipes below without a link can be found at the Vedged Out Green Smoothie Challenge page.
Day 3 Eats:
Breakfast was a Razzleberry Lemonade Smoothie. As usual, I used ½ cup Greens Puree in place of the greens, only ½ a banana, and left out the ice. I also used ½ of a lemon (segmented and some peel). I’ve had this smoothie before, and I love how different it is. The sour berry lemon flavour sure wakes up the tastebuds!

Once again, I forgot part of my smoothie in the freezer for a little bit and ended up with some lemonade slush. Yum!

After my smoothie, I had some warm ginger mint herbal tea.
I put together a big salad plate for lunch. It tasted just as good as it looks! It had romaine lettuce, red leaf lettuce, Balsamic Vinaigrette, artichoke hearts, cucumber, orange pepper, Italian White Beans, and some Lemon Pepper Coleslaw.

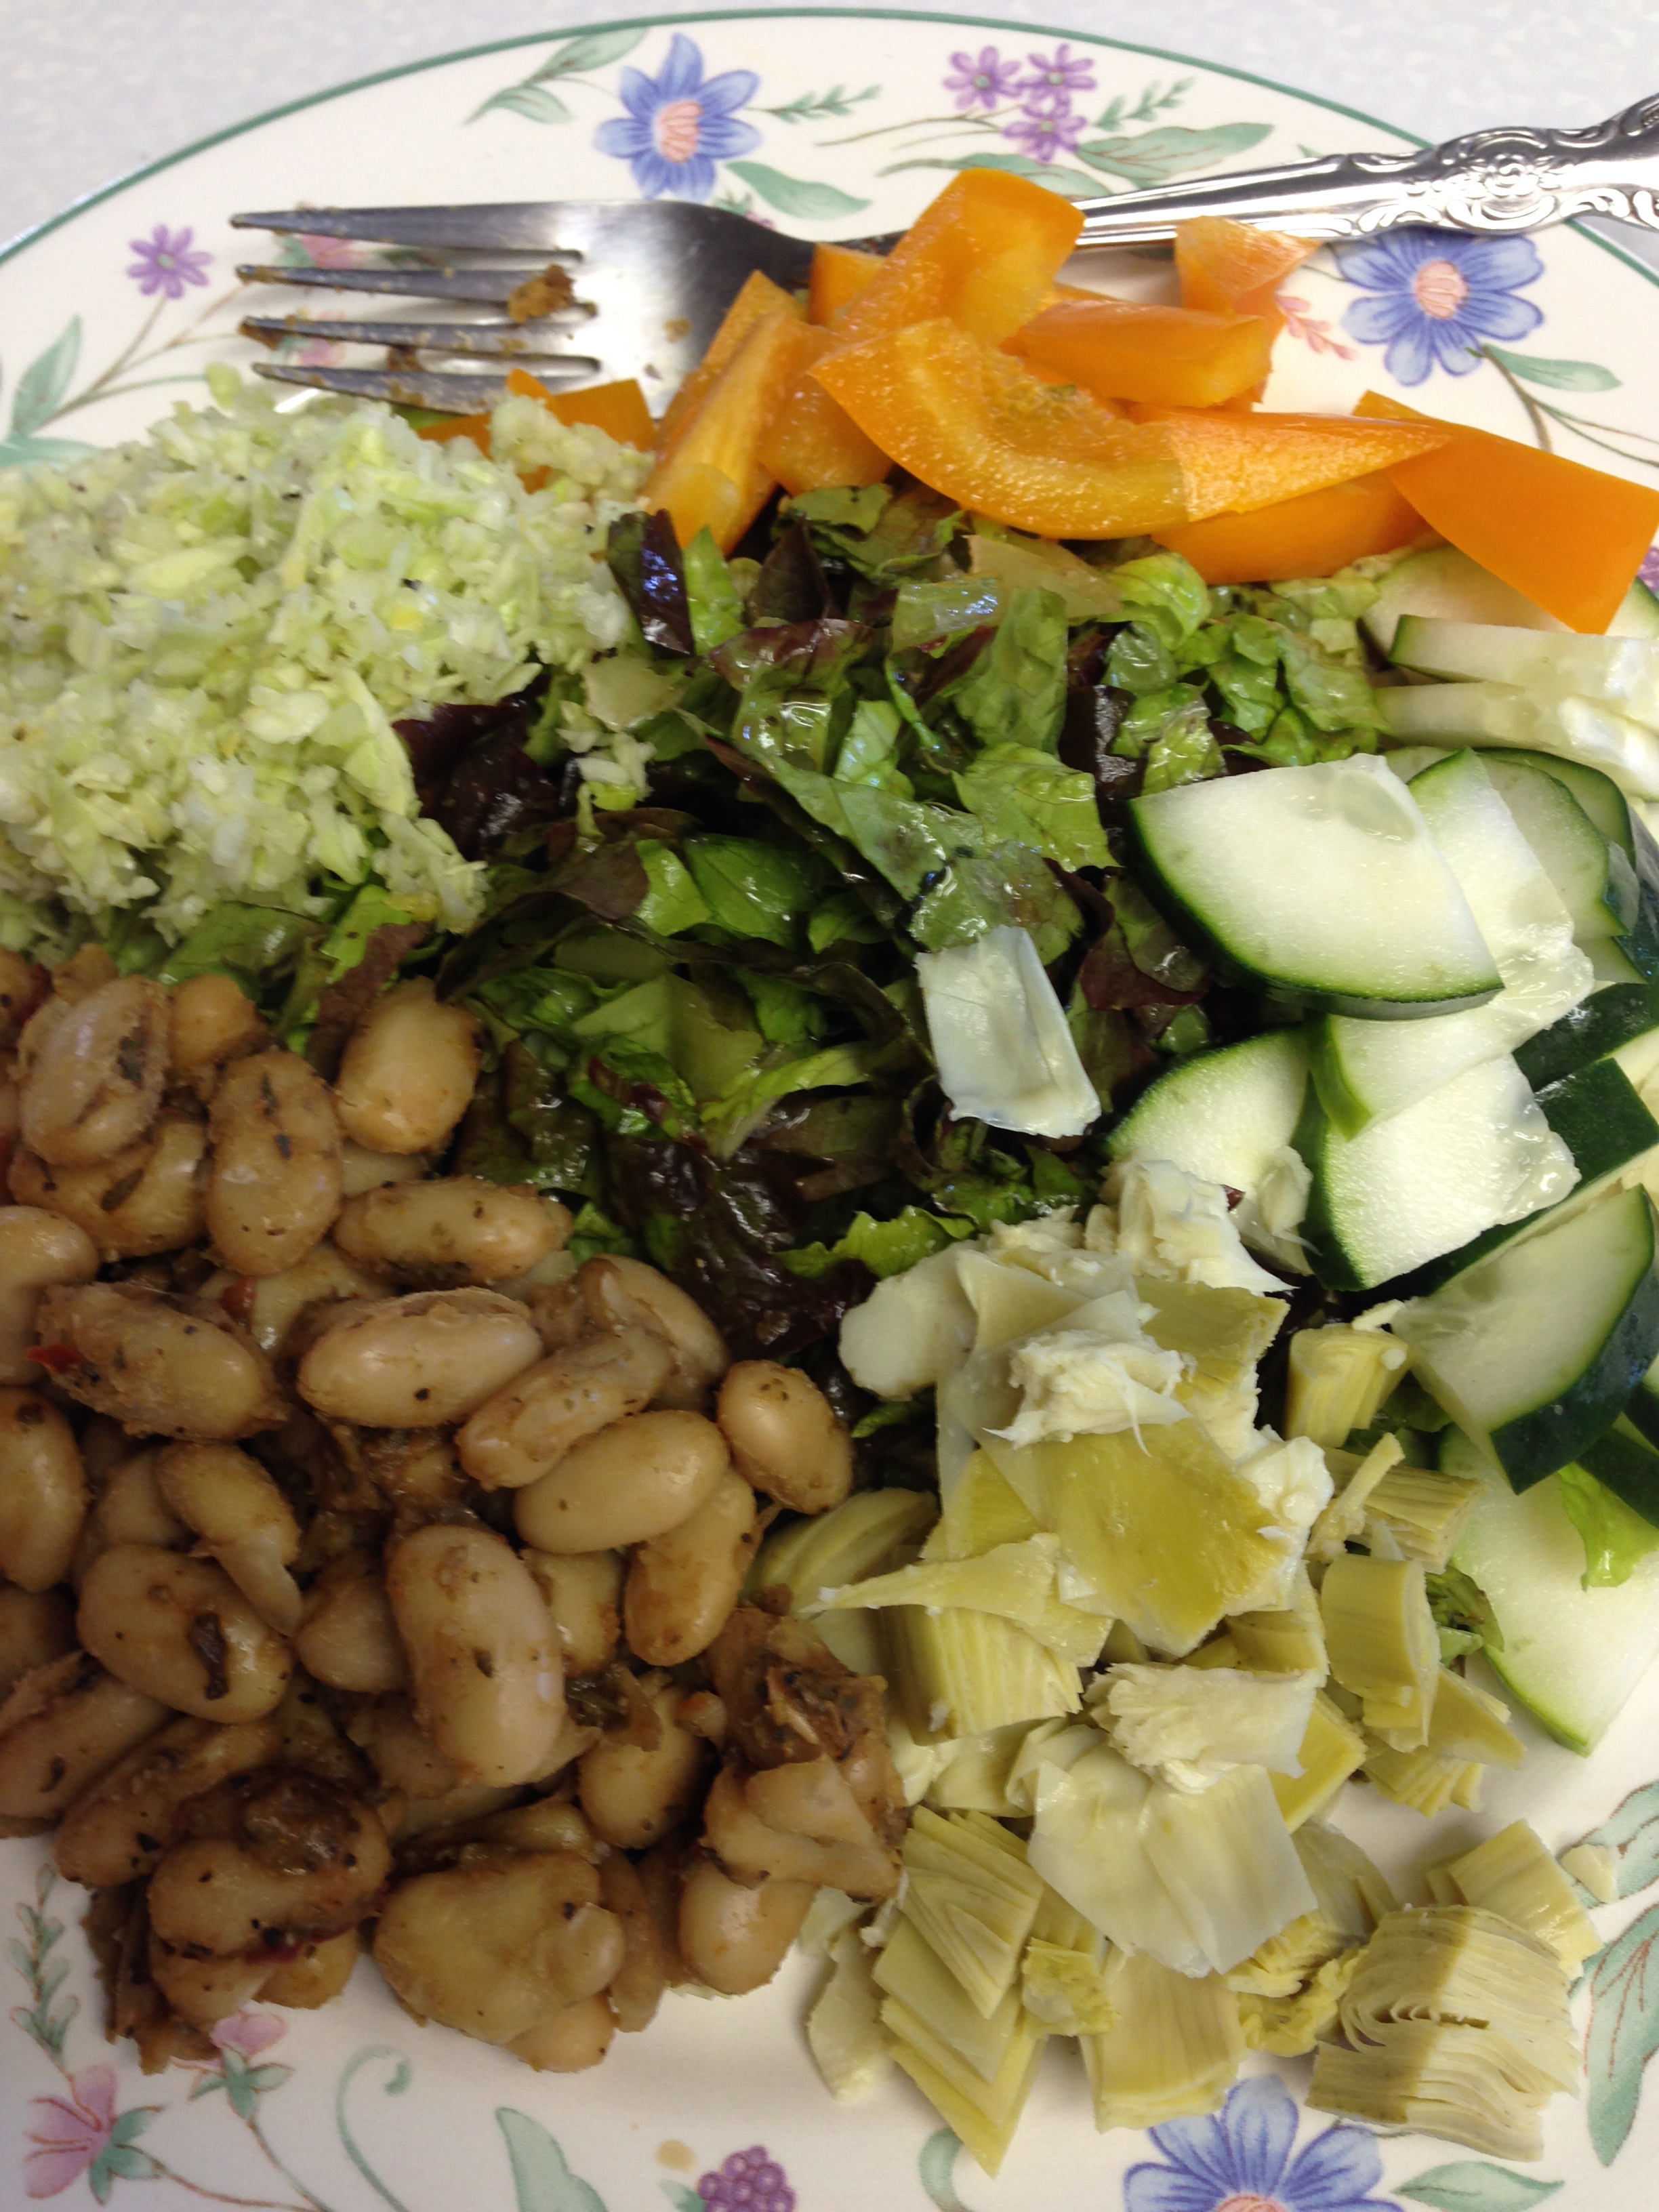
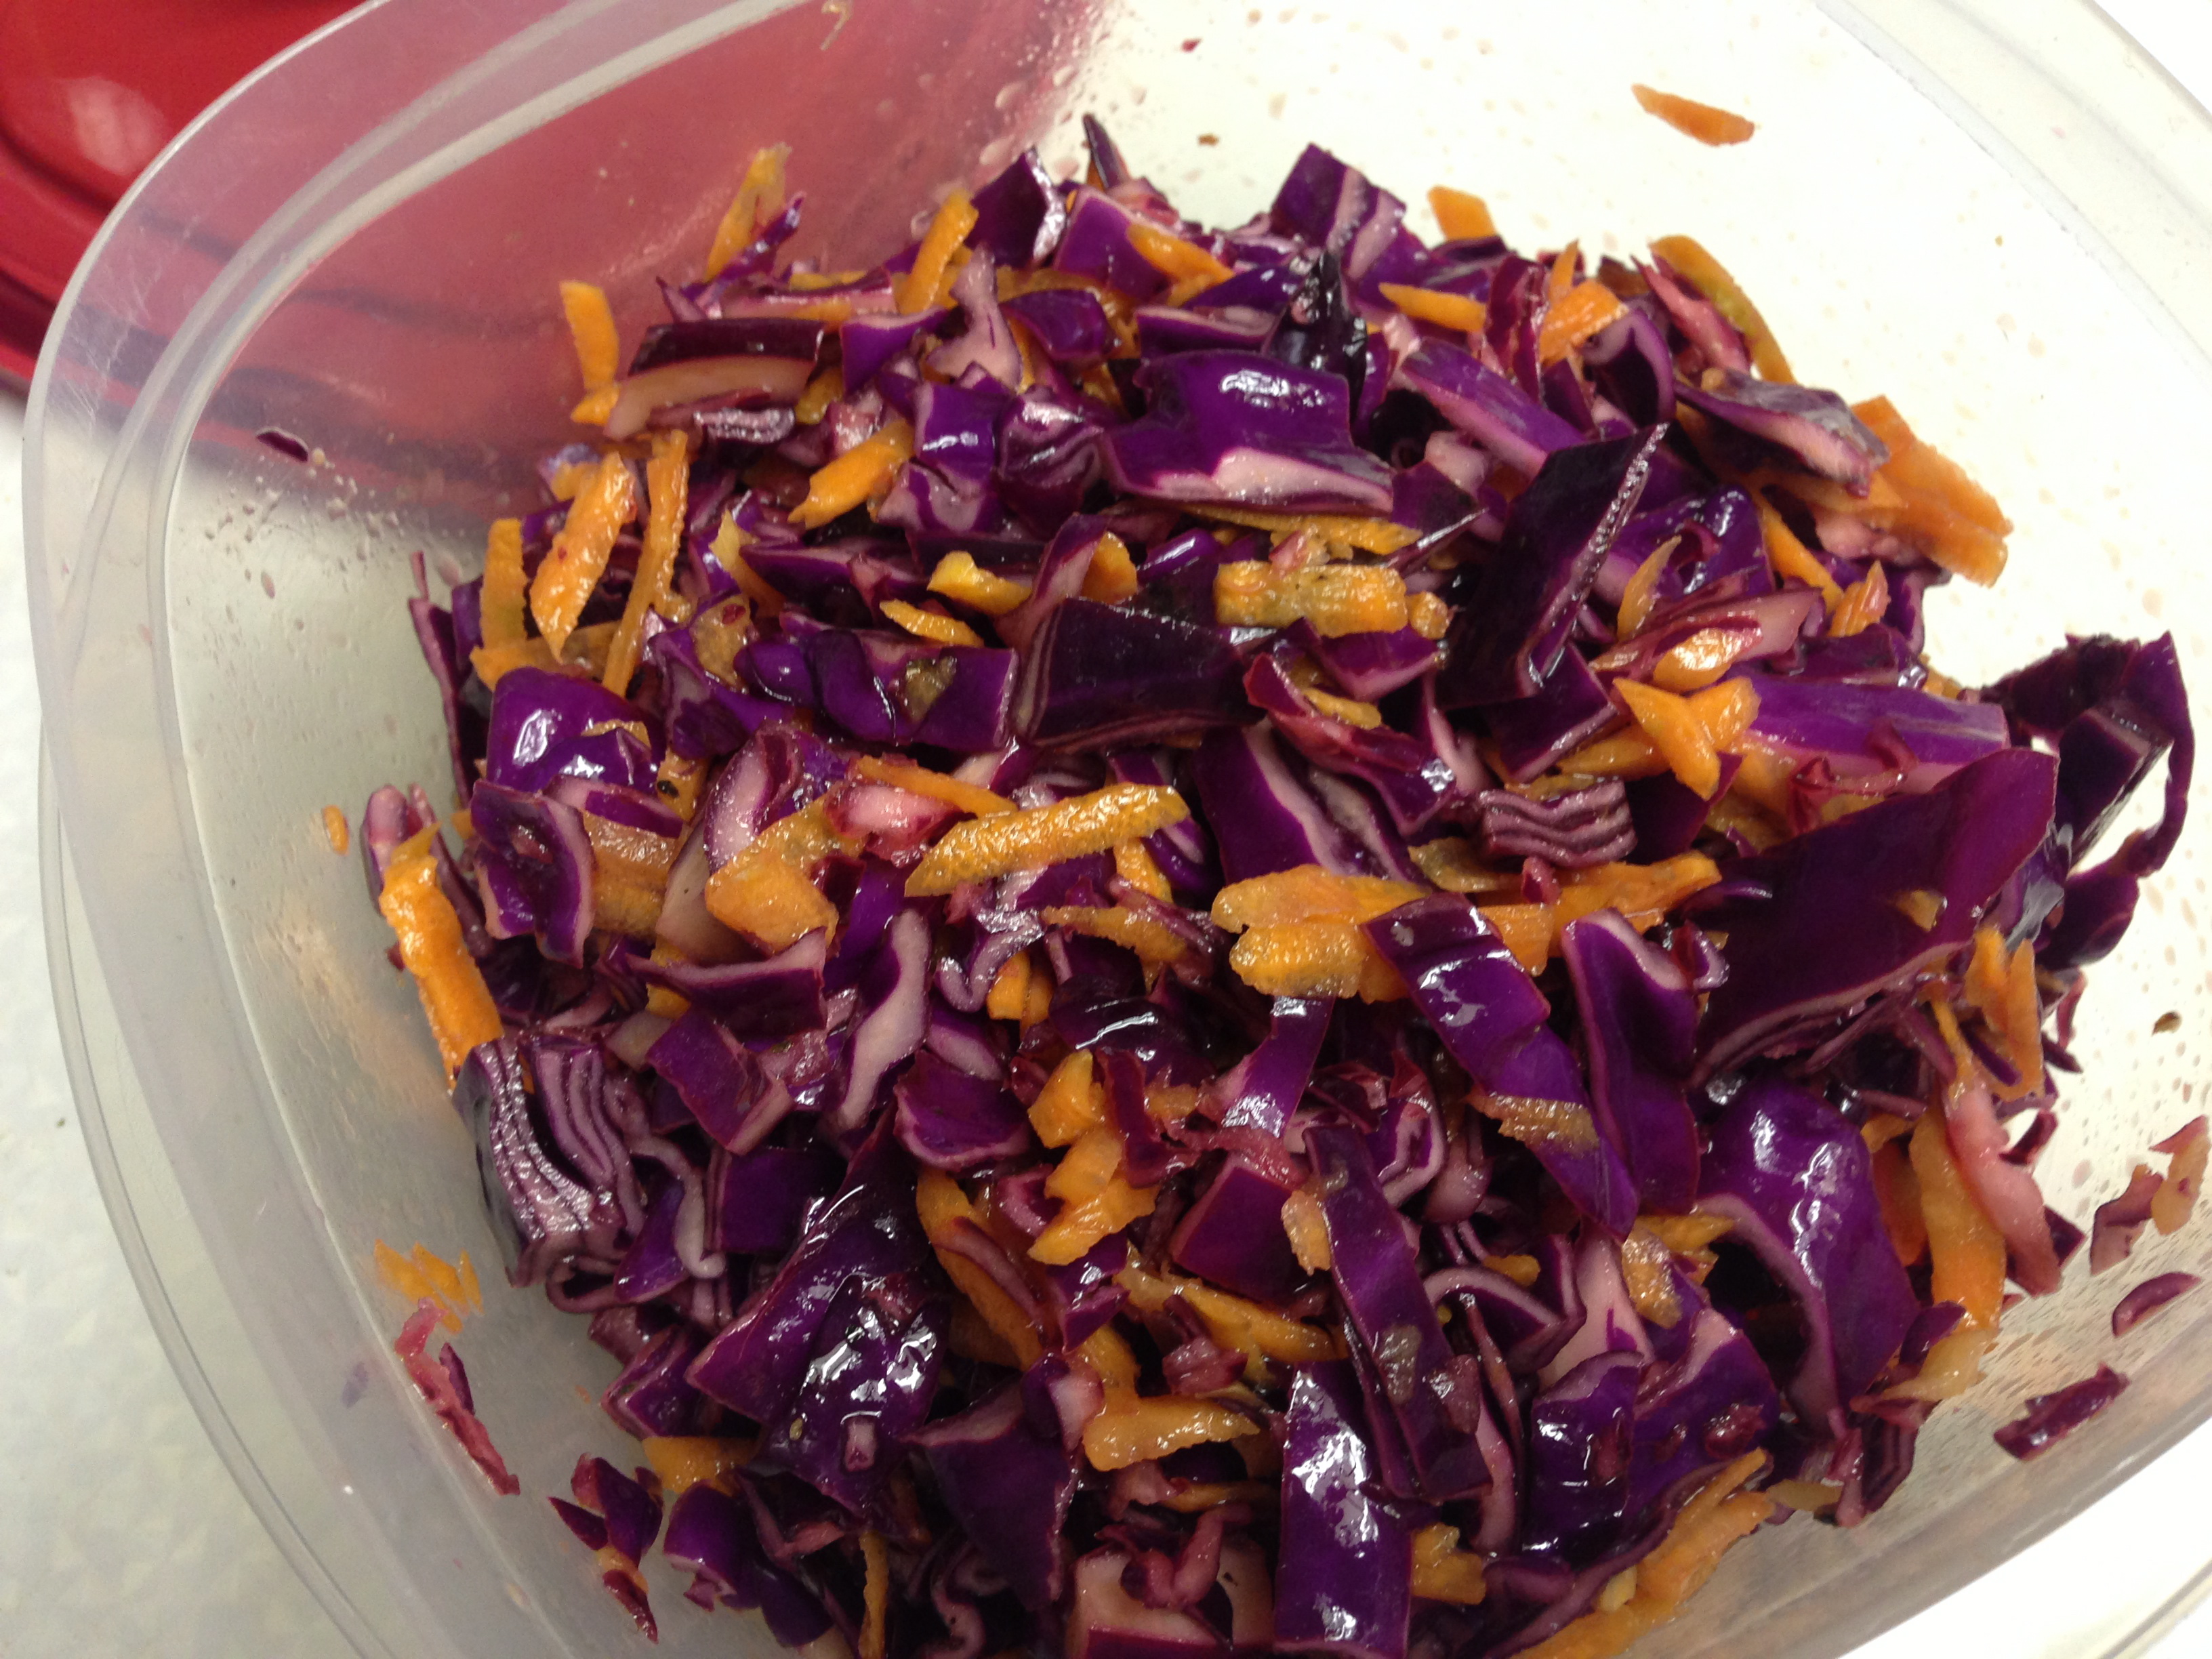
The Lemon Pepper Coleslaw was something I had just come up with. Basically, I was thinking of making my Basic No-Mayo Coleslaw challenge-worthy, and this is what I ended up with. Without any sugar or oil for balance, it is quite sour, but has made a great addition to salads and other things.
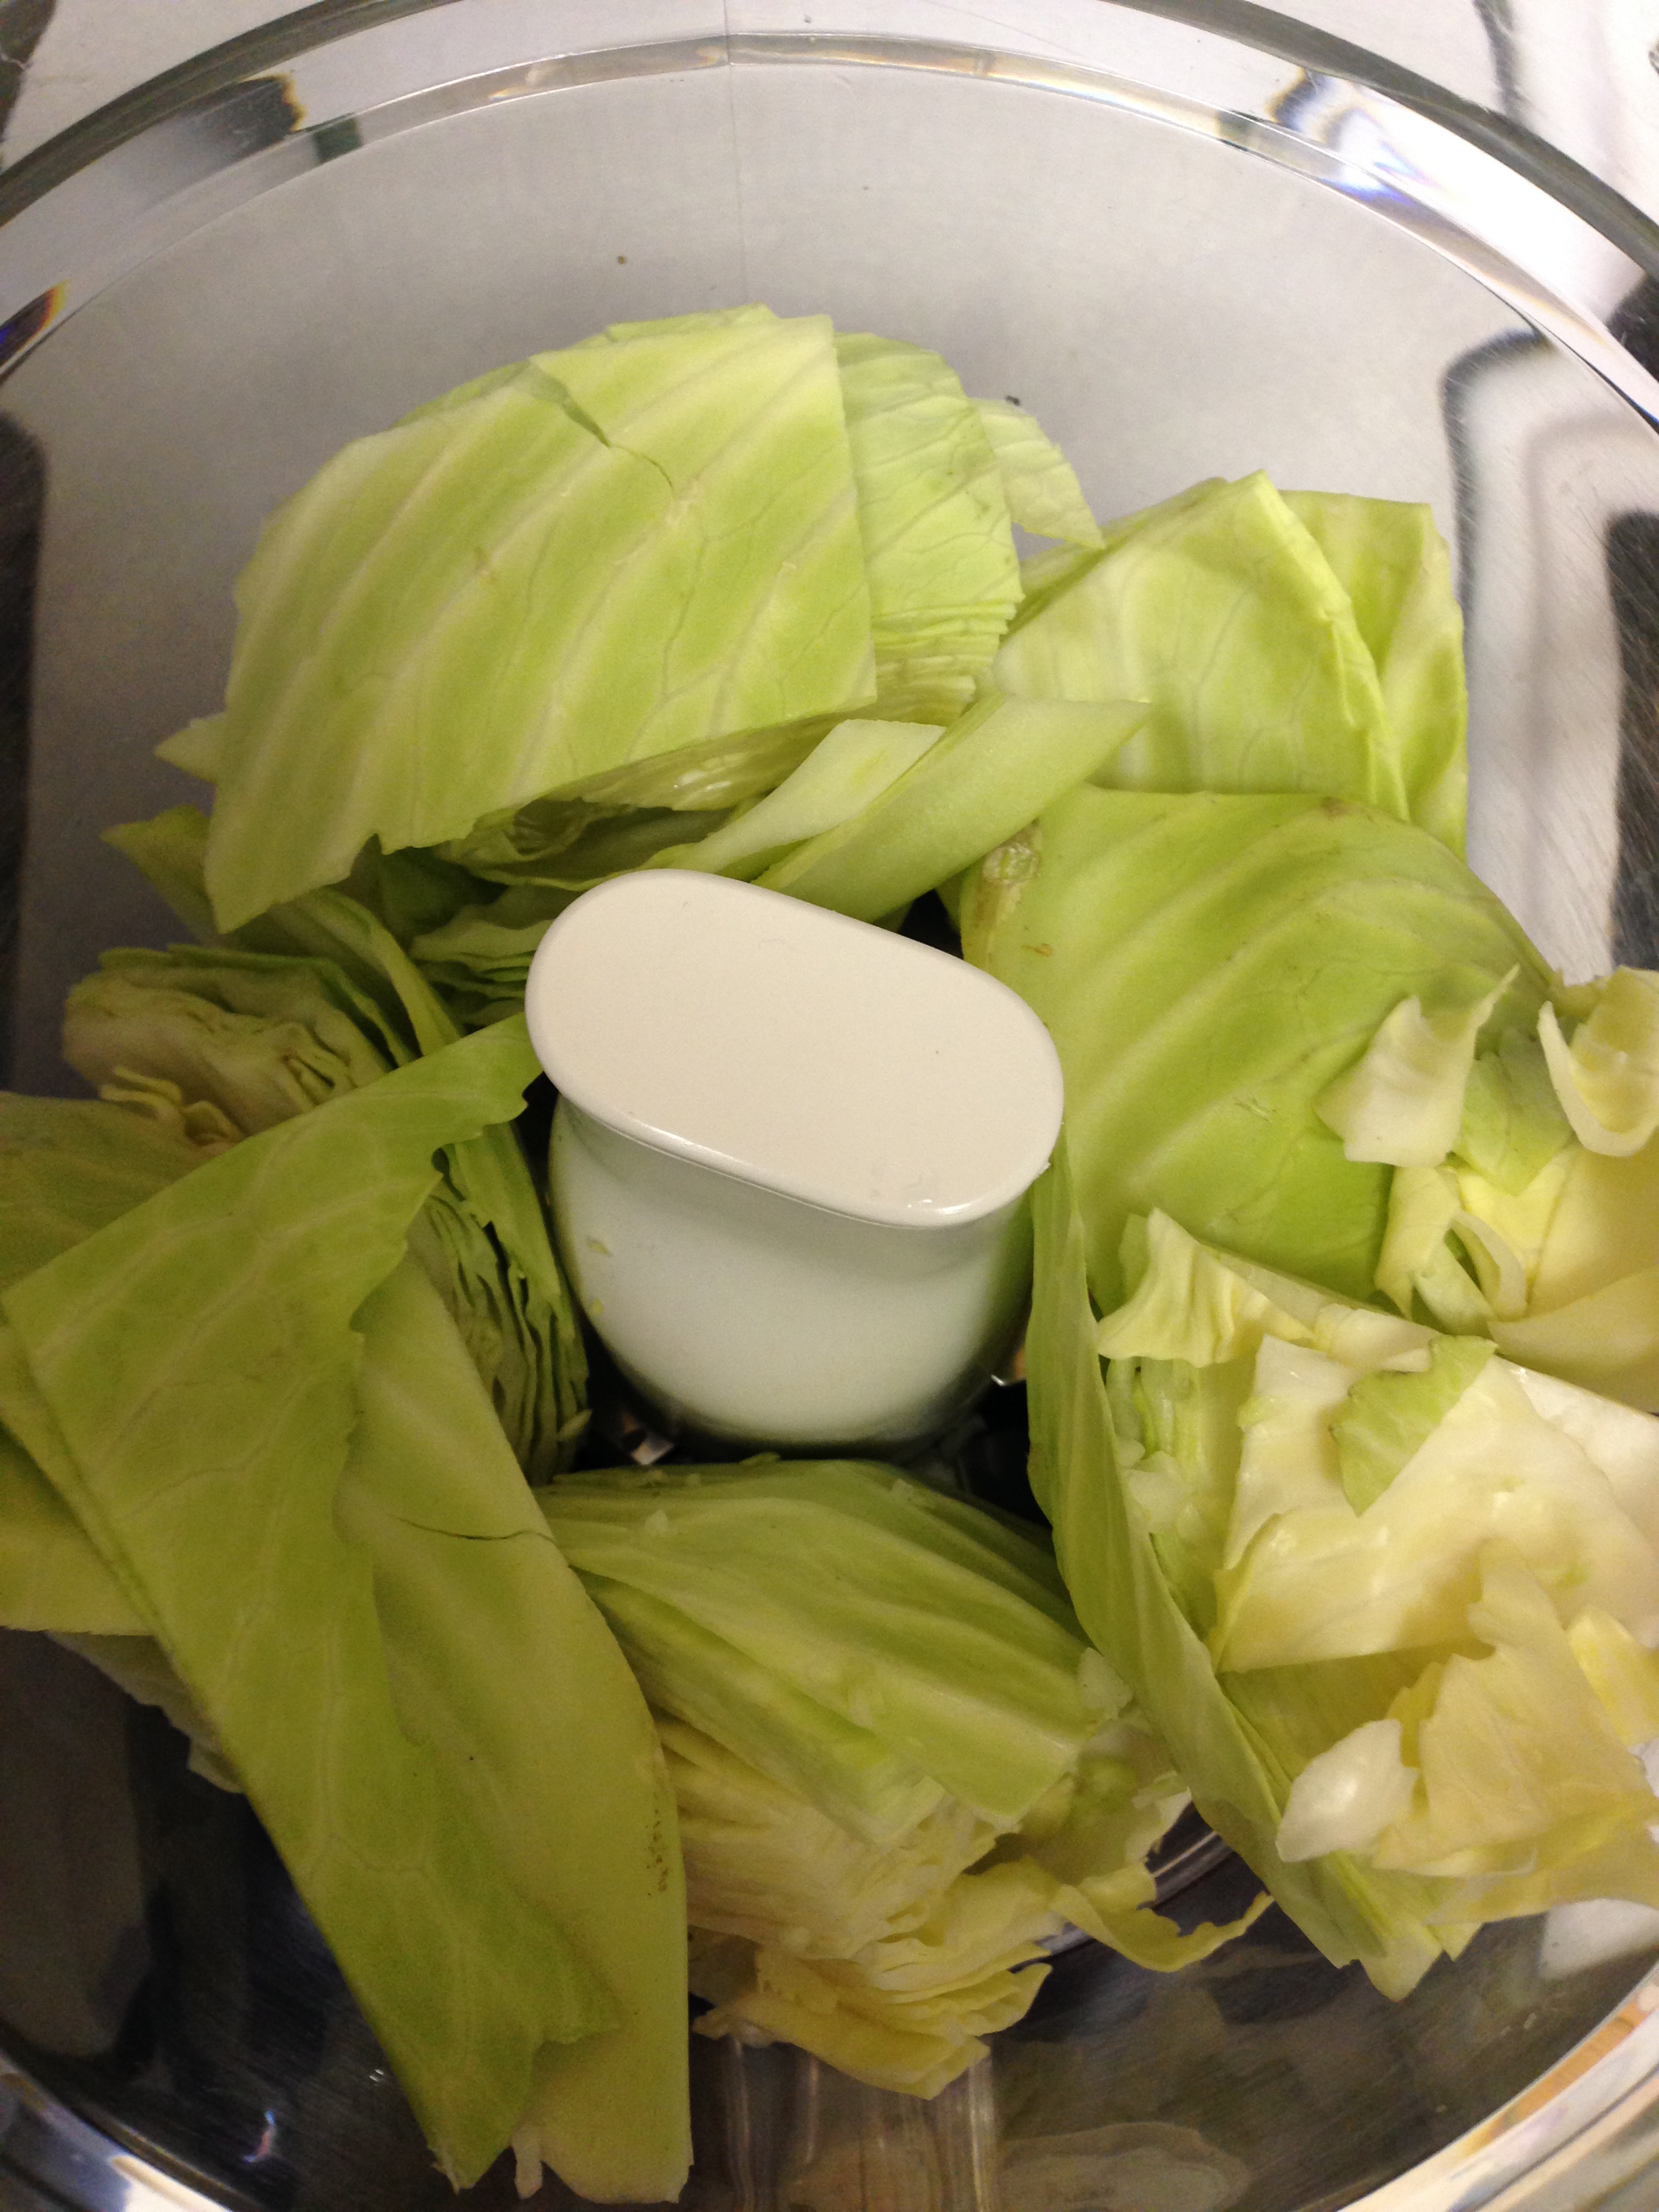
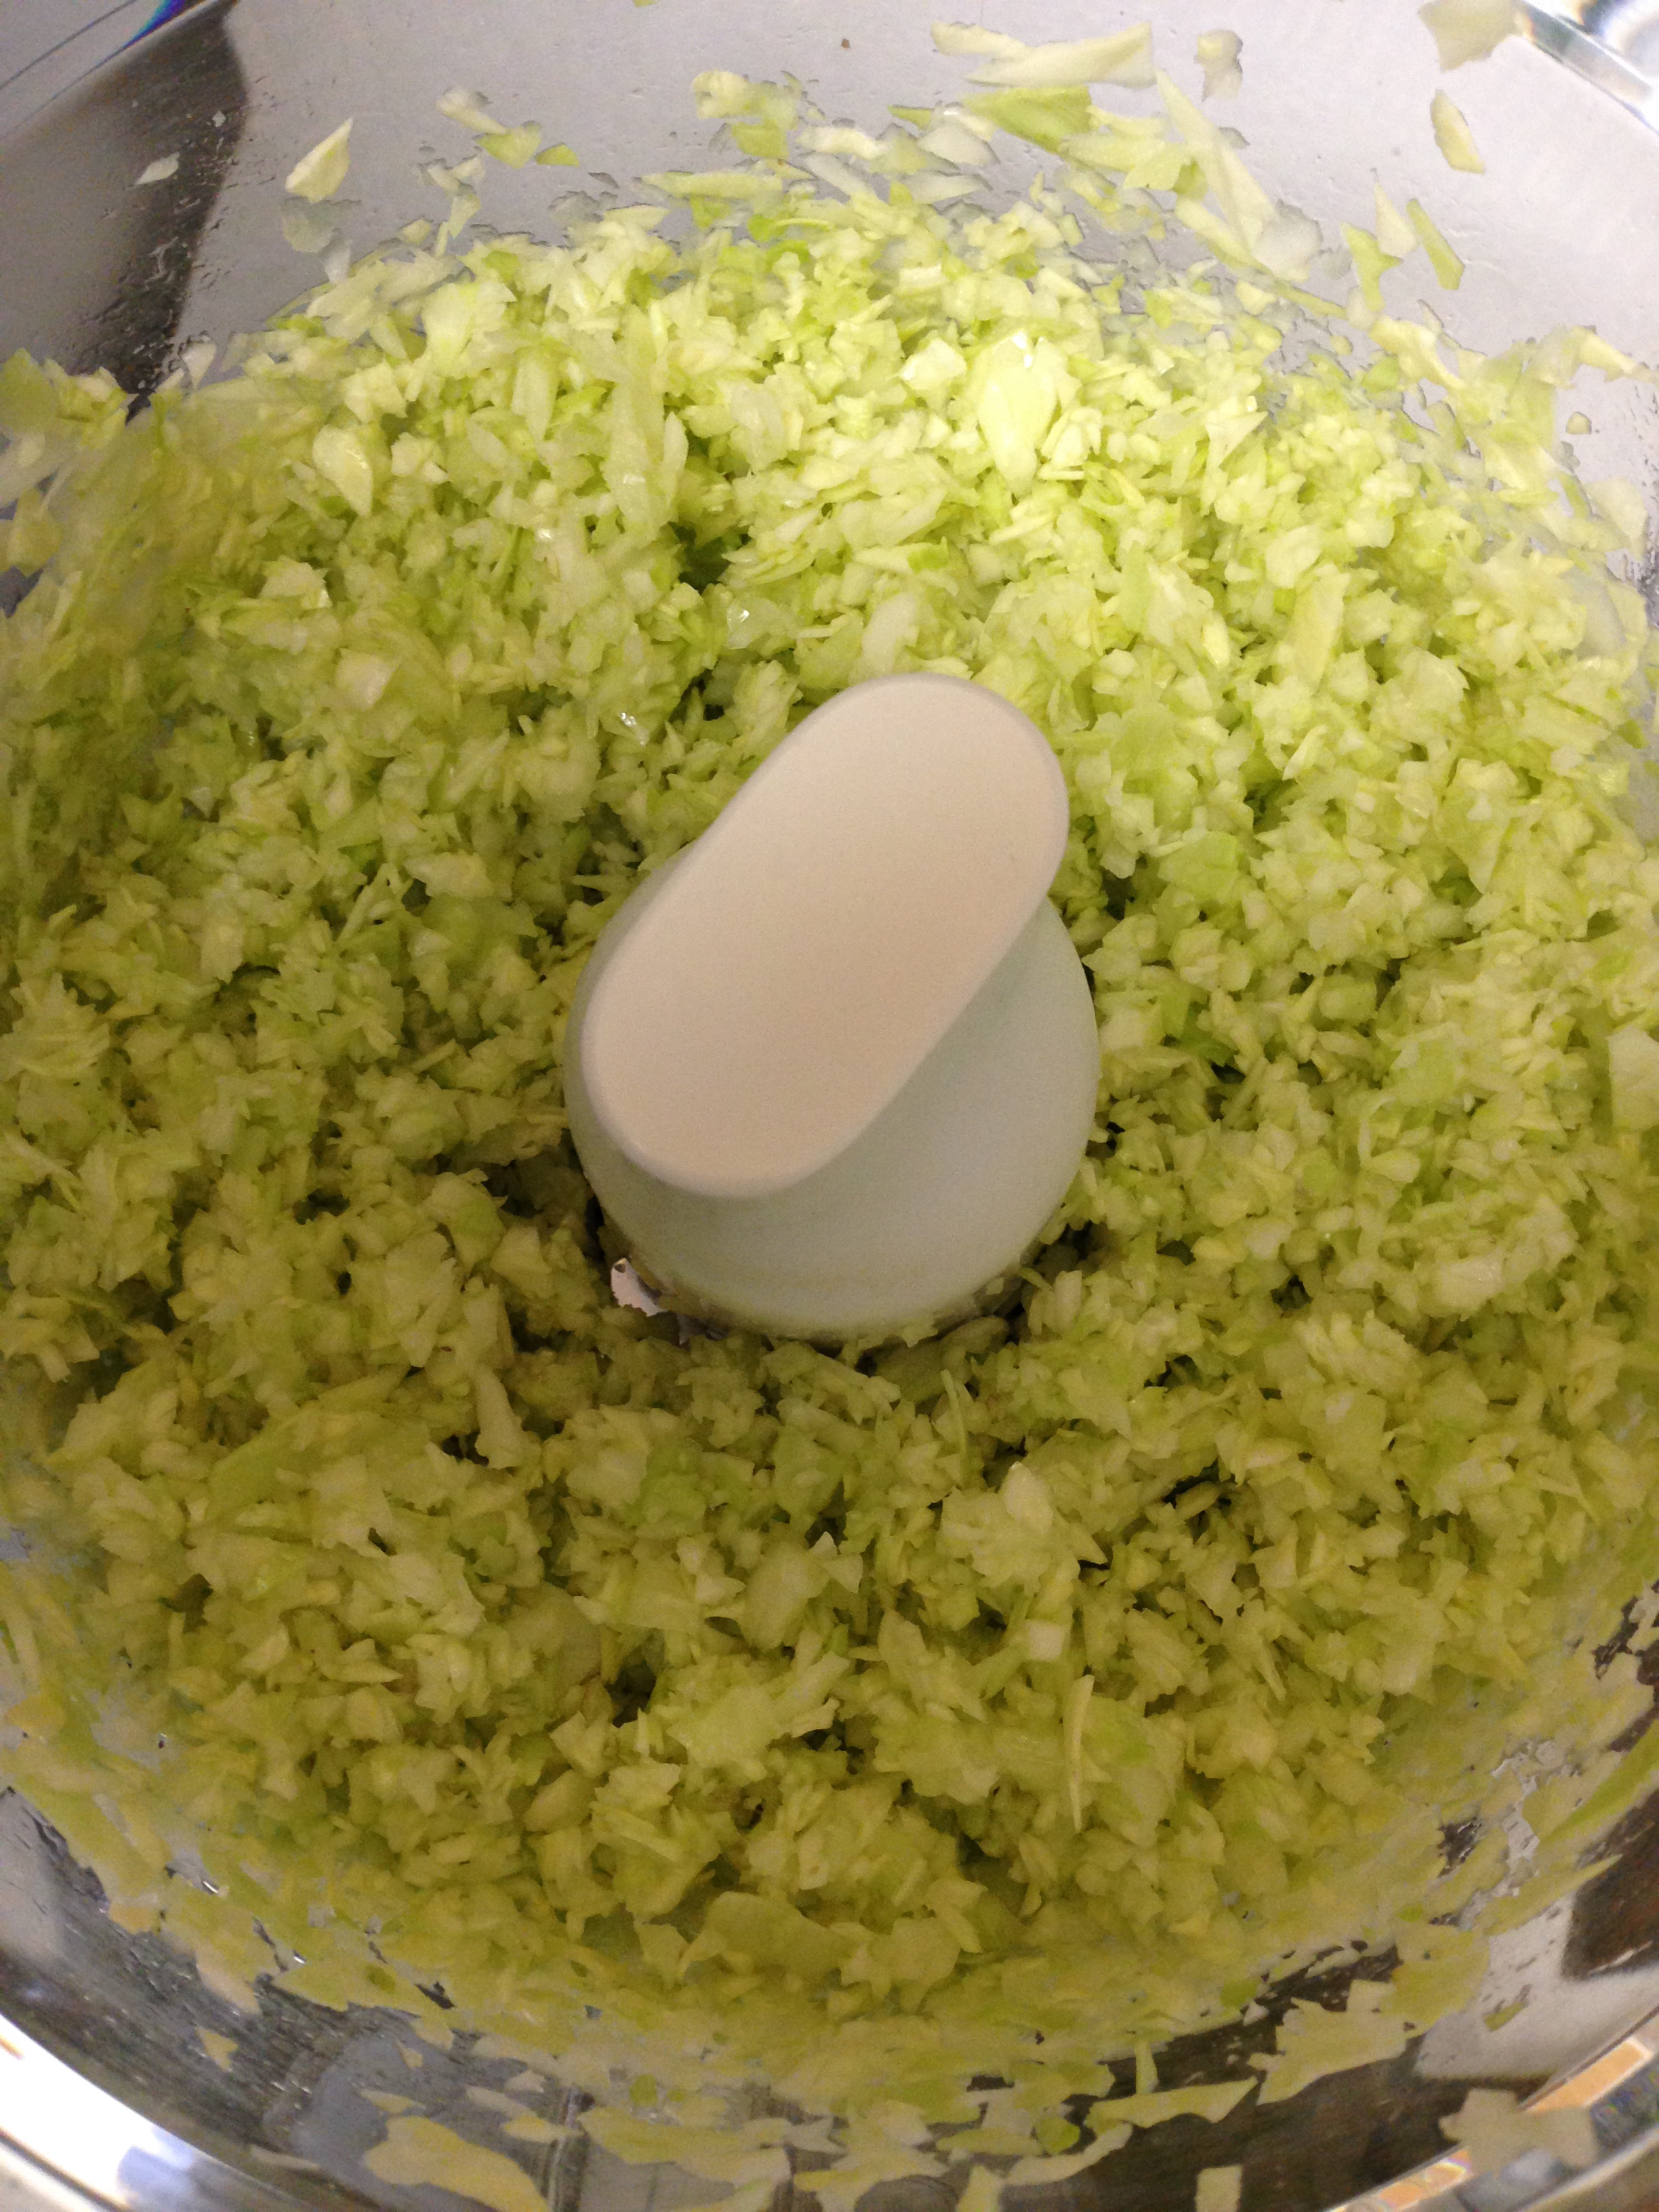
Lemon Pepper Coleslaw
3-4 cups shredded cabbage
Juice and zest of one lemon
1 tbsp red wine vinegar
½ tsp ground black pepper


Mid-afternoon Jem and I met for a study date at a coffee shop. It was very difficult to talk ourselves into having herbal tea and nothing else! We both ended up with vanilla rooibos tea with steamed soy milk. The milk isn’t really challenge-approved (though it doesn’t actually say anything about it other than it is in some smoothies), but I’m pretty sure it was the only thing coming between us and a sweet caffeinated drink and/or a treat.
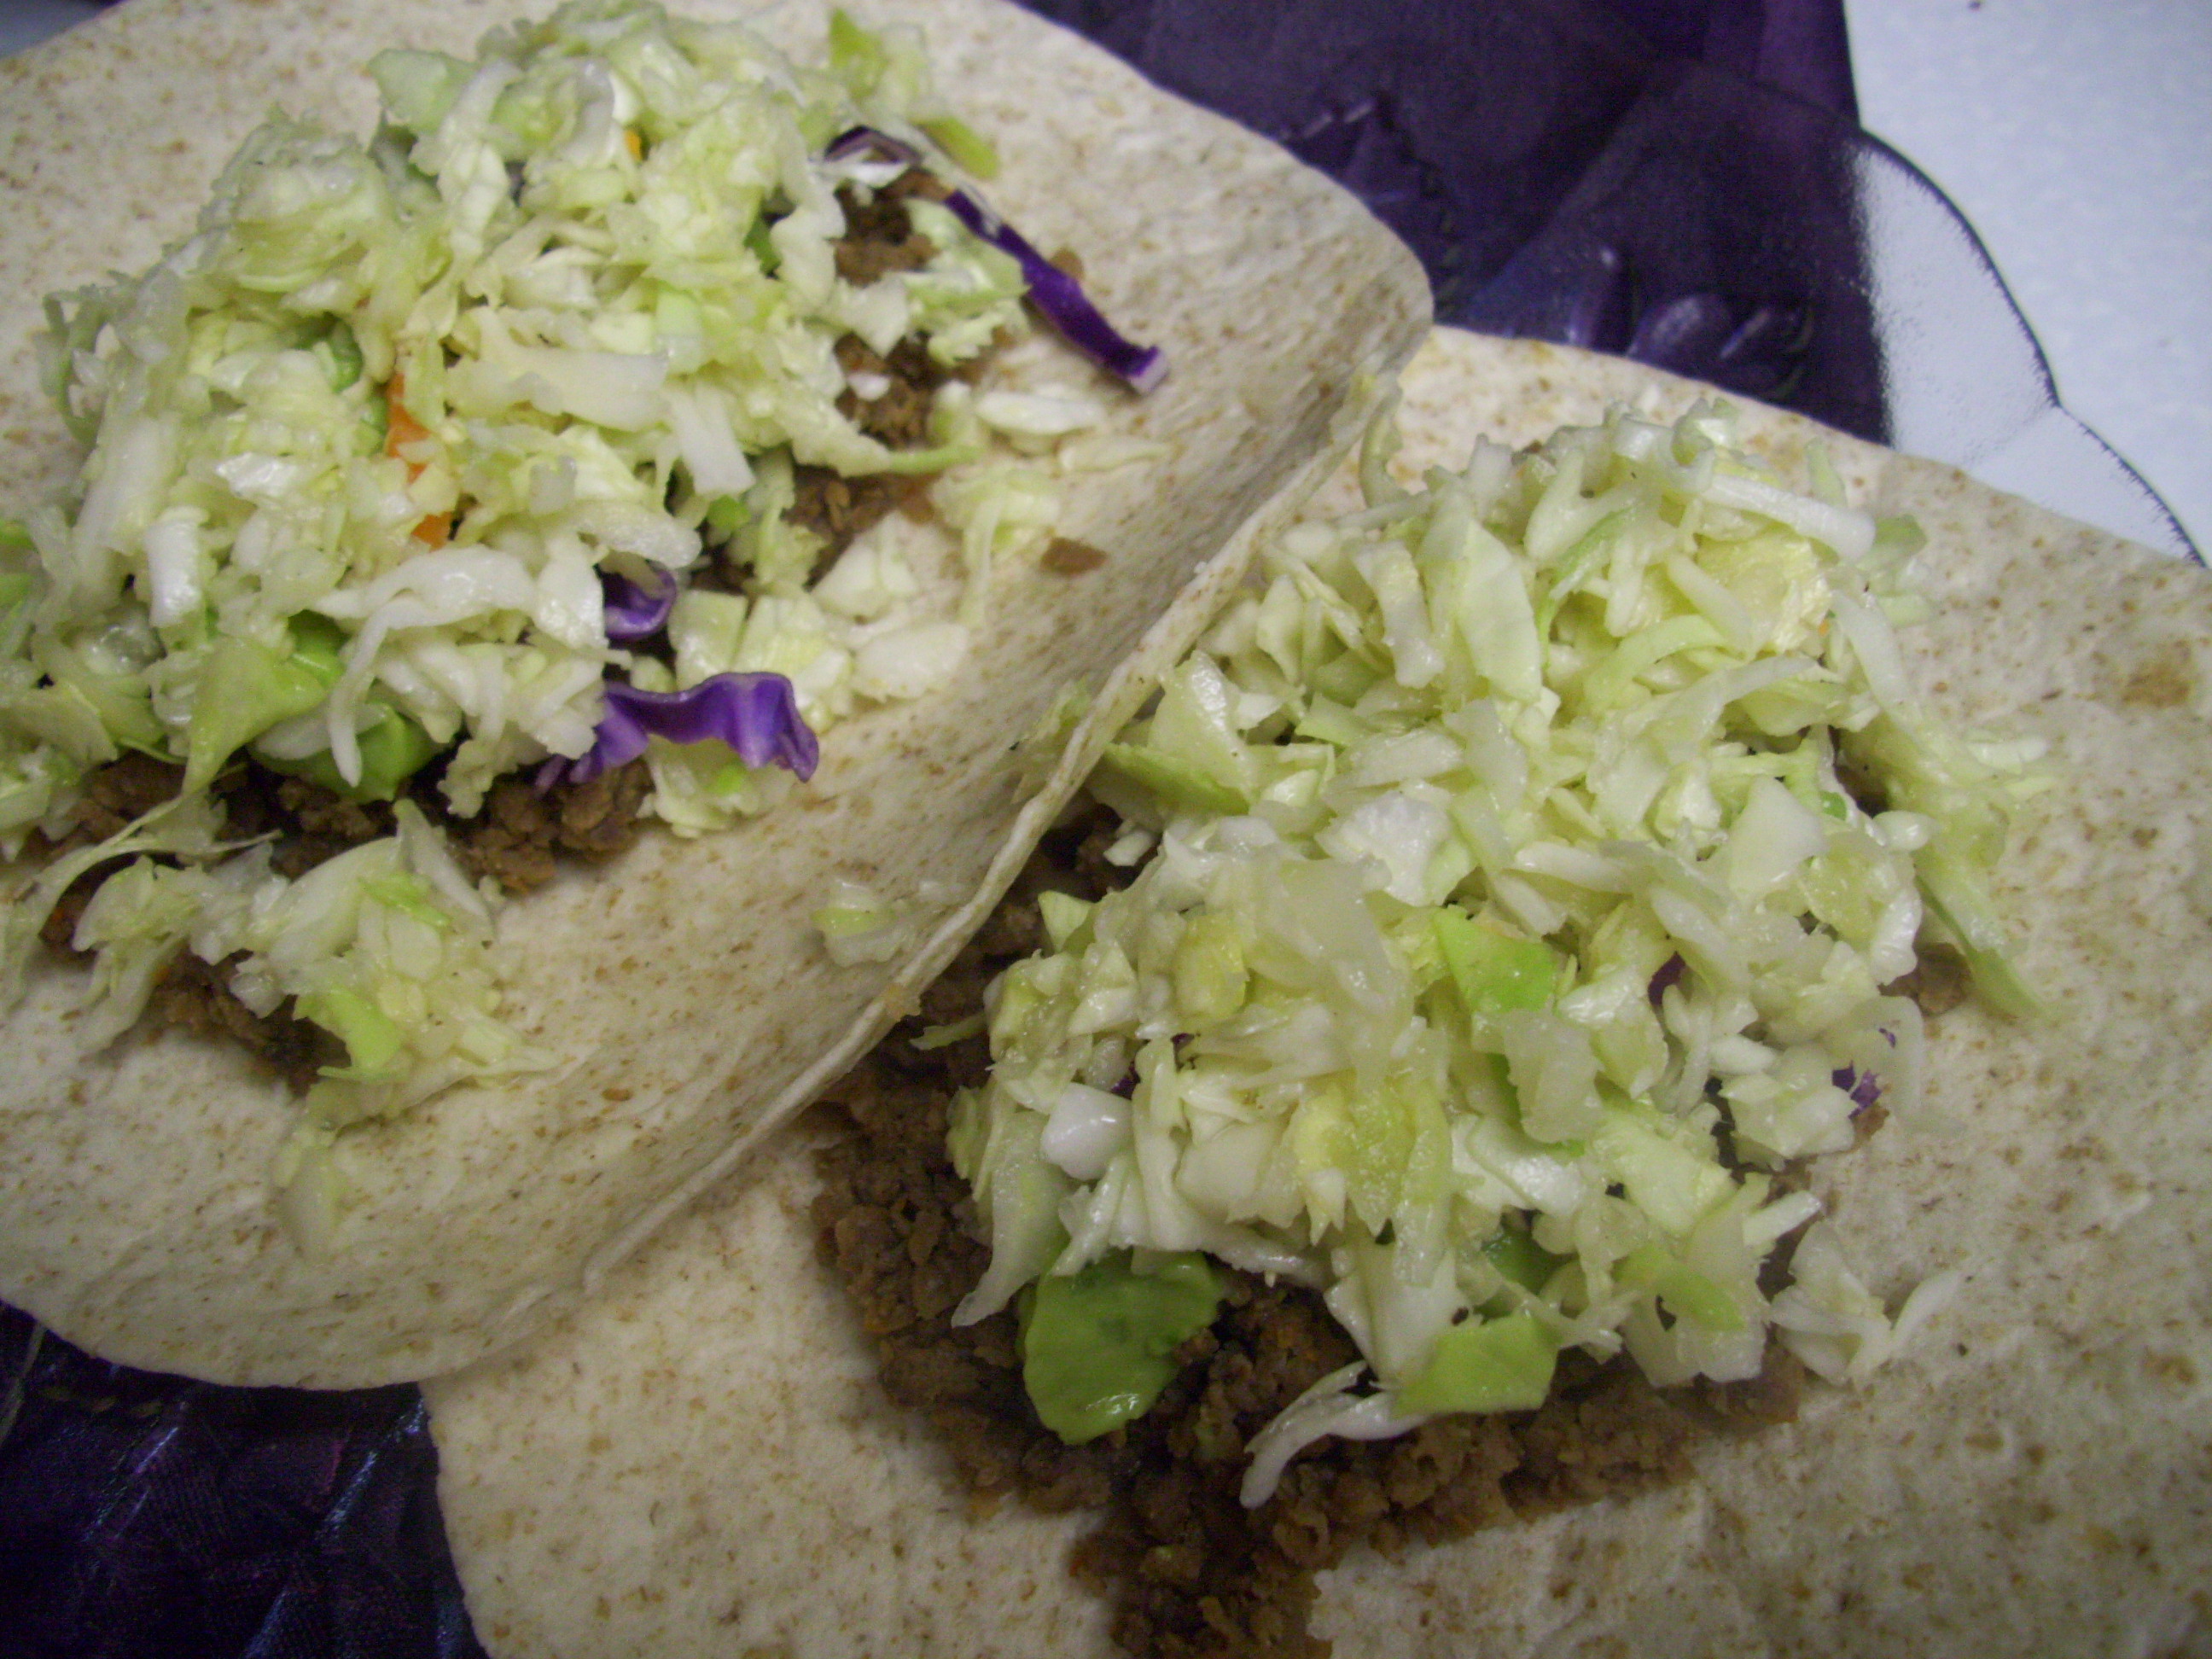
When we got home, we each had a plate of mini lettuce wraps (because we had already torn the lettuce). Our lettuce wraps were just red leaf and romaine lettuce with hummus and Lemon Pepper Coleslaw.

A couple hours later, dinner was leftover Hot & Sour Soup. Still just as good as the day before!

I made a Berry Vanilla Smoothie (based on the Blueberry Vanilla Smoothie) for an evening snack with ½ cup Greens Puree, 1 cup mixed berries (blueberries, blackberries, raspberries, strawberries), ½ cup blueberries, ½ a banana, 1 tsp vanilla extract, 1 tbsp ground flax, 1 cup unsweetened almond milk, and 5 drops of vanilla stevia.

My water today: 7 cups.
Jem and I ate the same Razzleberry Lemonade Smoothie for breakfast, except that she used a whole banana and hemp protein powder instead of flax. During the morning she had ginger mint tea and some hummus with orange pepper, carrot, and cucumber. She didn’t actually have a salad or a second smoothie on this day, but had the same vanilla rooibos tea, lettuce wraps, and Hot & Sour Soup with me.
Green Smoothie Challenge: Day 4
I’ve shared this post with Healthy Vegan Friday #66 and Gluten Free Friday #62.