Jem and I tried our hands at making sushi for the first time ever, and we ended up with a sushi feast (and a lot of photos)!


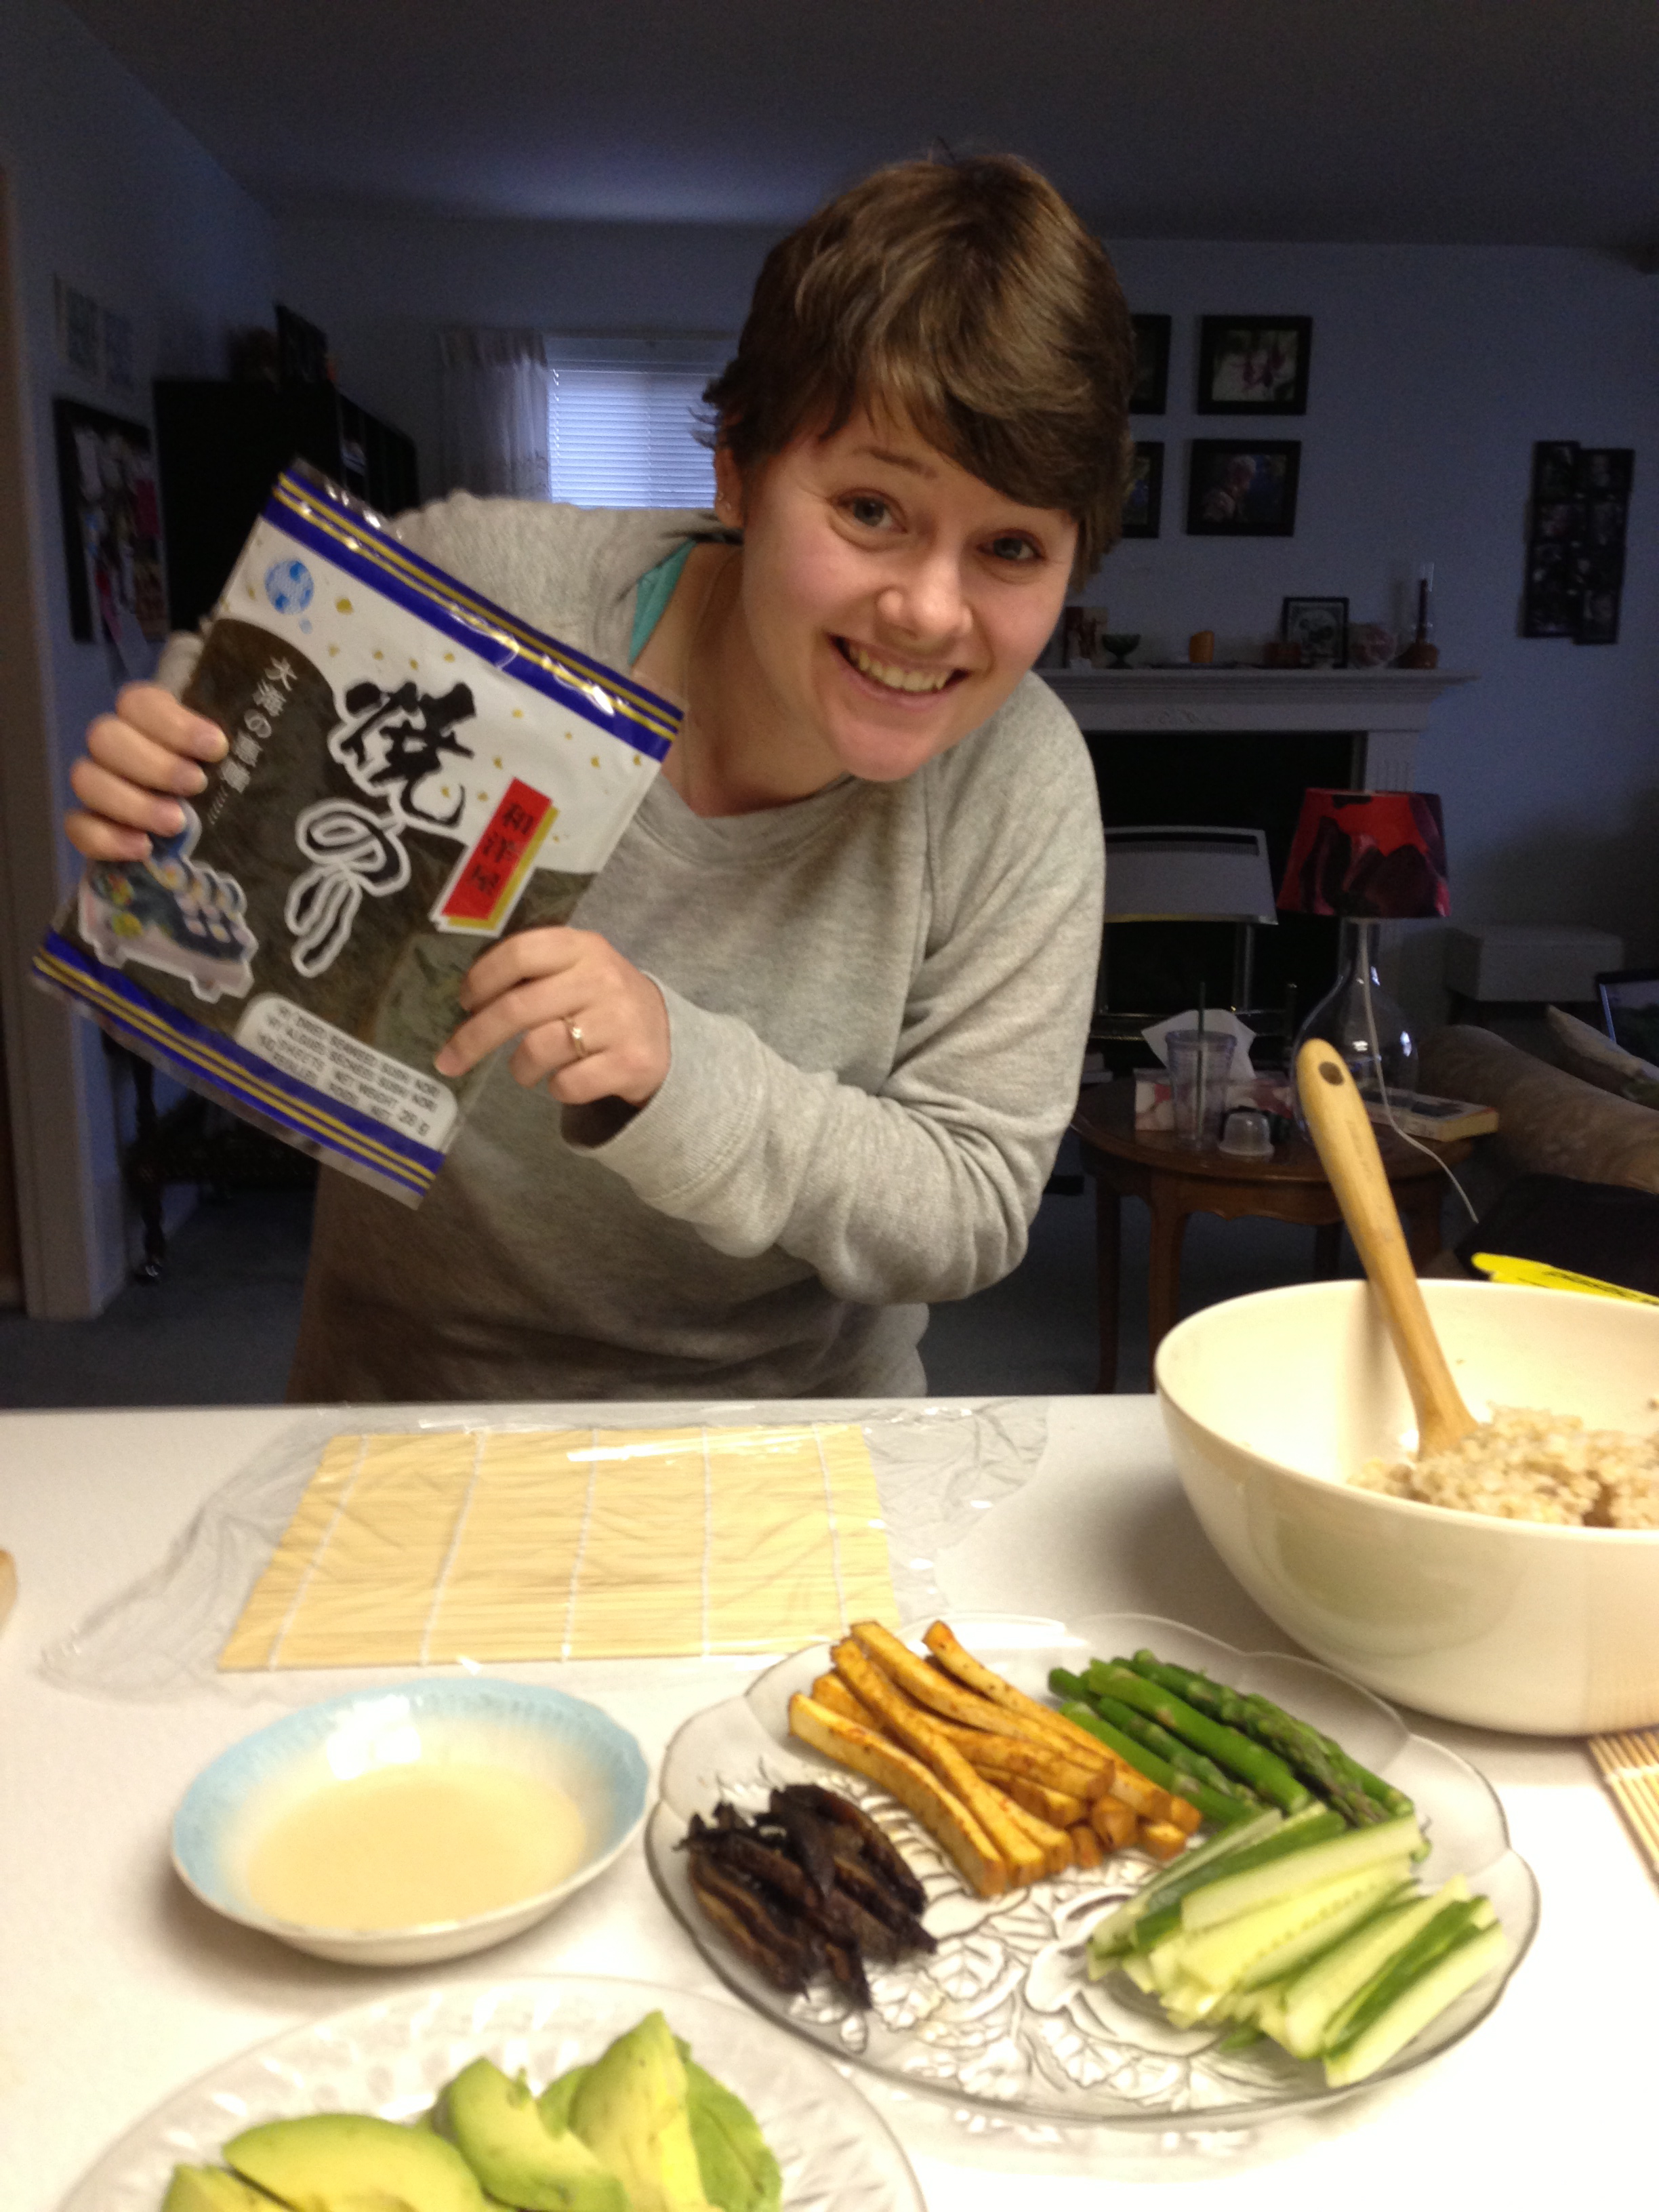
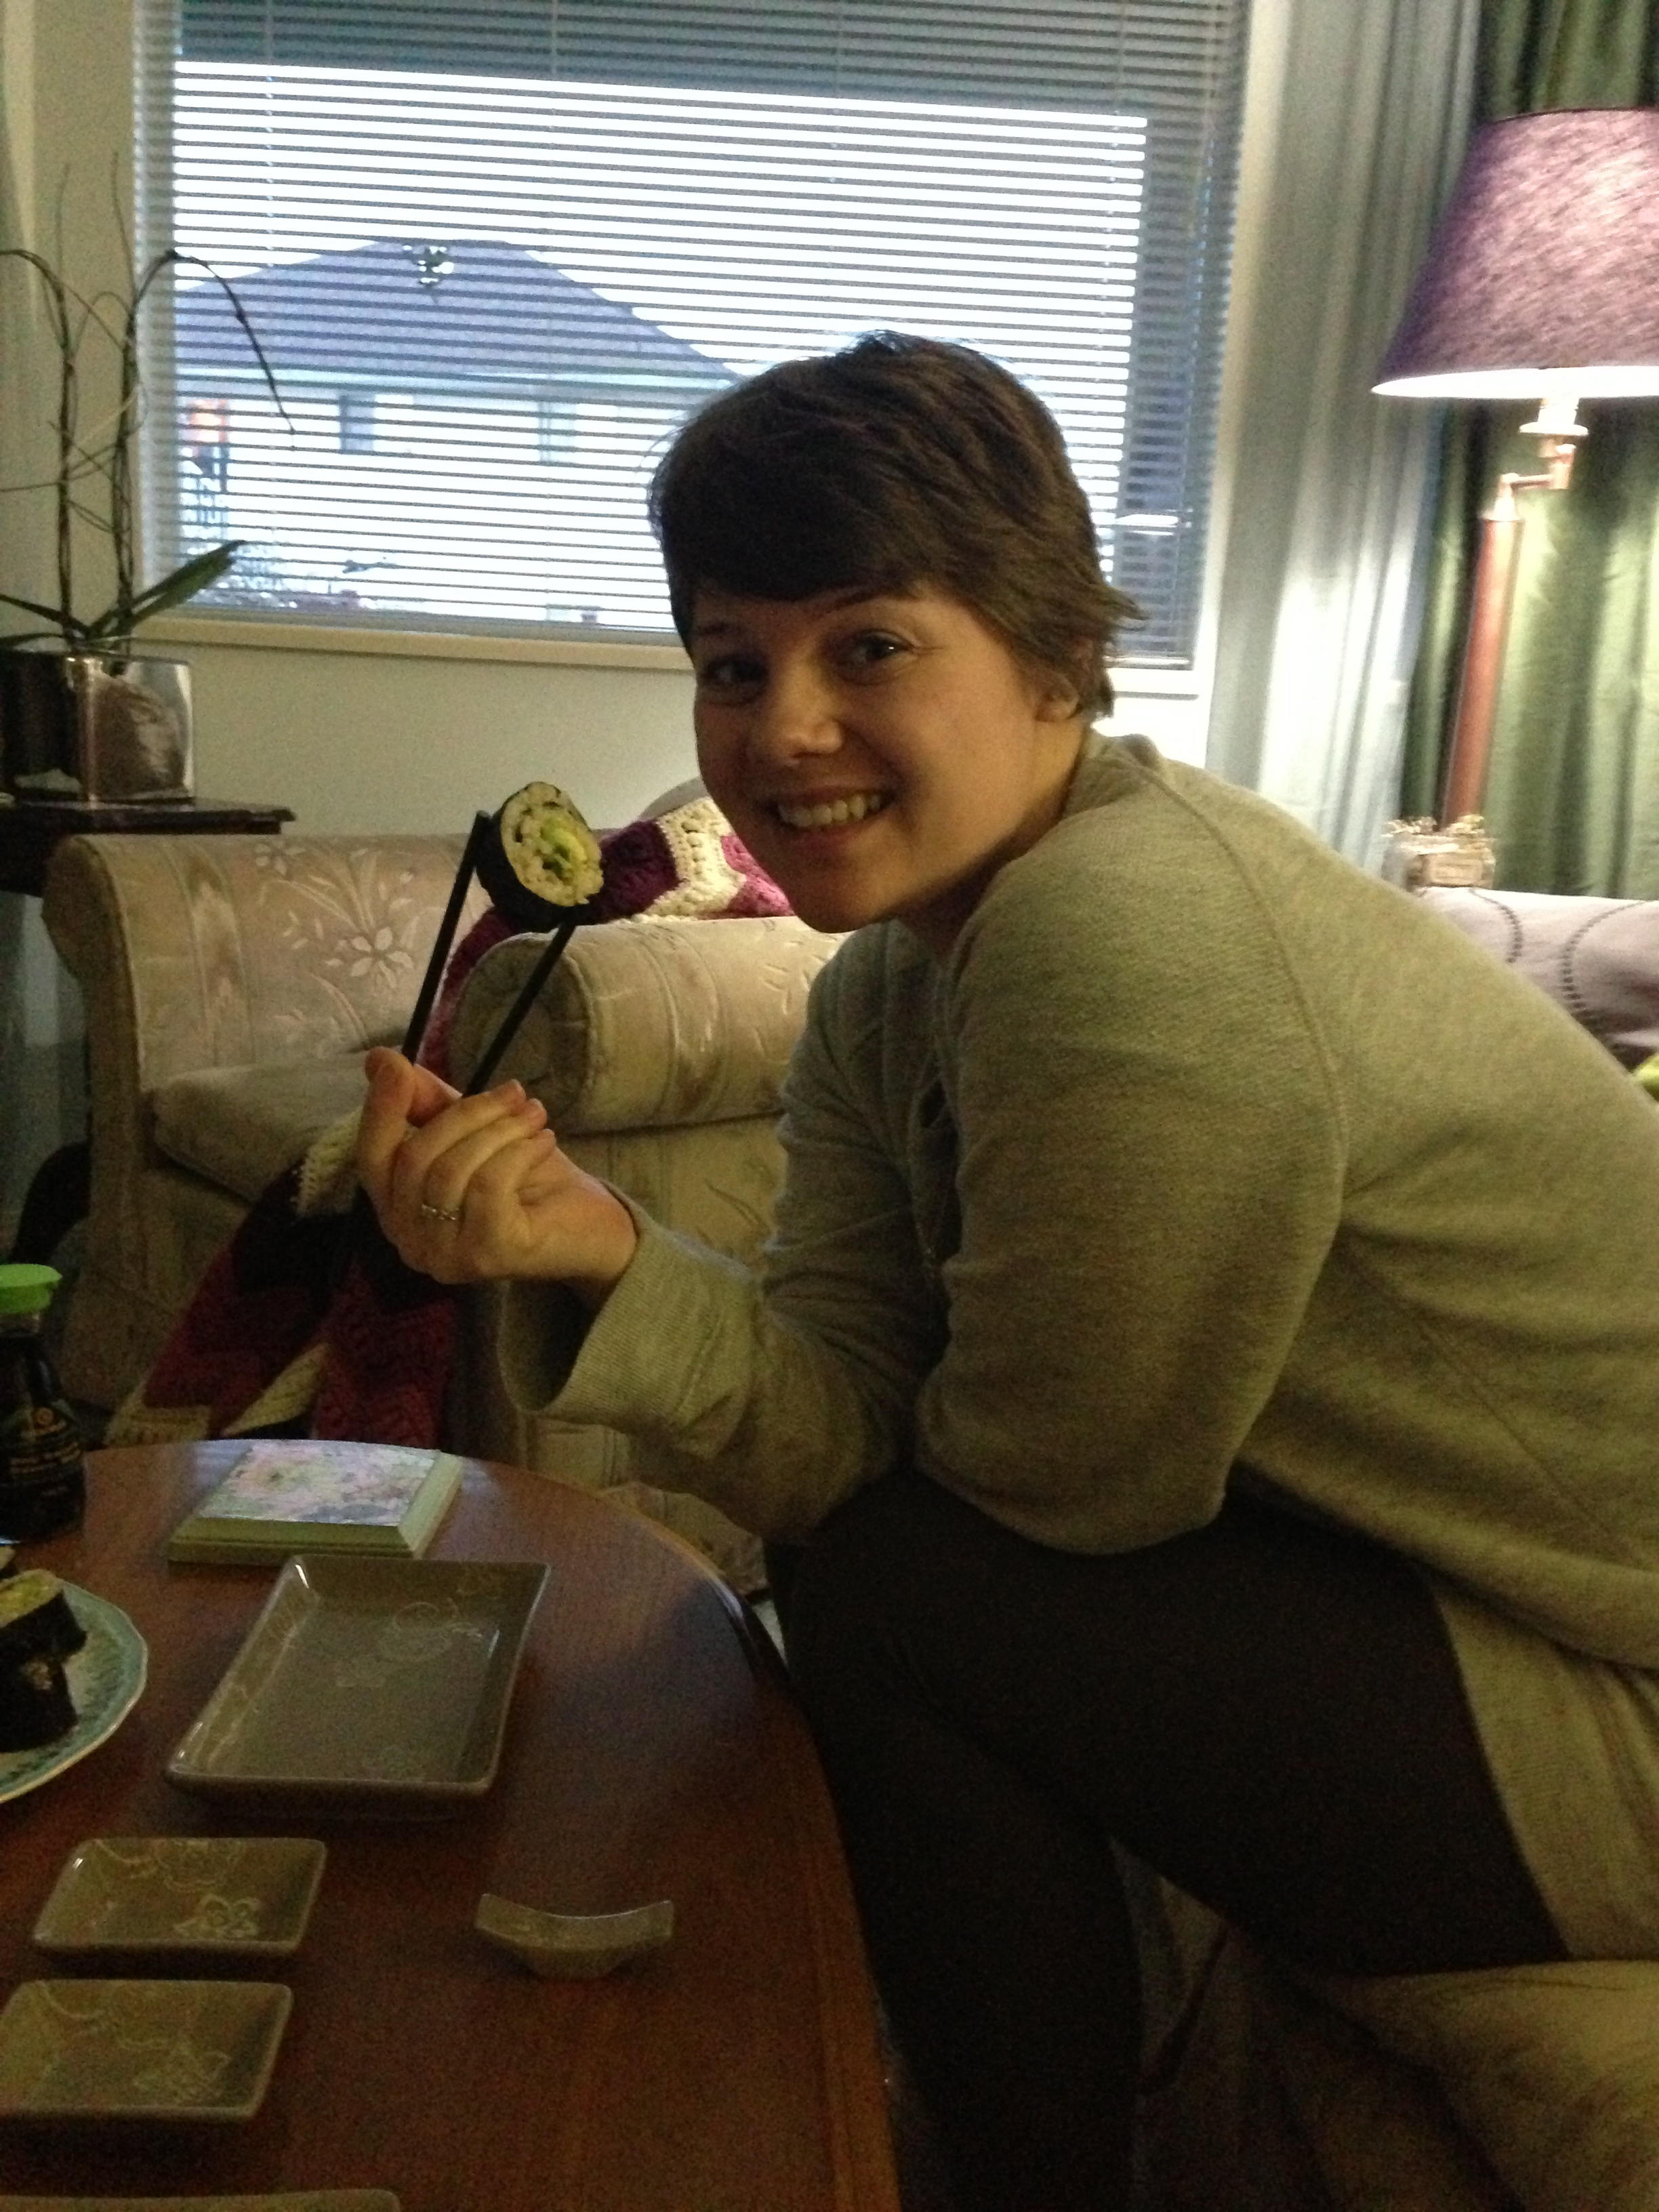
Can you tell Jem’s excited to make some vegan sushi!?
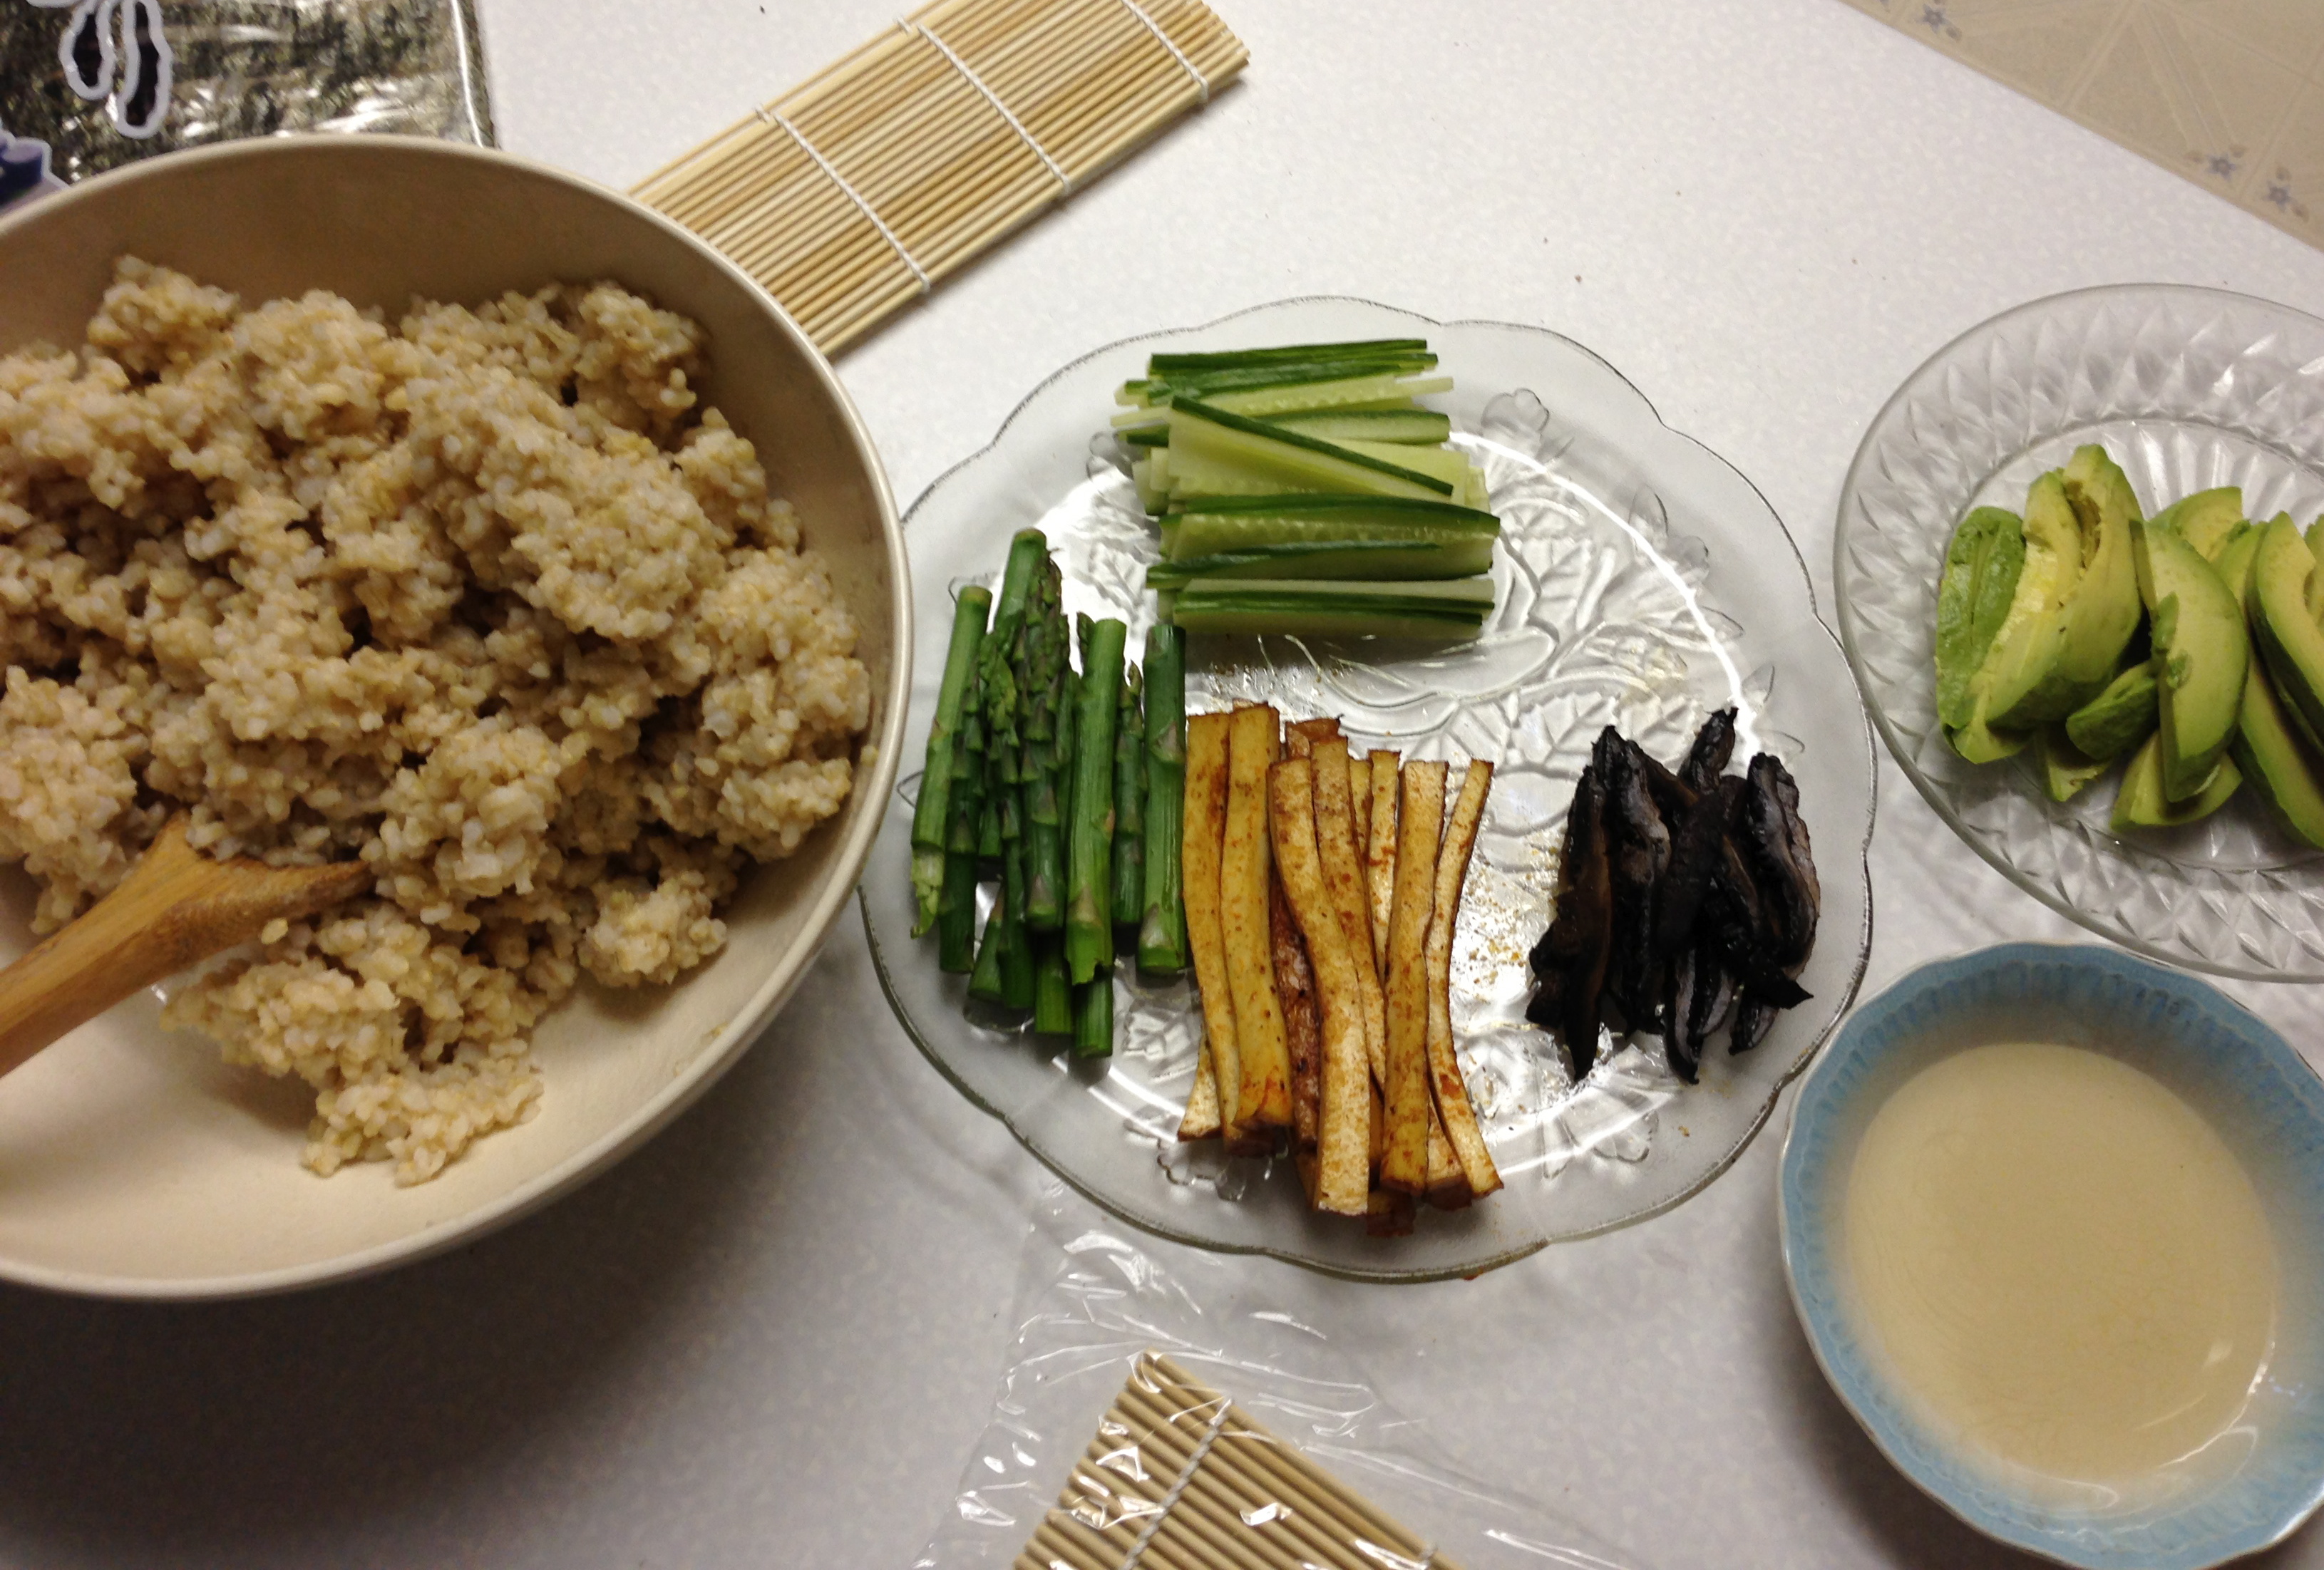
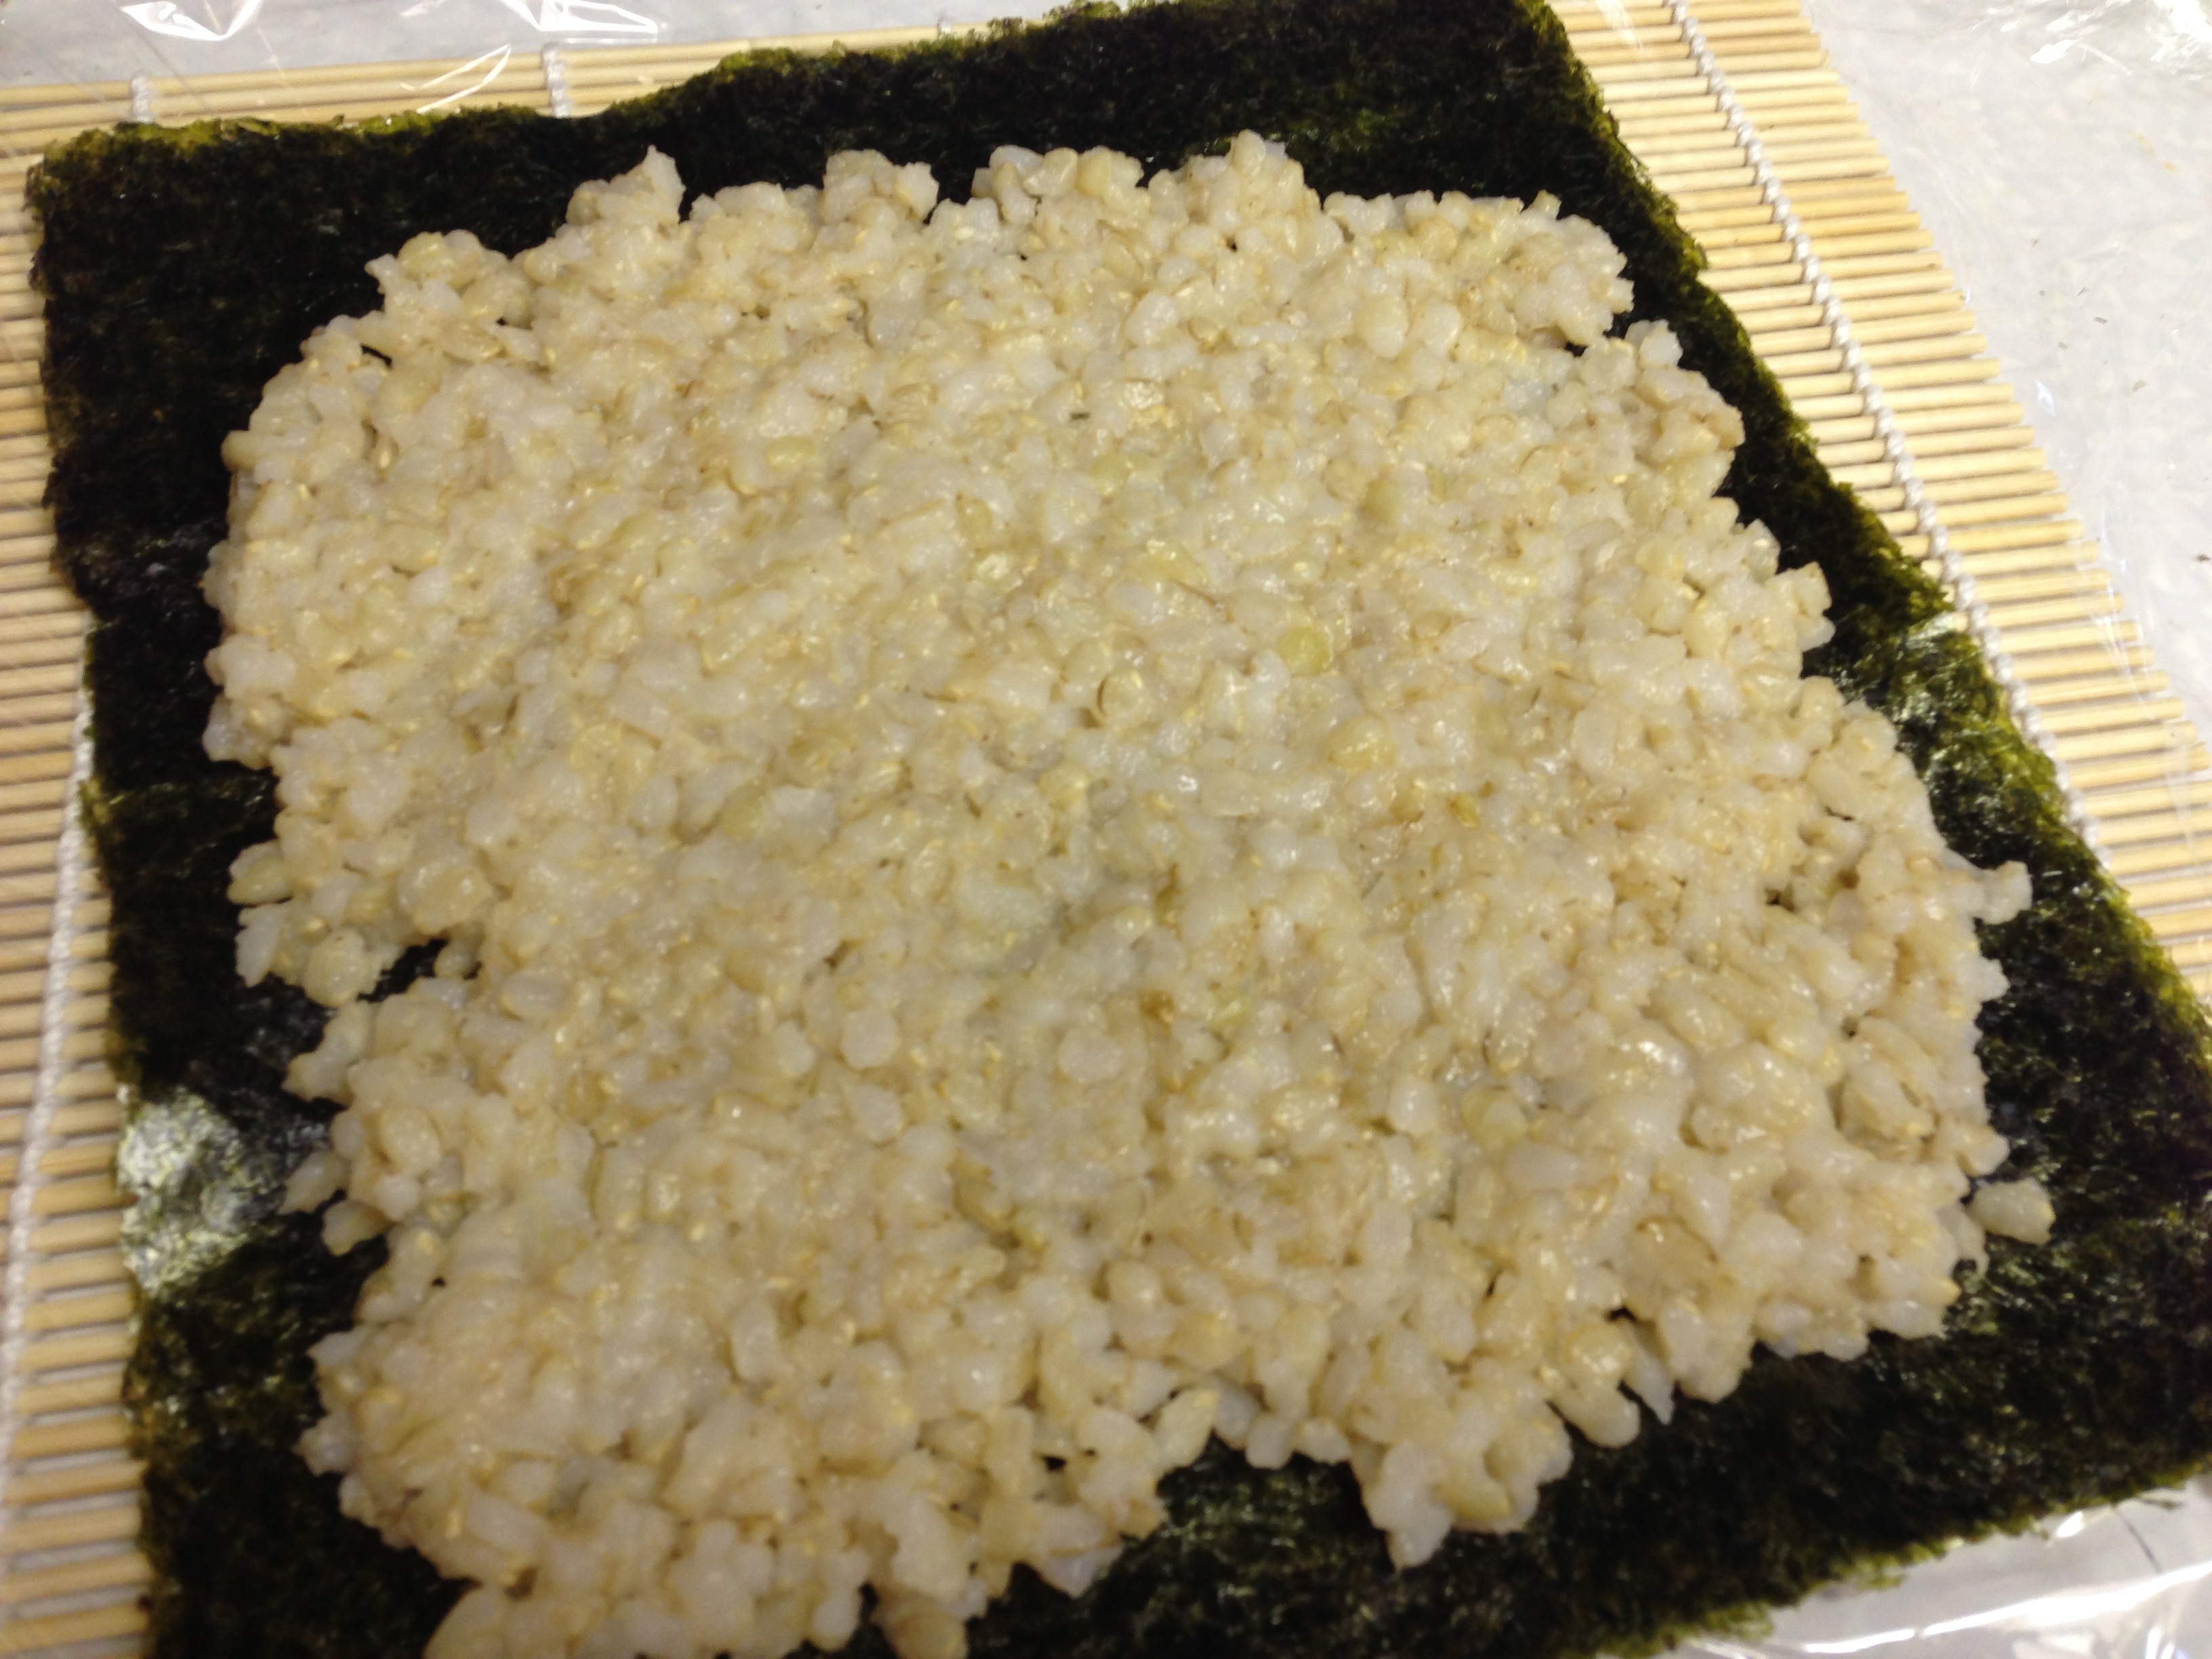
Apparently I was so excited about making vegan sushi that I forgot to record any amounts for our ingredients. Luckily, this wasn’t really intended to be a recipe, so I’ll just share with you what I do know. I cooked 2 cups of short grain brown rice, then added coconut sugar and rice wine vinegar according to someone’s directions.
For our fillings we used avocado, cucumber, asparagus, spicy smoked tofu, and portobello mushrooms. The avocado and cucumber were simply sliced into strips. The asparagus was steamed. For the tofu, we sliced up half a block of Soyganic Smoked Tofu into thin strips and quickly sautéed it with sesame oil, soy sauce, and Sriracha. The mushroom was actually a remainder from my portobello burger dinner the night before. It was grilled on the barbeque with just a little oil and black pepper, then thinly sliced for our sushi.


How To Roll Sushi
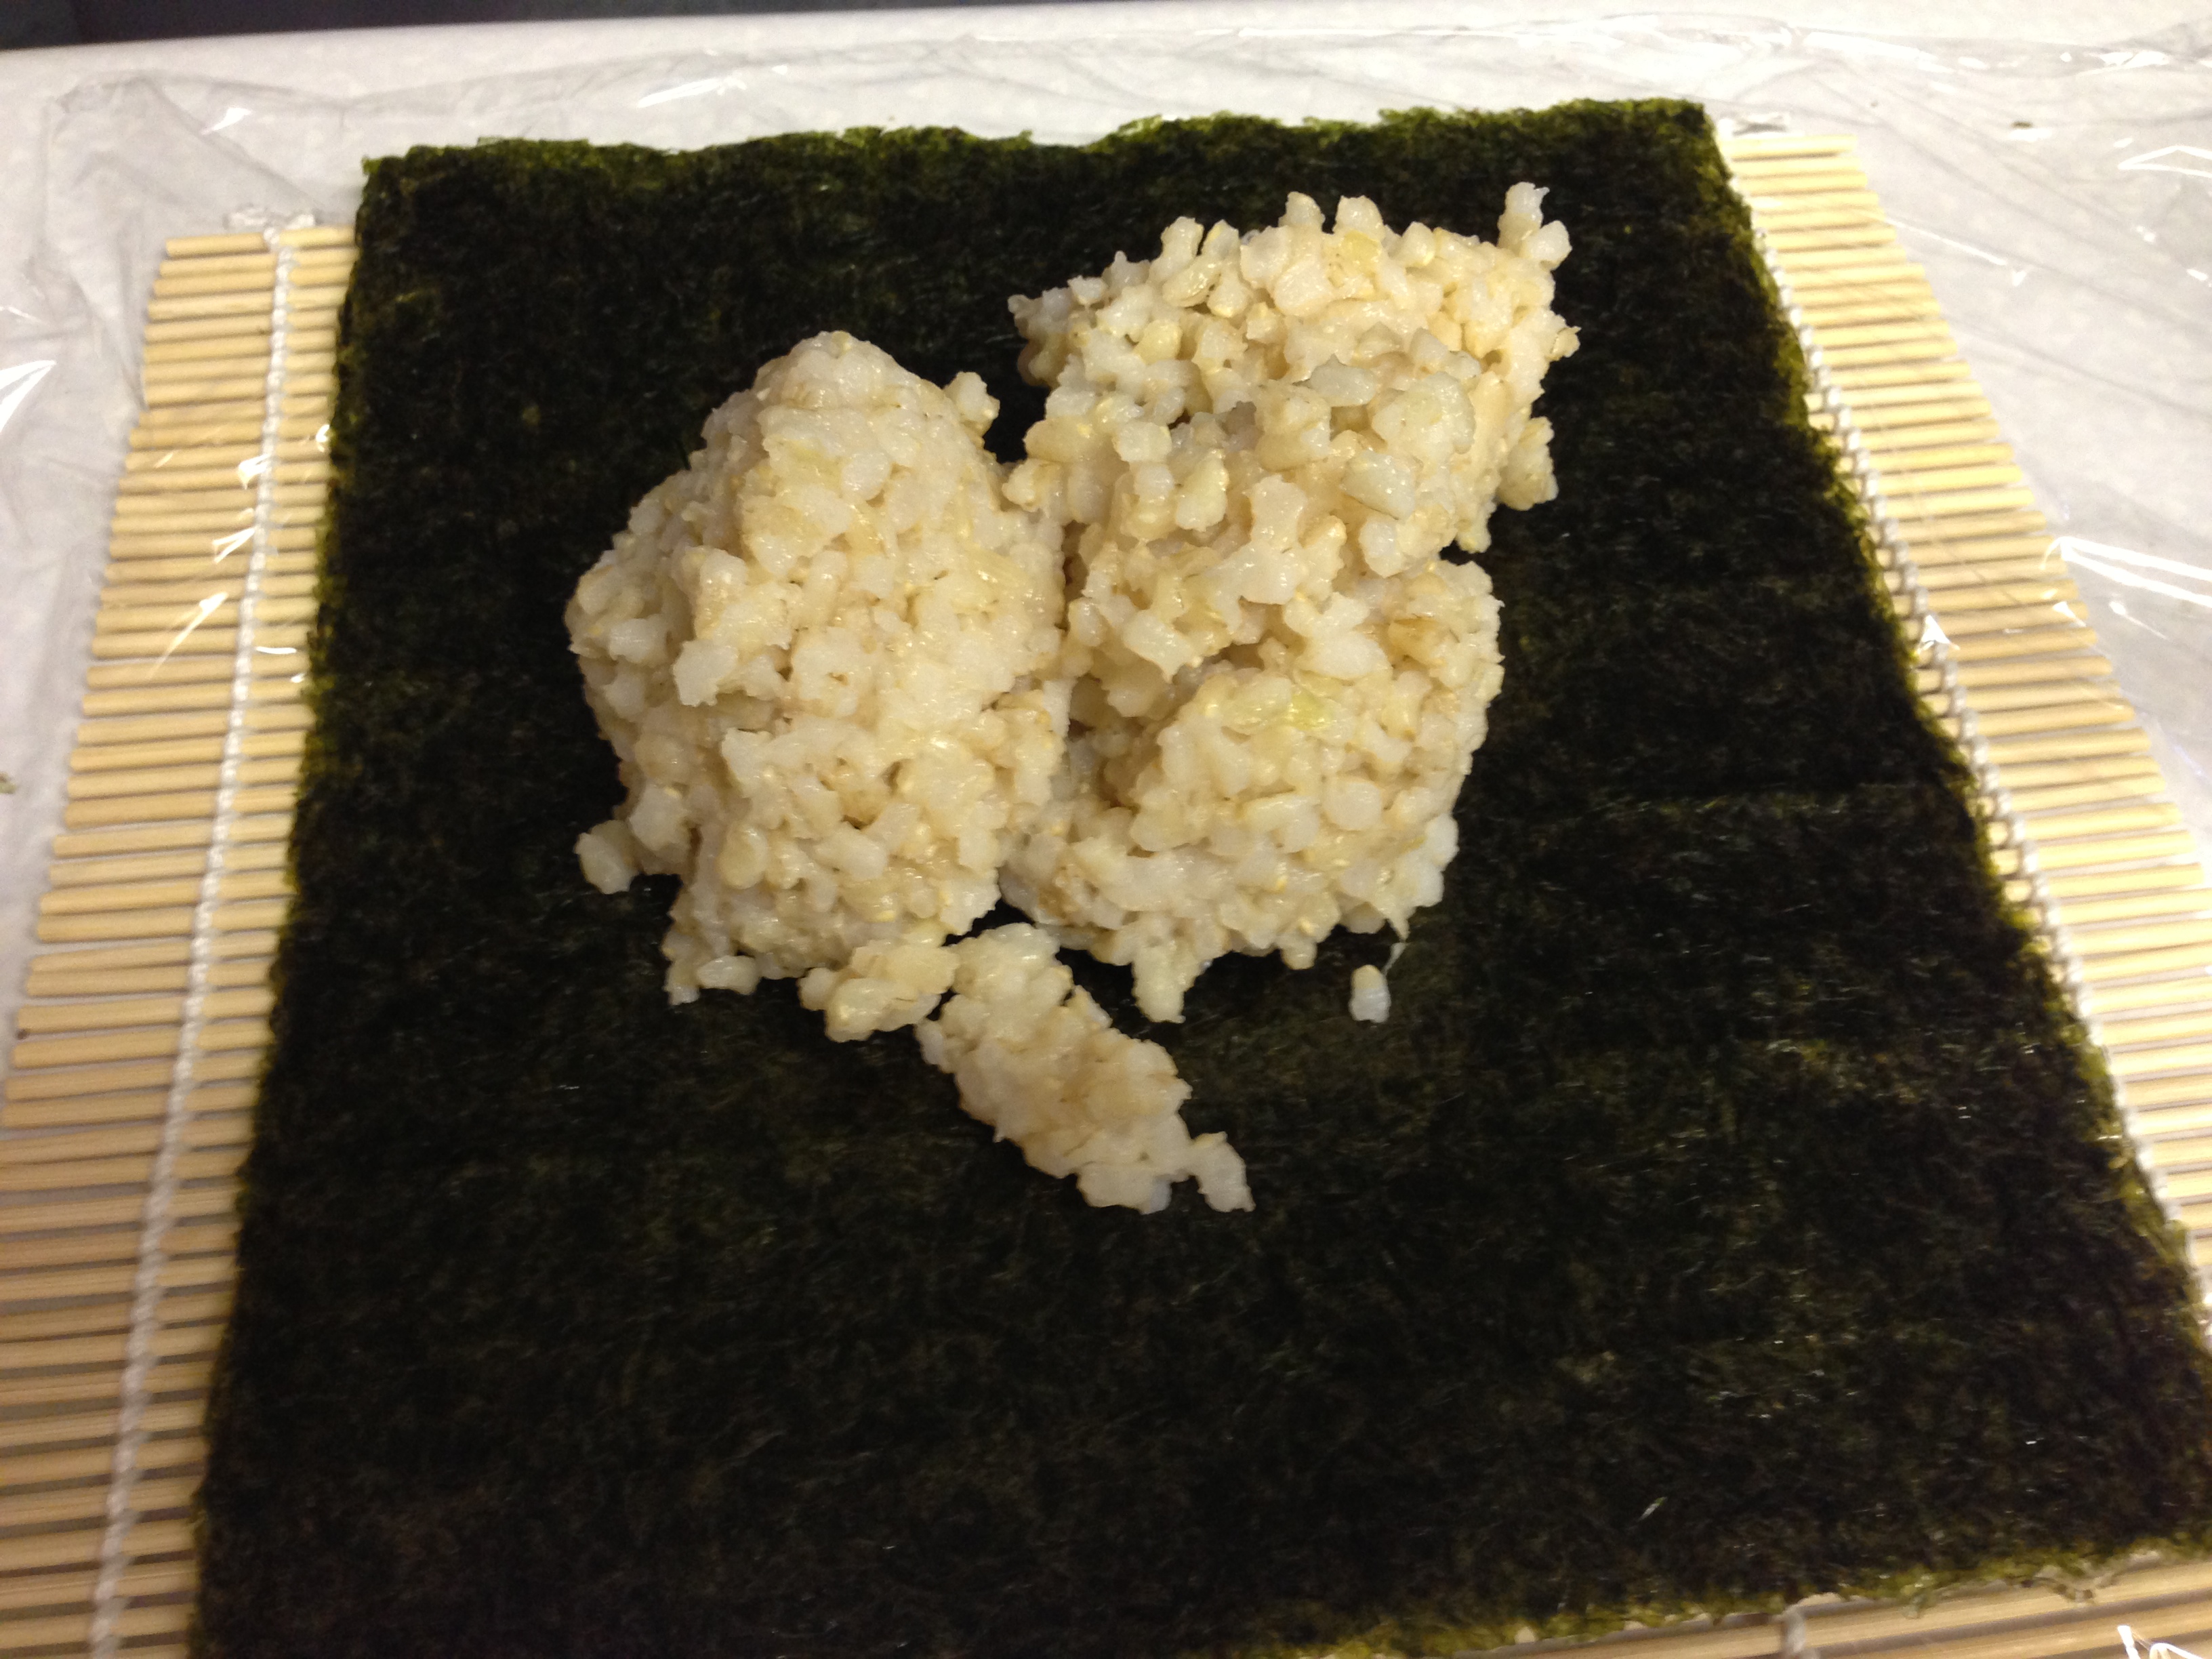
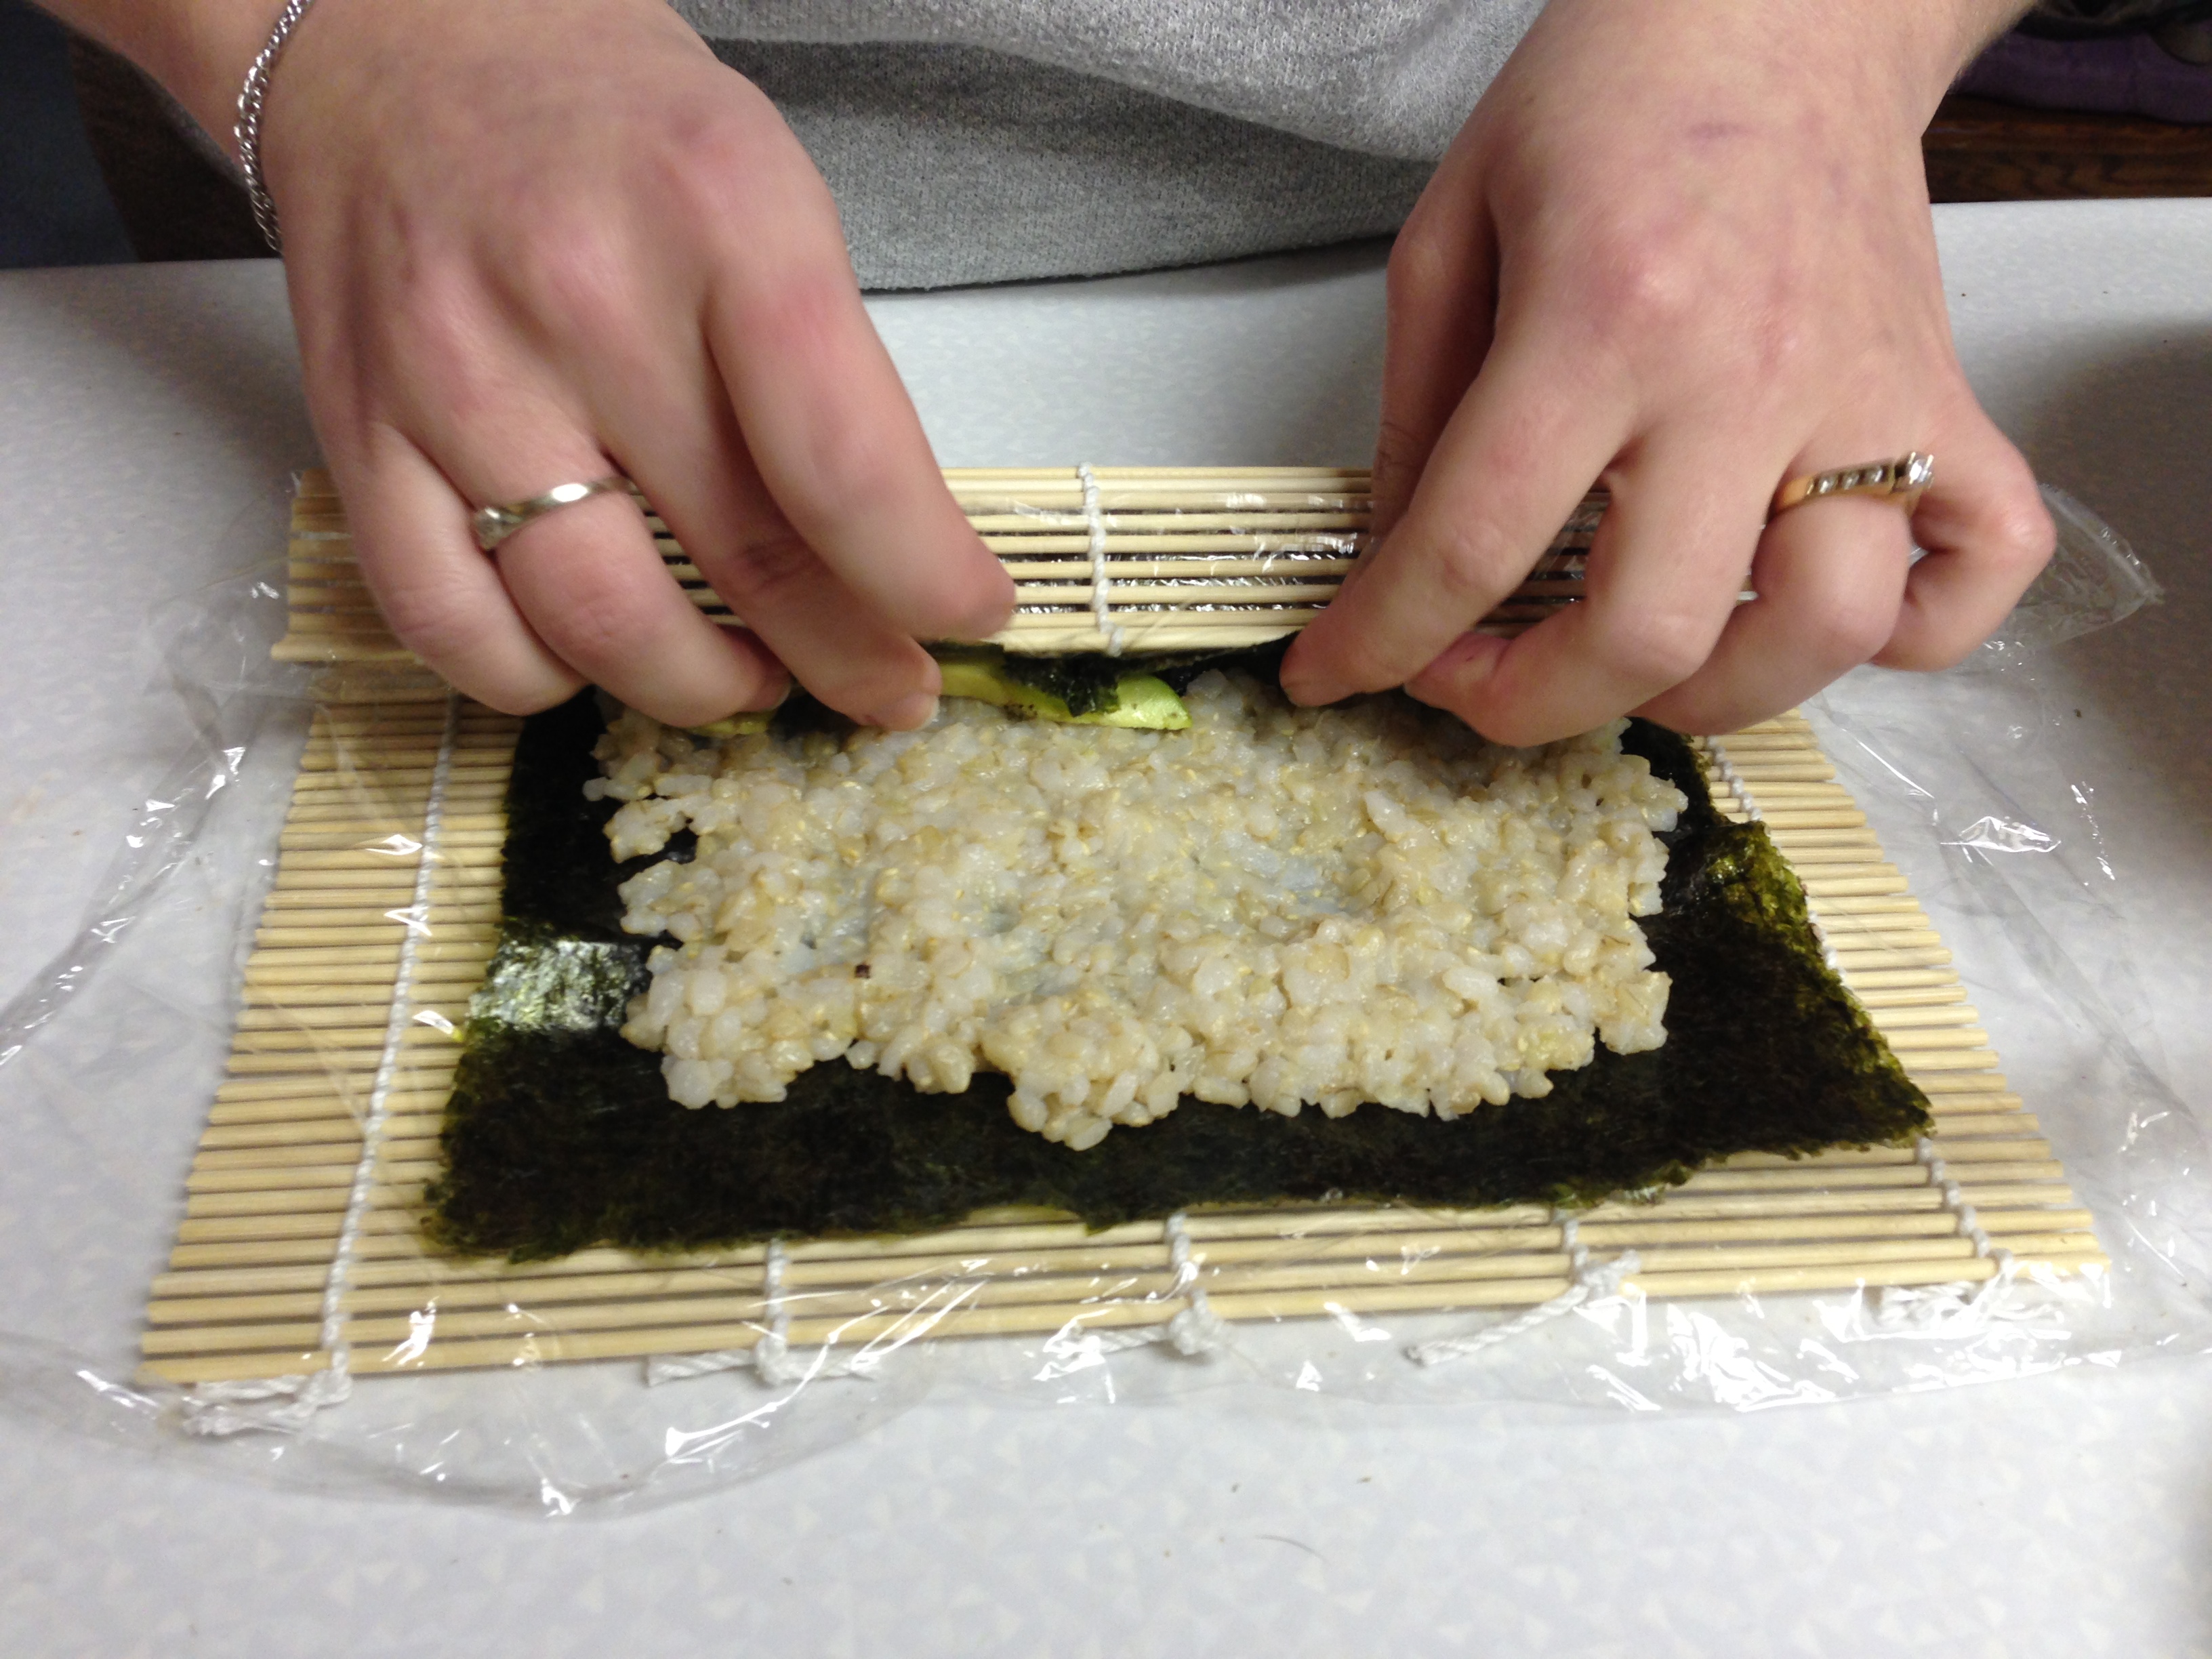
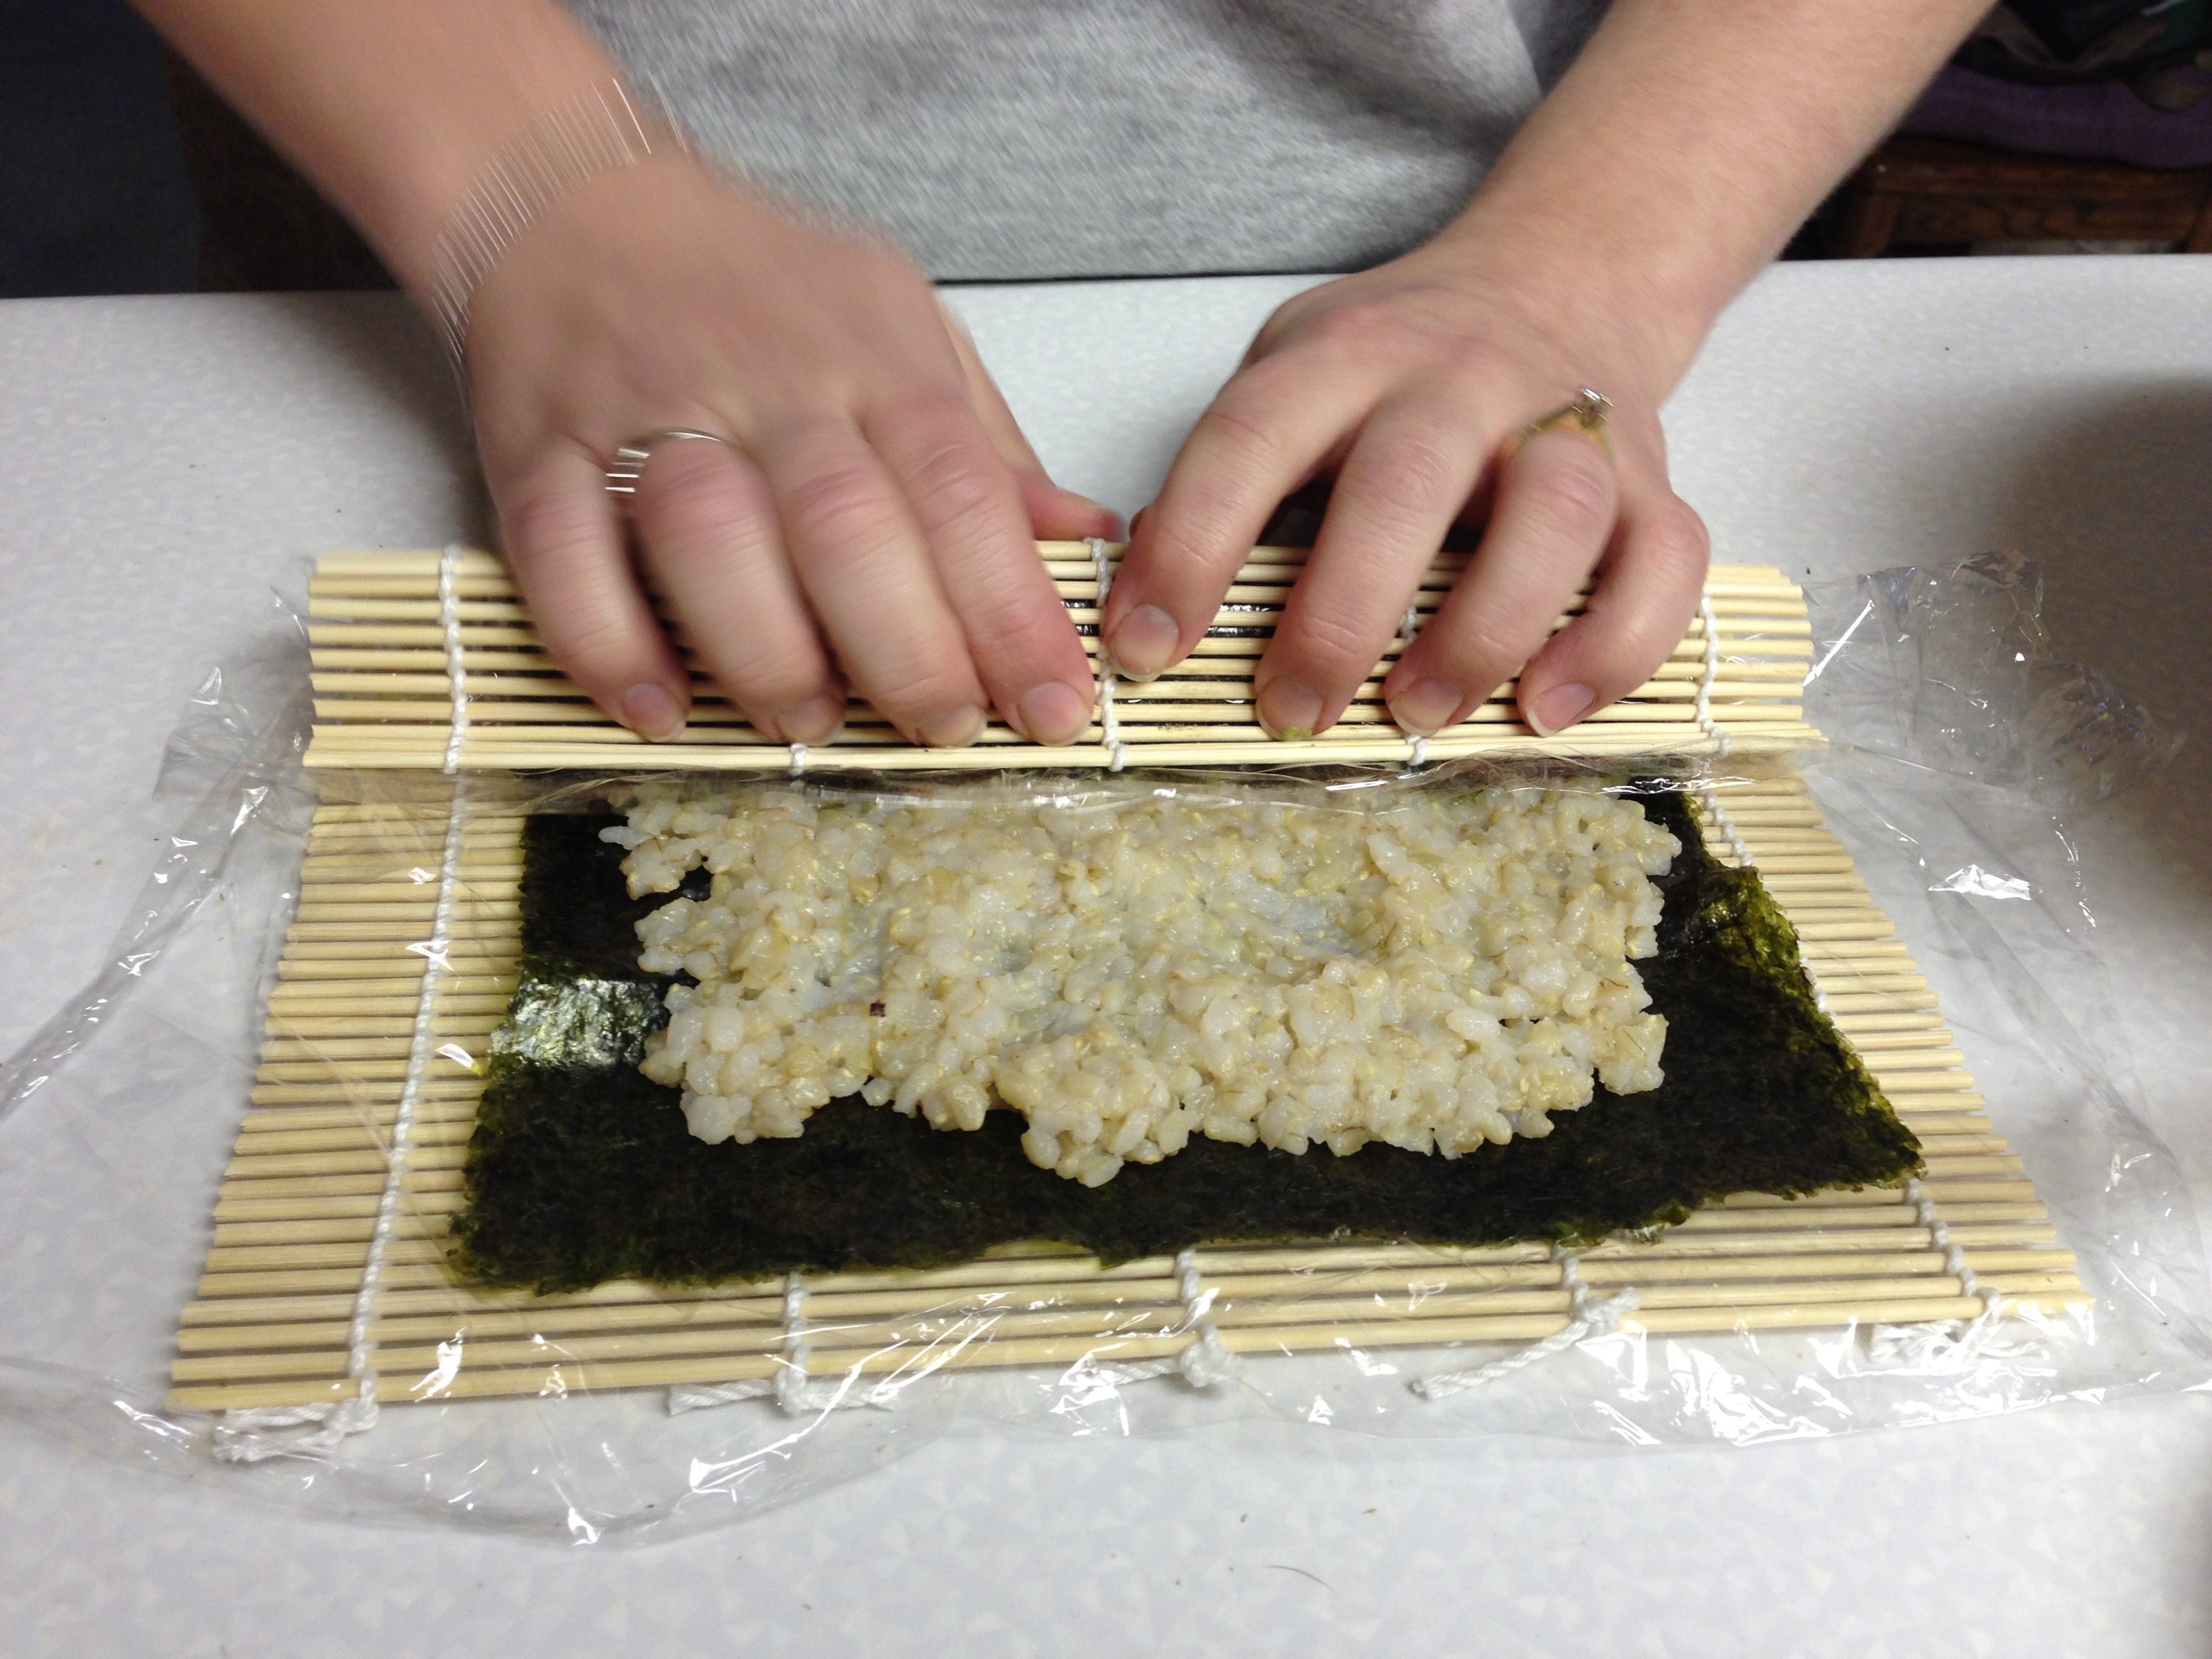
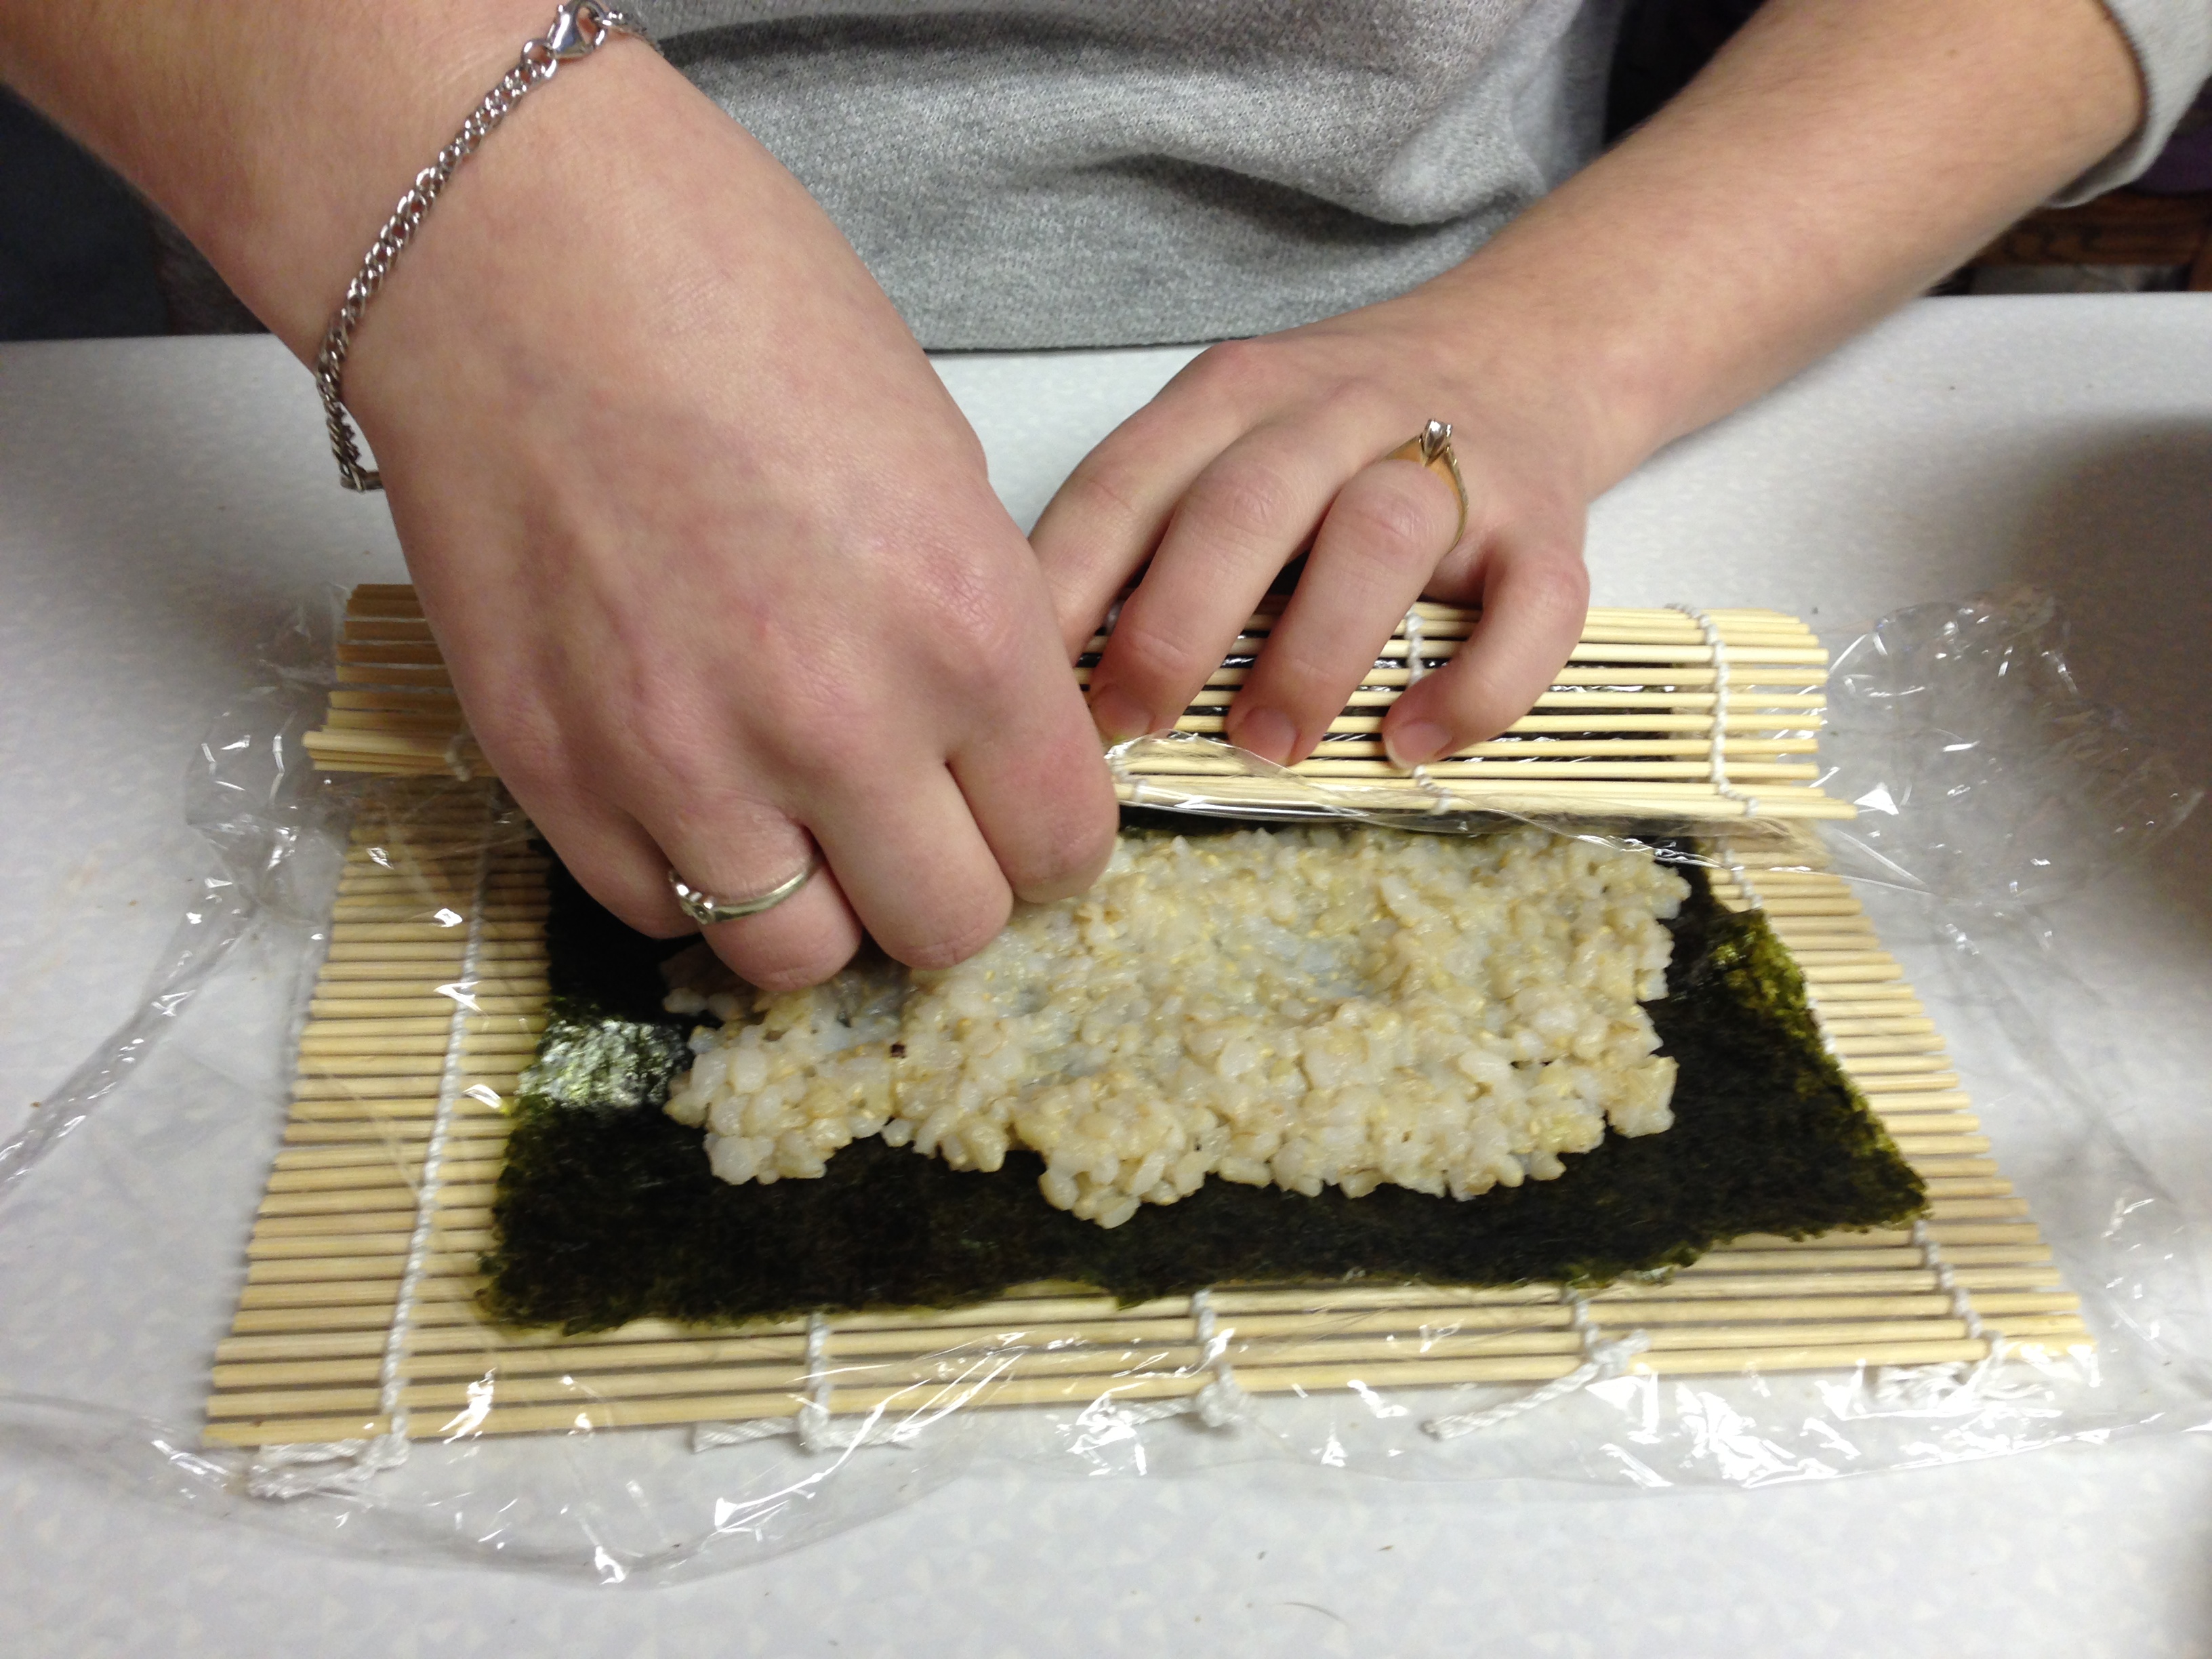
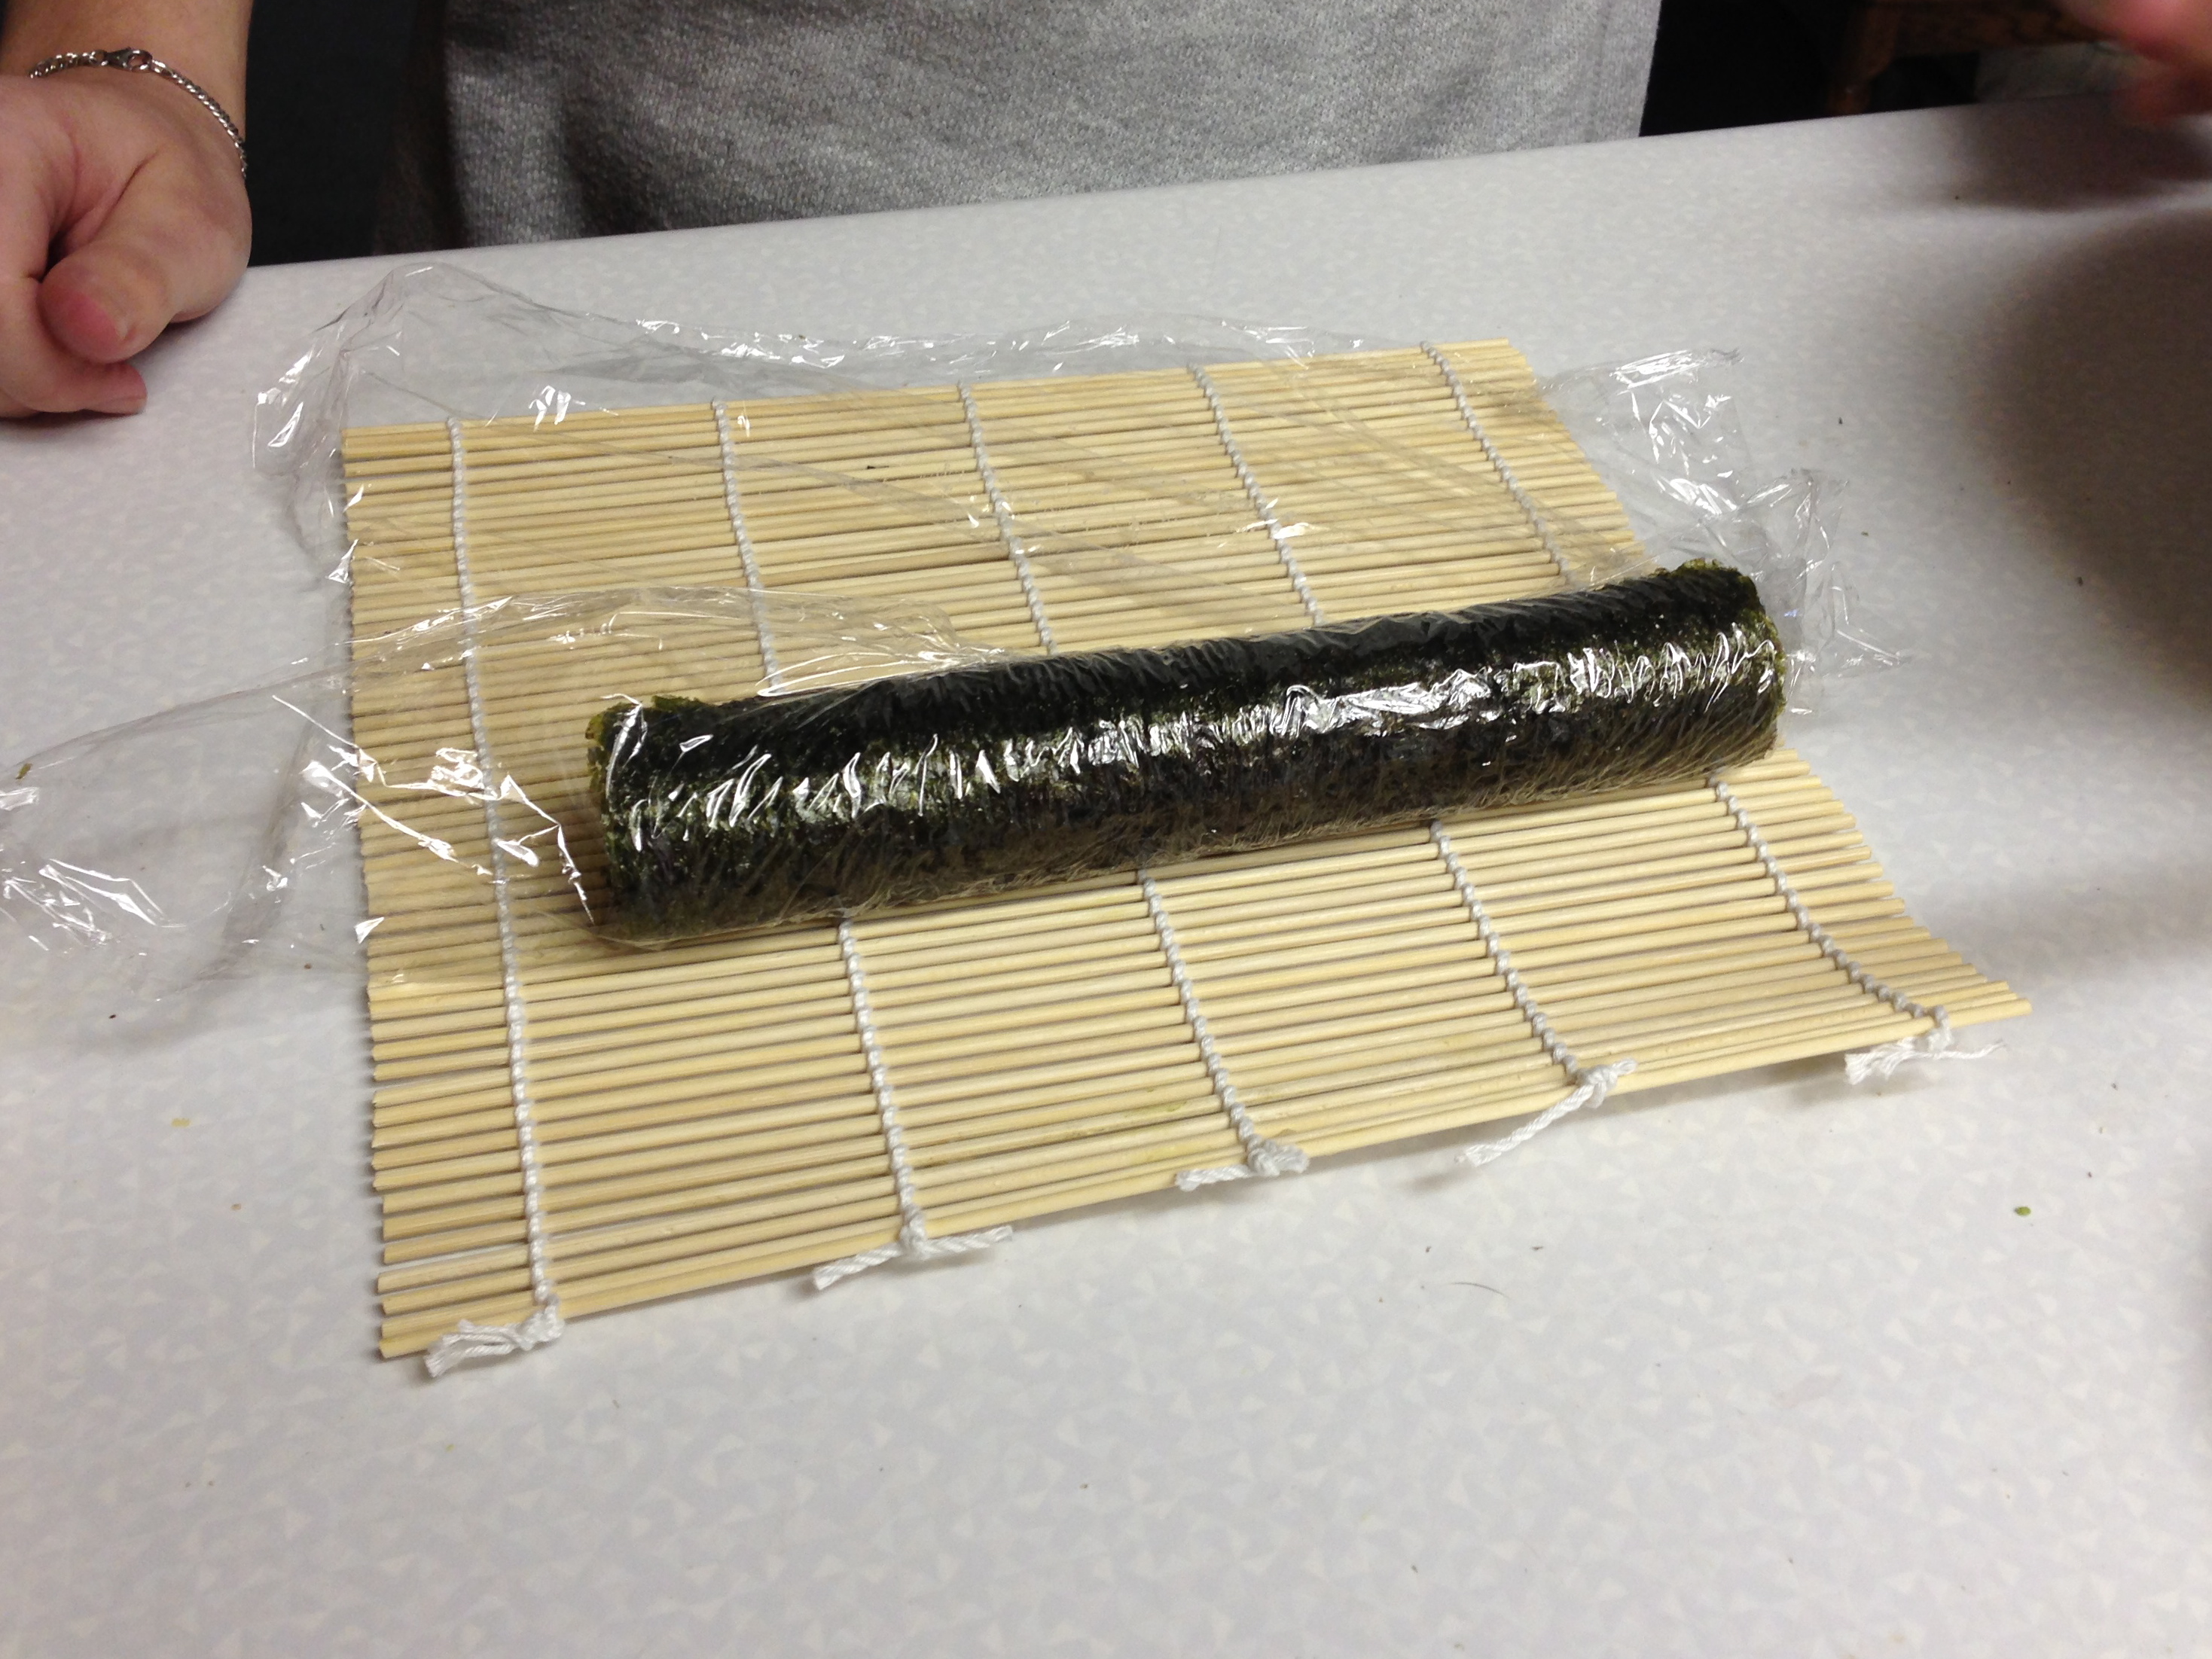
I’m no expert, but I did find it to be surprisingly easy and quick once we got the hang of it. The process is difficult to explain, so I took some step-by-step photos for you. (Big thanks to my lovely hand-model/super-sister Jem!) As you can see, we used plastic wrap in between our sushi mat and the nori, but it probably isn’t necessary unless you want to make inside out rolls.


Also, it really doesn’t hurt if you stop and take a photo like this. 🙂

And don’t forget to have a little bowl of water and rice vinegar on hand to wet your fingers, otherwise they’ll look like this. 🙂

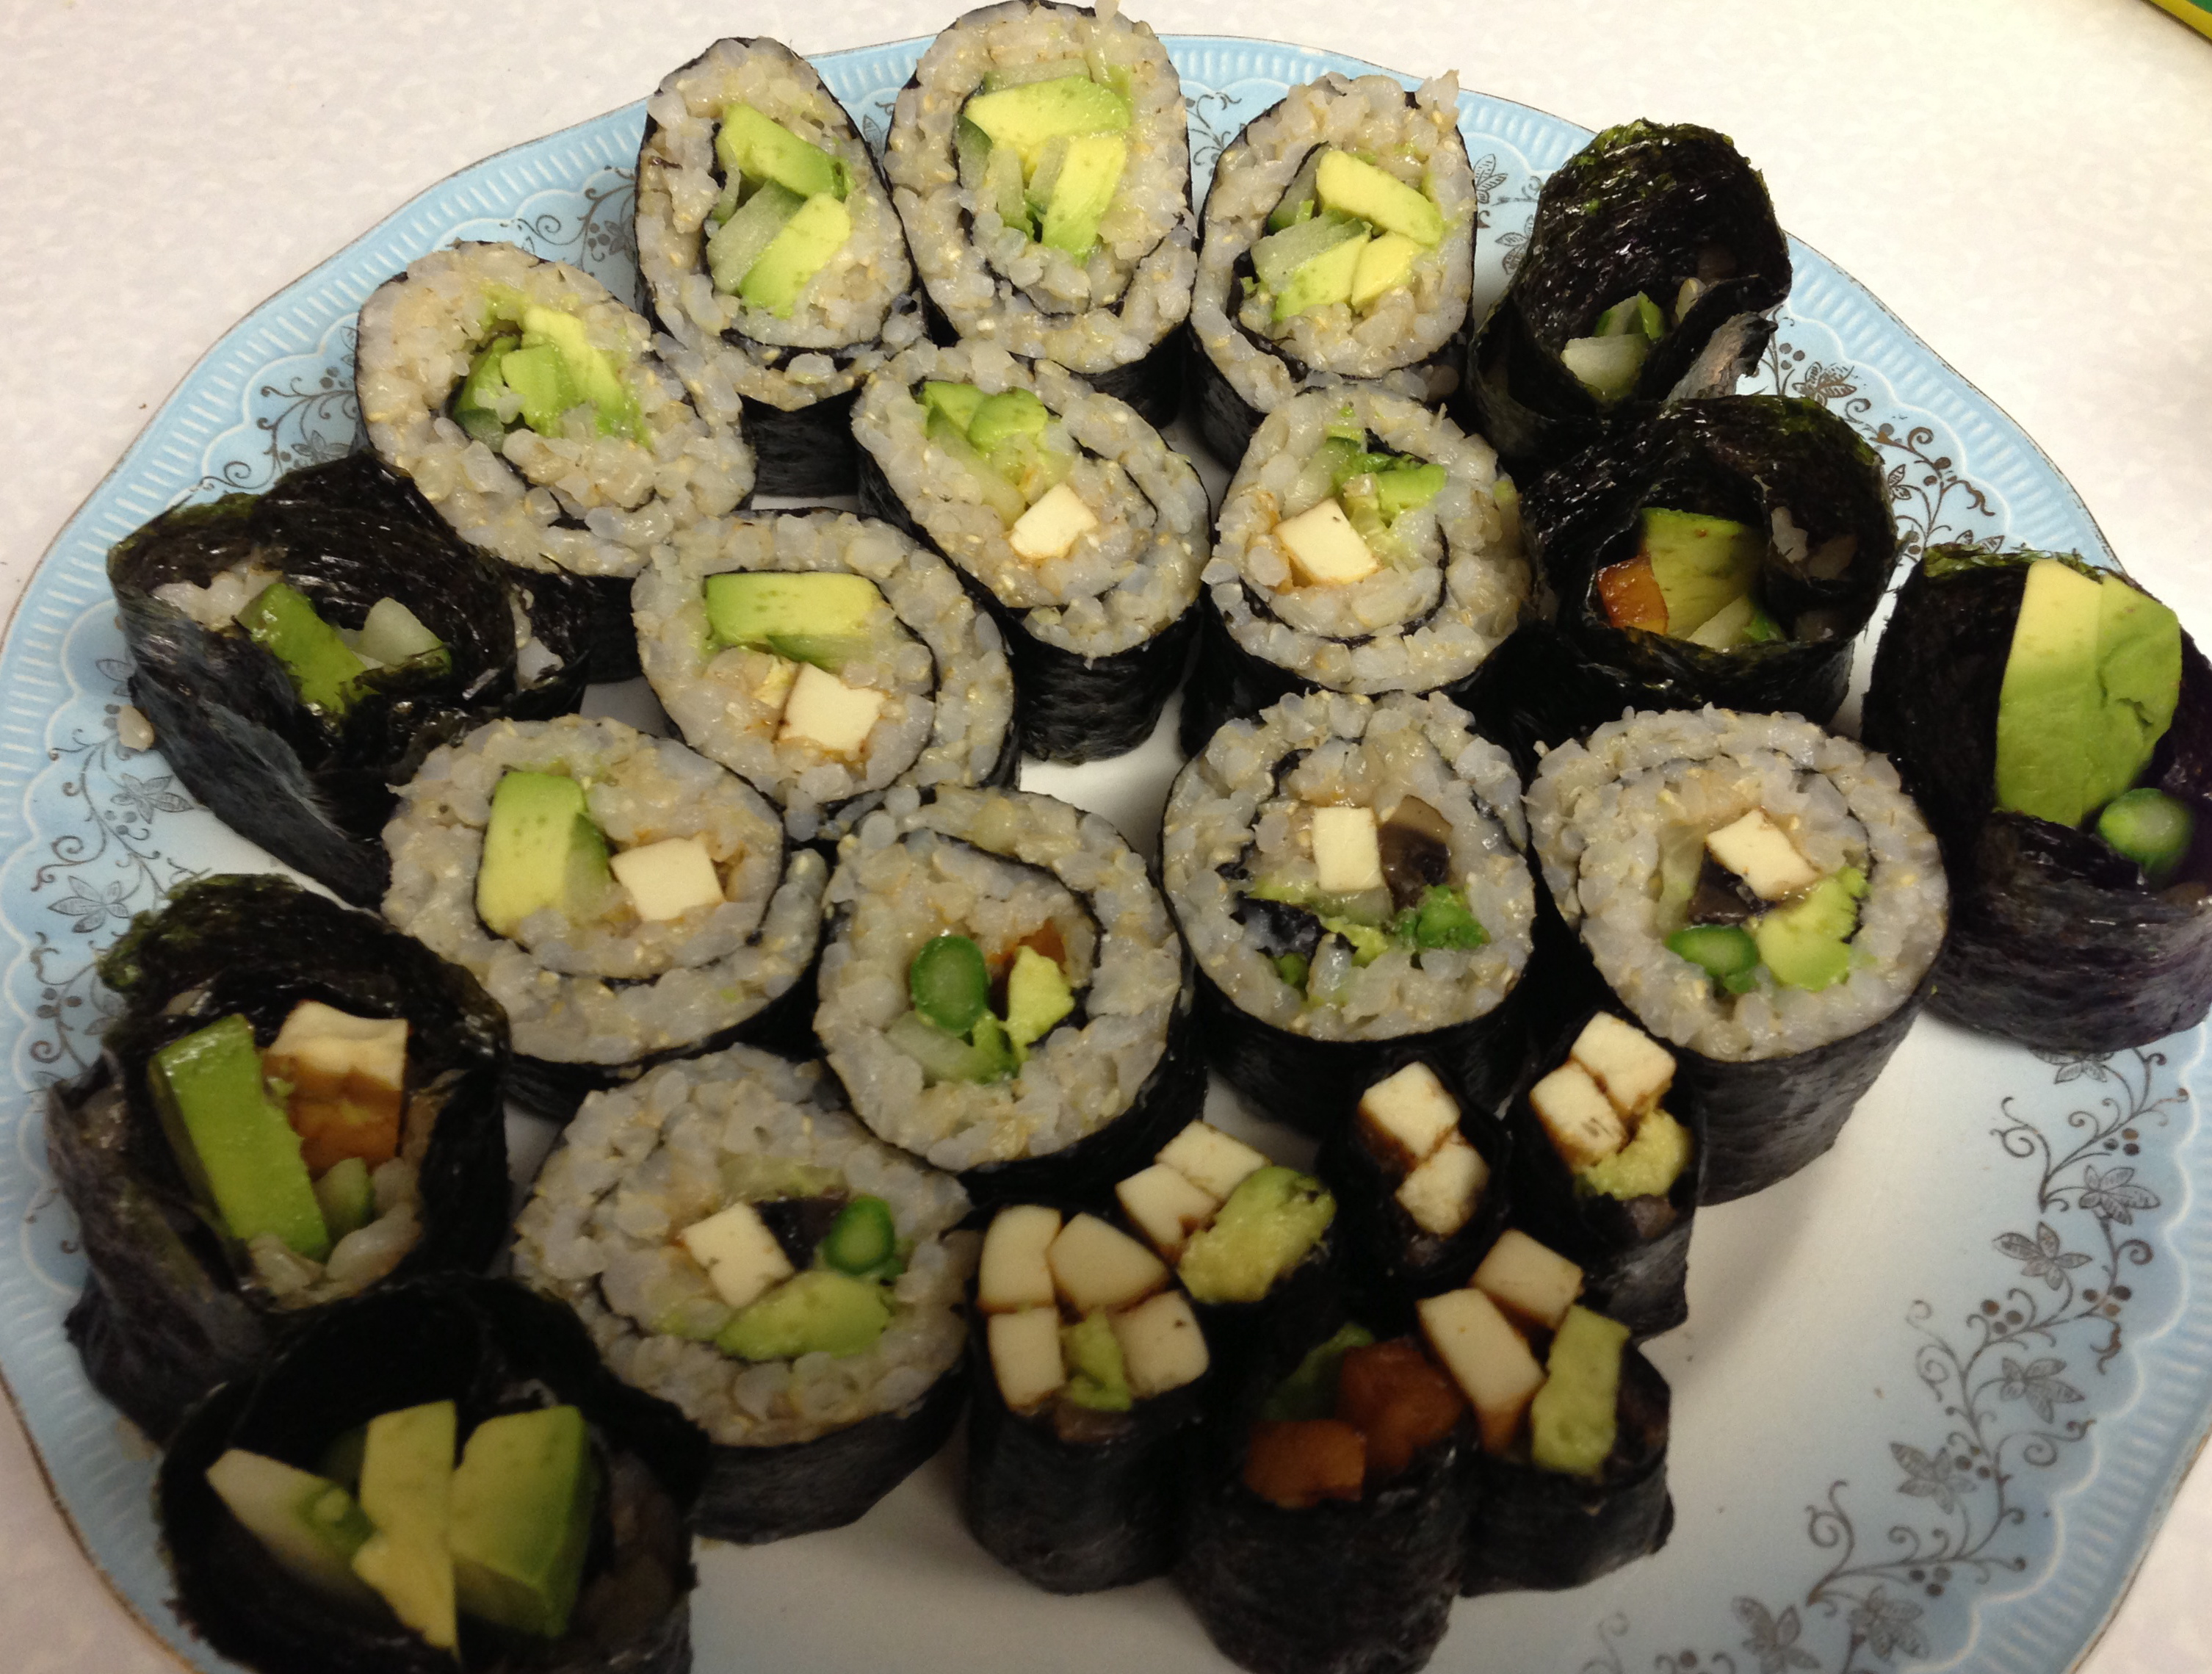
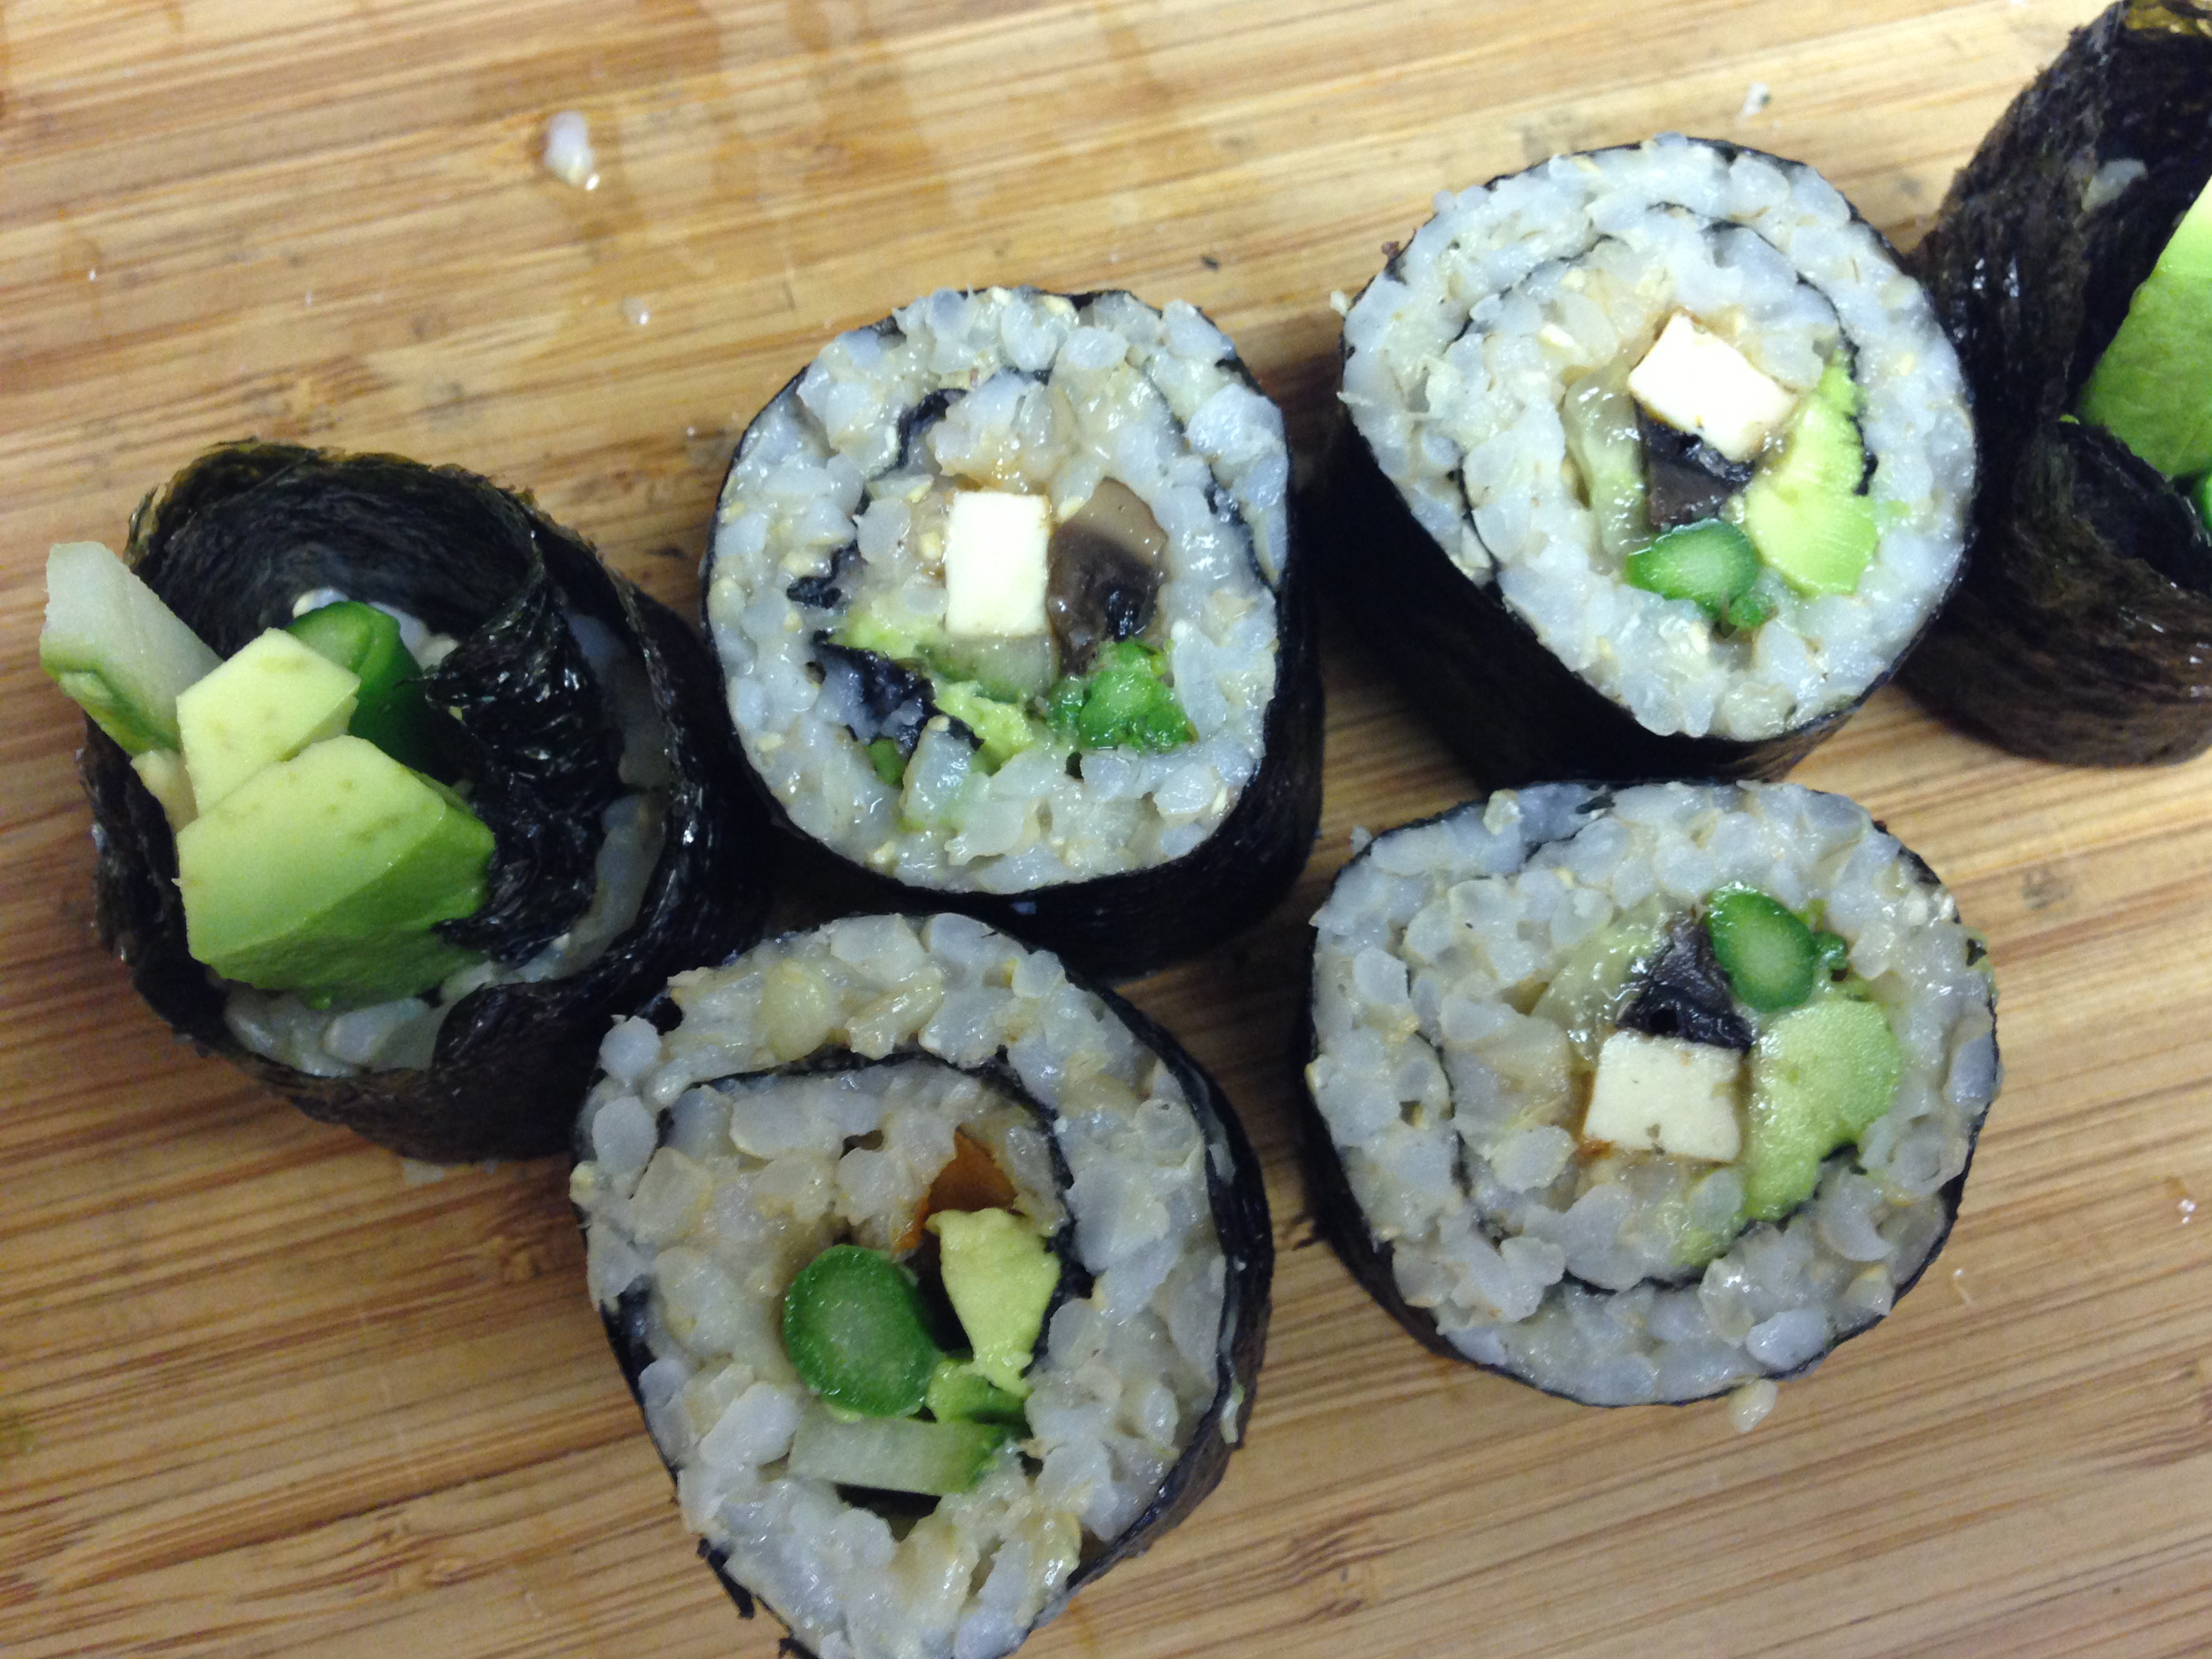
As you can tell from the photos, we ended up with a tonne of sushi! (I ate it for lunch for the next two days.) Basically, we were quite unsure of how much rice or fillings we needed, so we made a lot, and kept making rolls until the rice was all gone. This was actually really nice, because it gave us a chance to do some experimenting with different filling combinations and different amounts of rice. Our package of nori said to use 1 cup of rice for each sheet so this is what we did for the first couple rolls, but they turned out larger than we like. We’ll be using 2/3 to 1/2 cup of rice from now on.
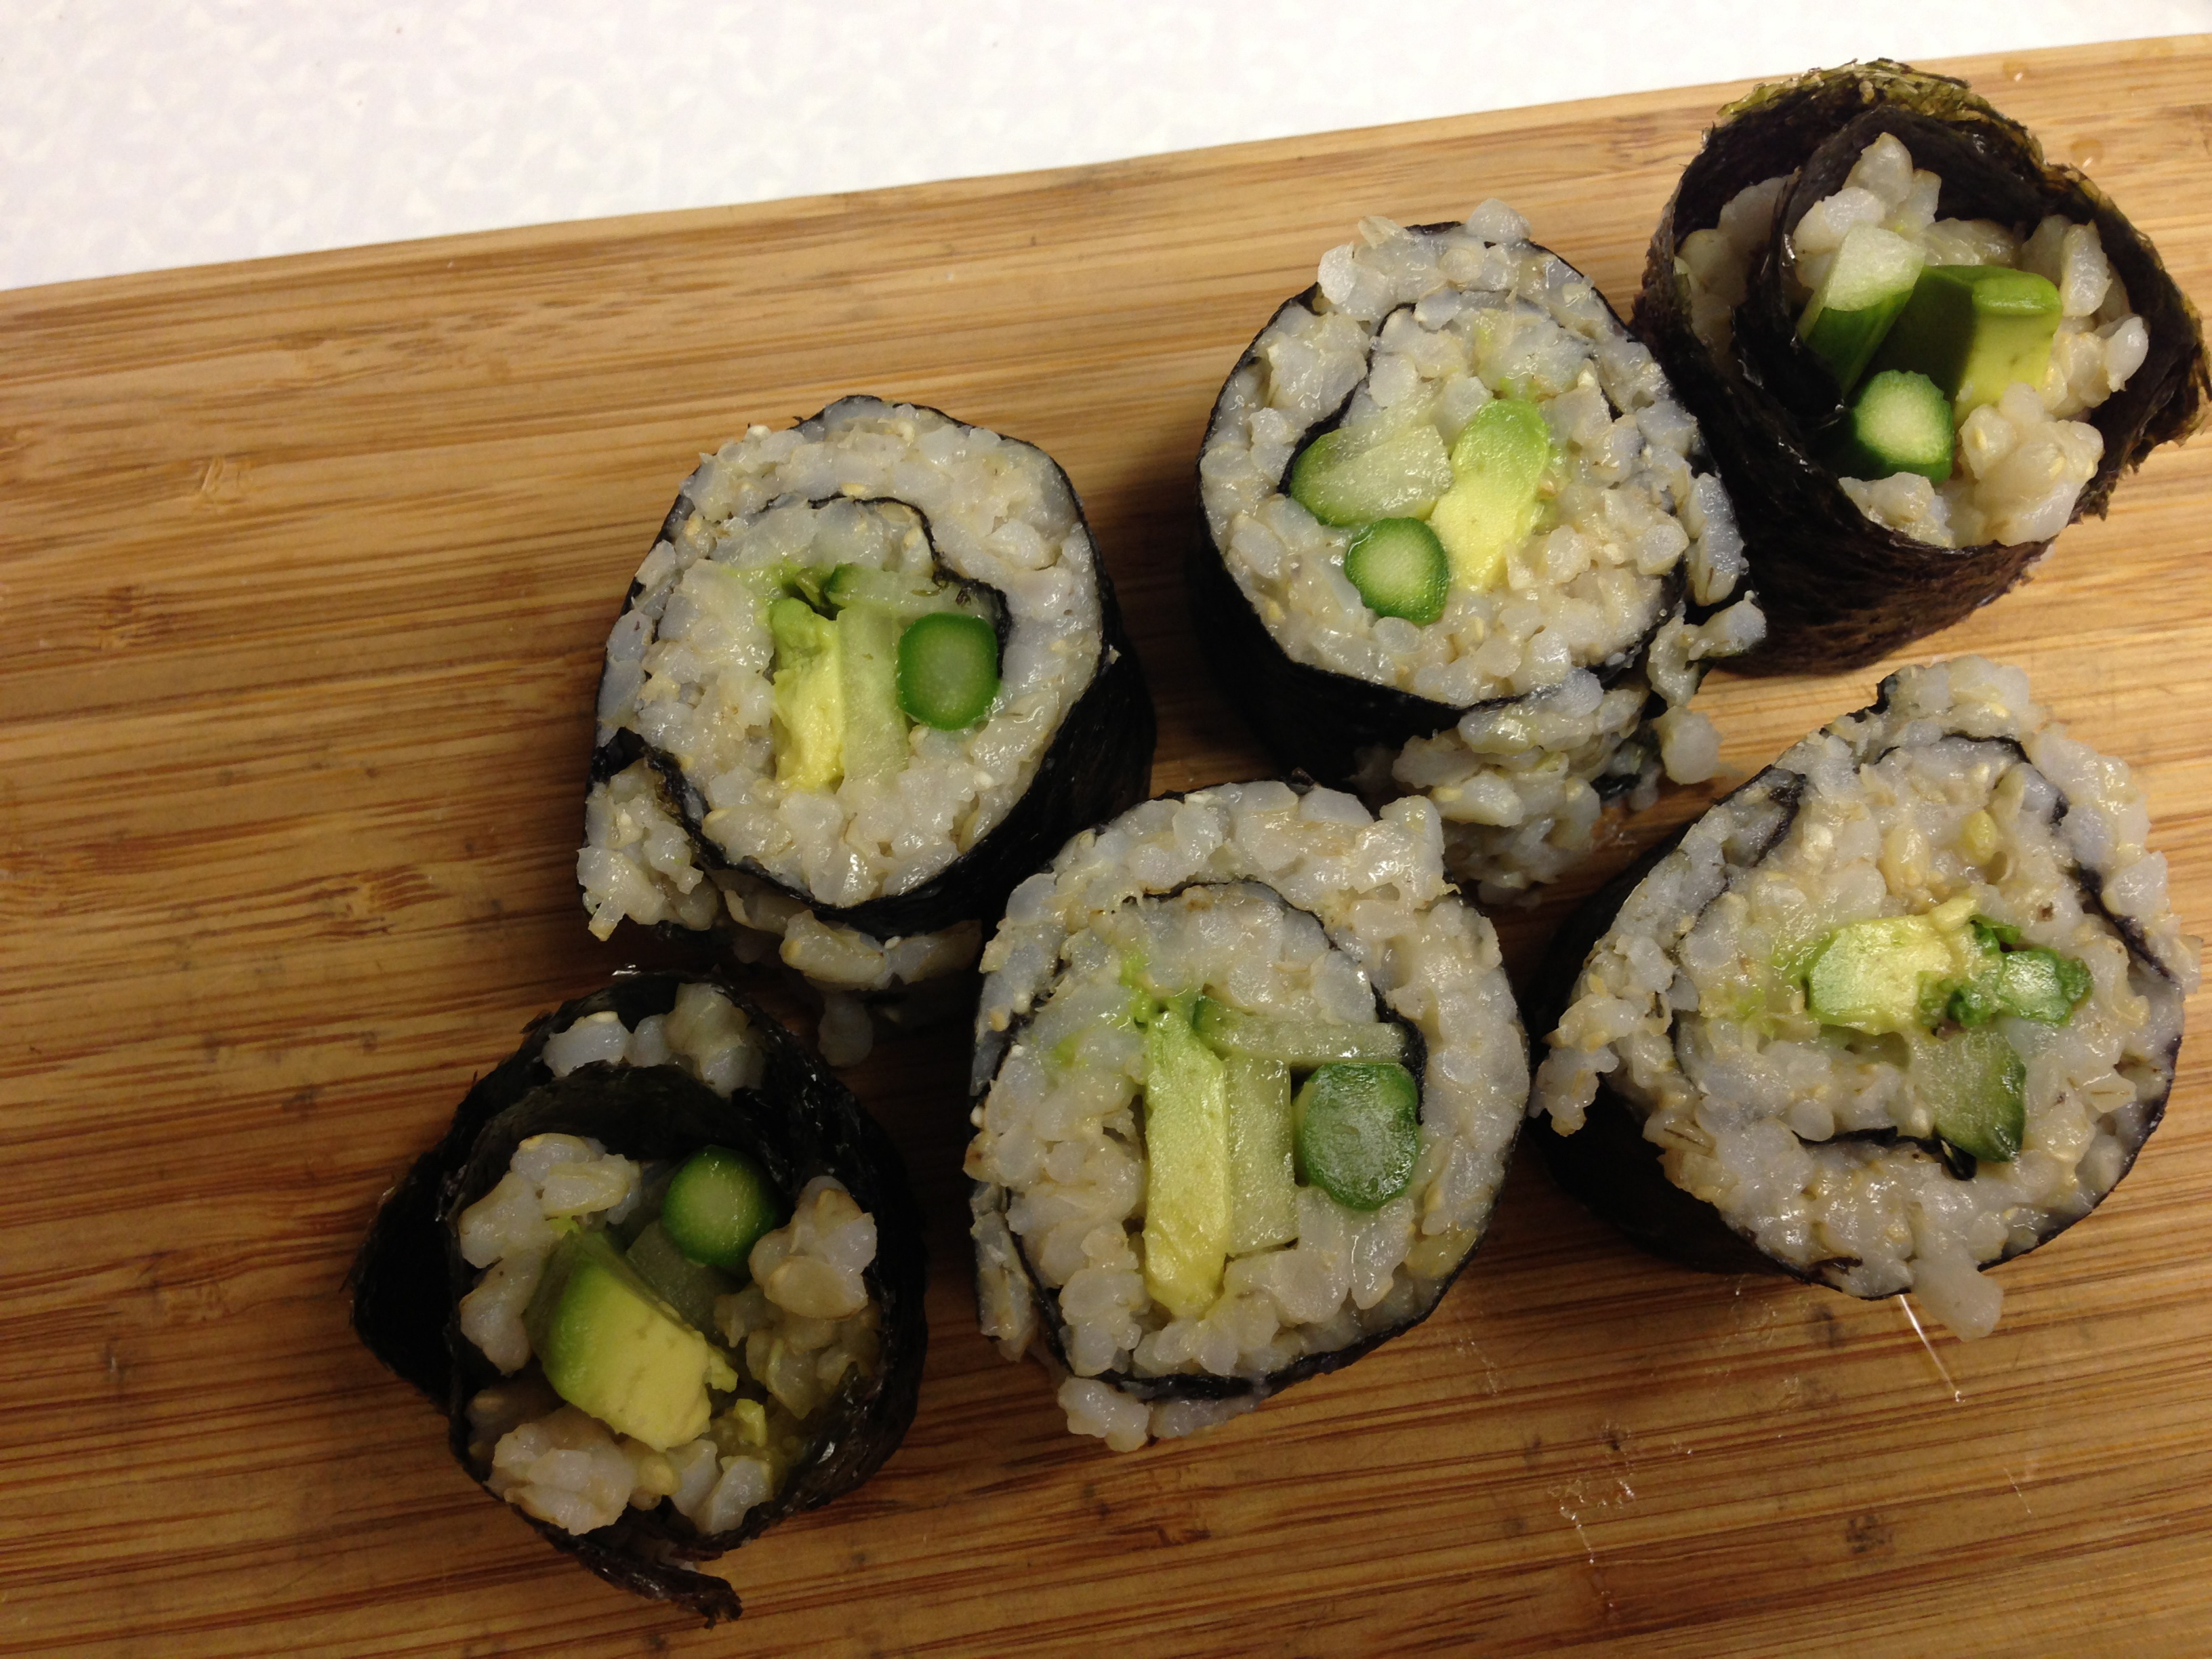
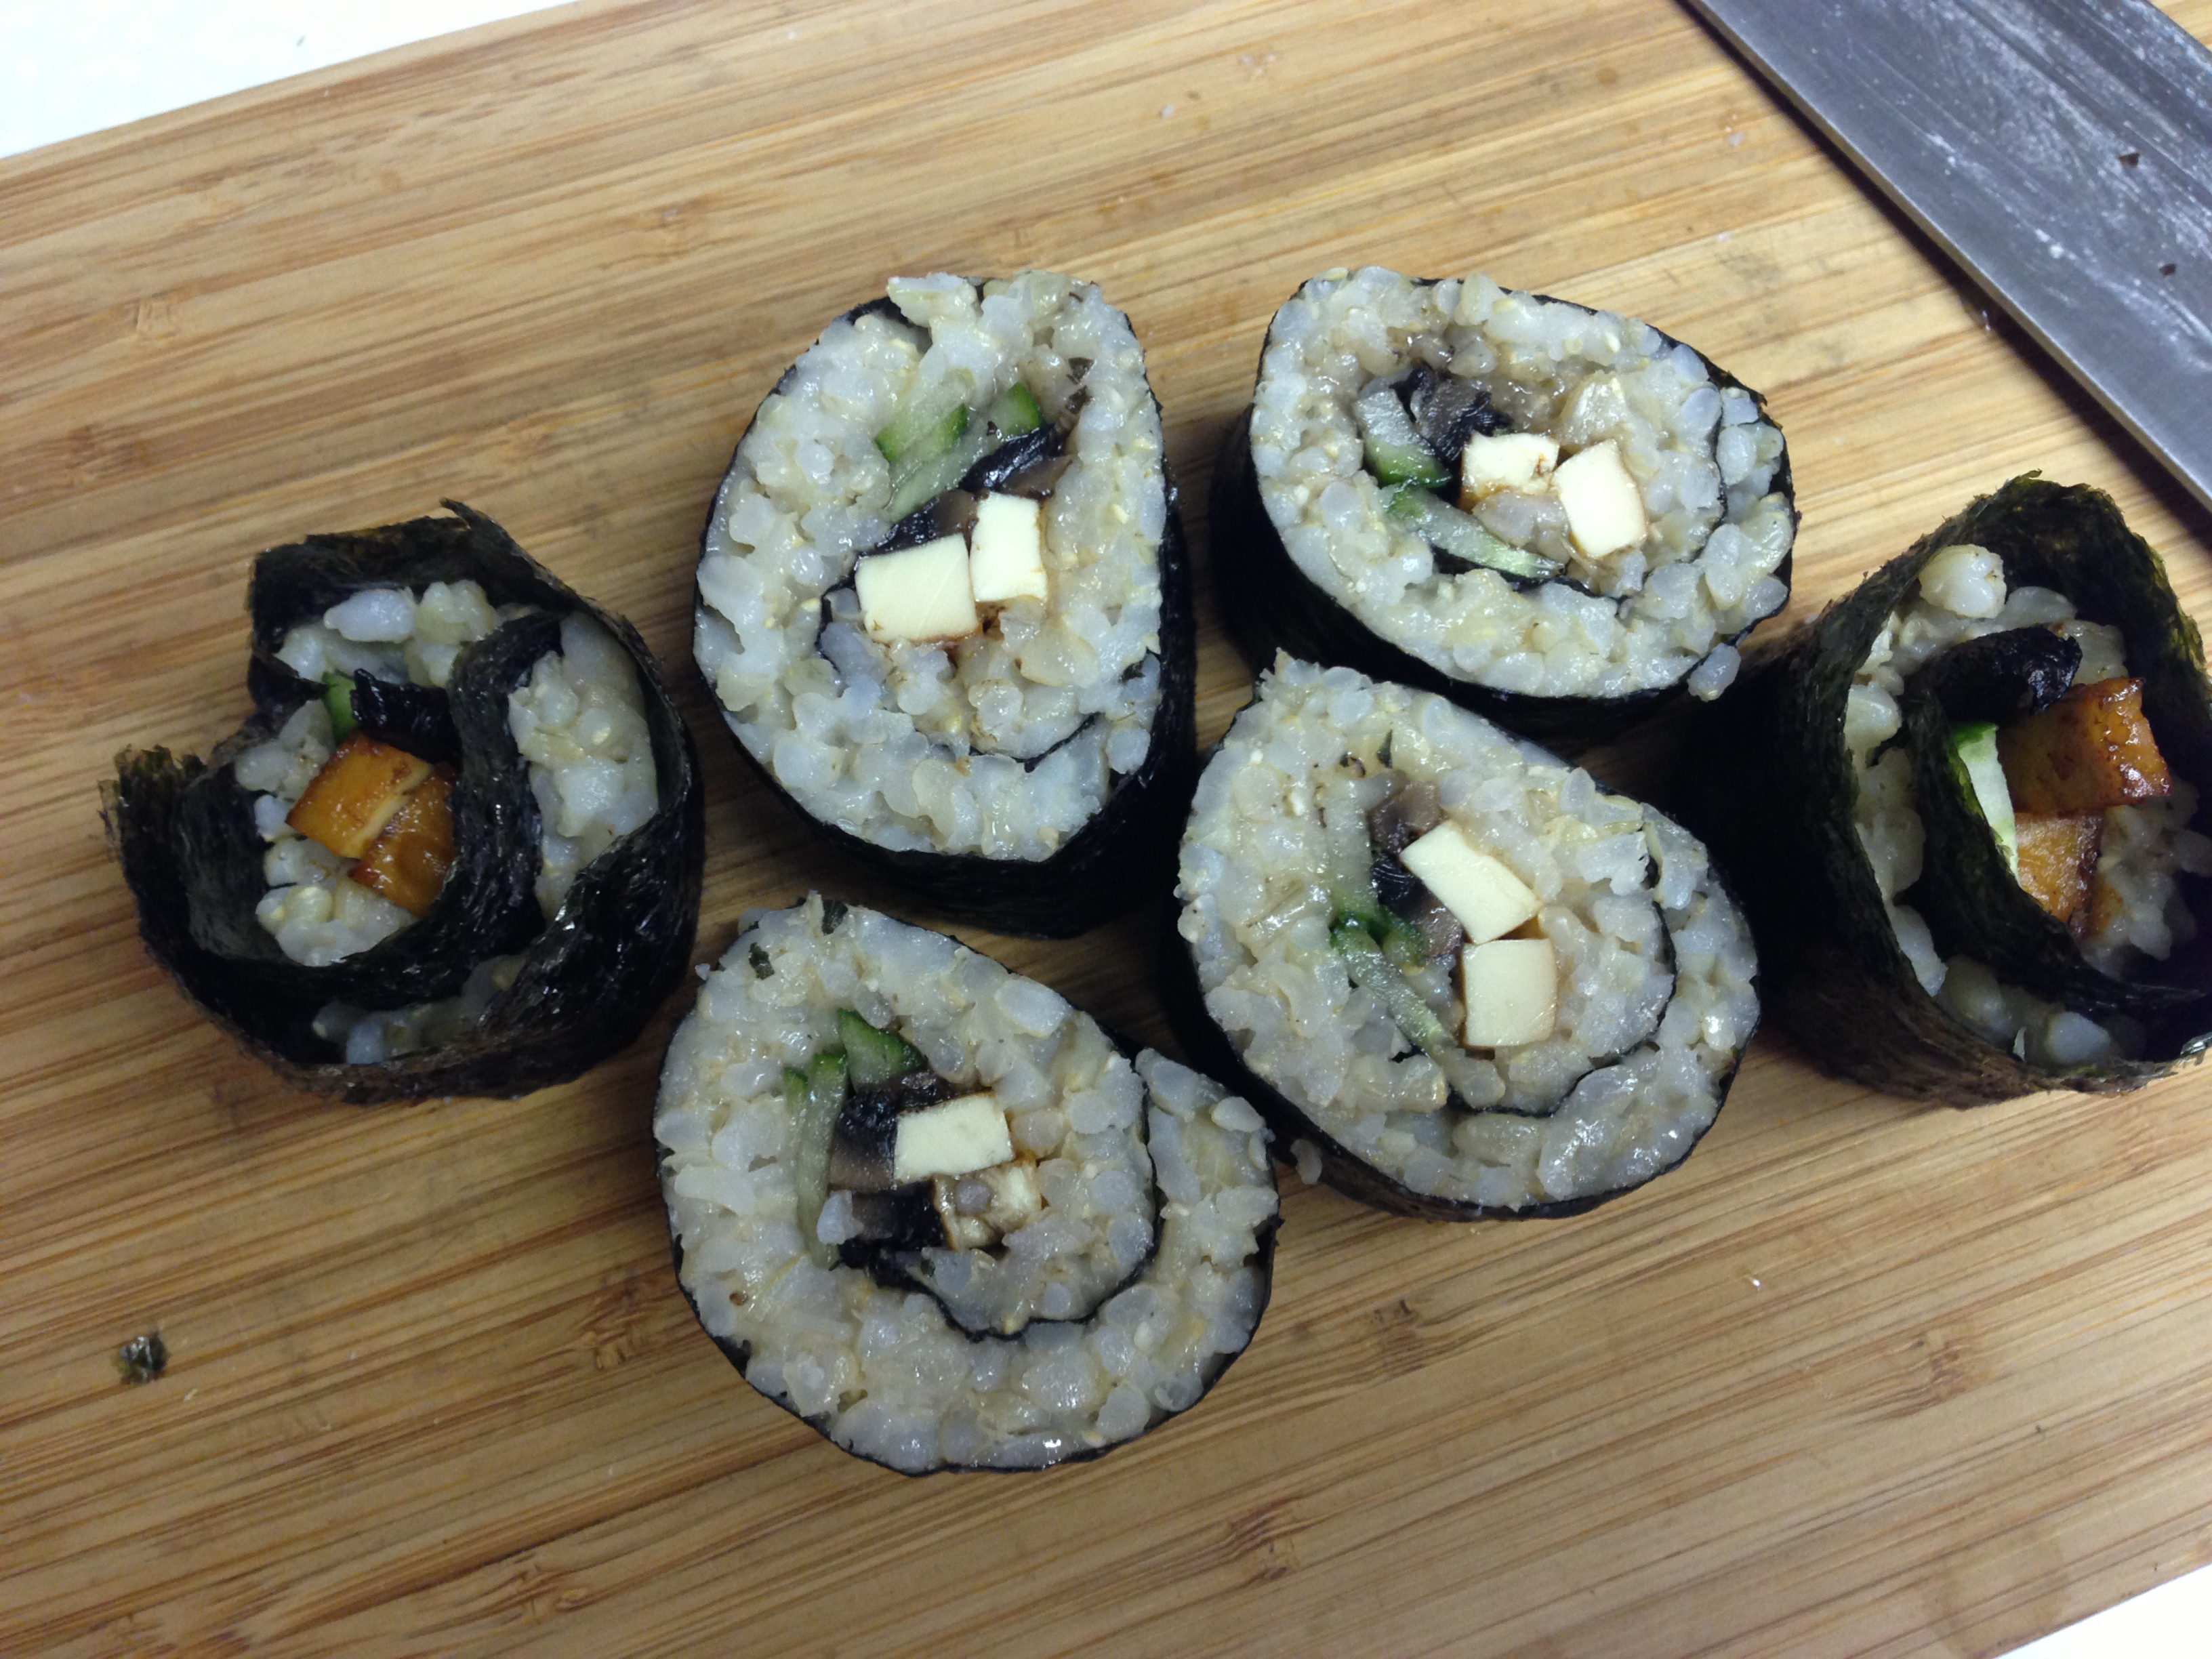
Here’s some of our combinations.


Avocado/cucumber/asparagus. Tofu/mushroom/cucumber.


Tofu/avocado/cucumber. Tofu/avocado/cucumber/mushroom/asparagus.
Last step: sit down and enjoy your delicious home-made vegan sushi!

Making sushi at home can be really fun, and a lot easier than you may think. Also, because you choose the ingredients, it can be a lot healthier than restaurant sushi (especially if you use brown rice and no refined sugar). Plus, you can easily customize it to suit your specific dietary needs.
Gluten-free? Make sure your rice is gluten-free (I love Lundberg and it is) and use gluten-free tamari in place of soy sauce.
Soy-free? Just skip the tofu and soy sauce.
Oil-free? Just omit the sesame oil when sautéing the tofu
Enjoy!
I’ve shared this post with Slightly Indulgent Tuesday (4/9/13), and Allergy Free Wednesdays #62, Healthy Vegan Friday #38, and Gluten Free Fridays #35.


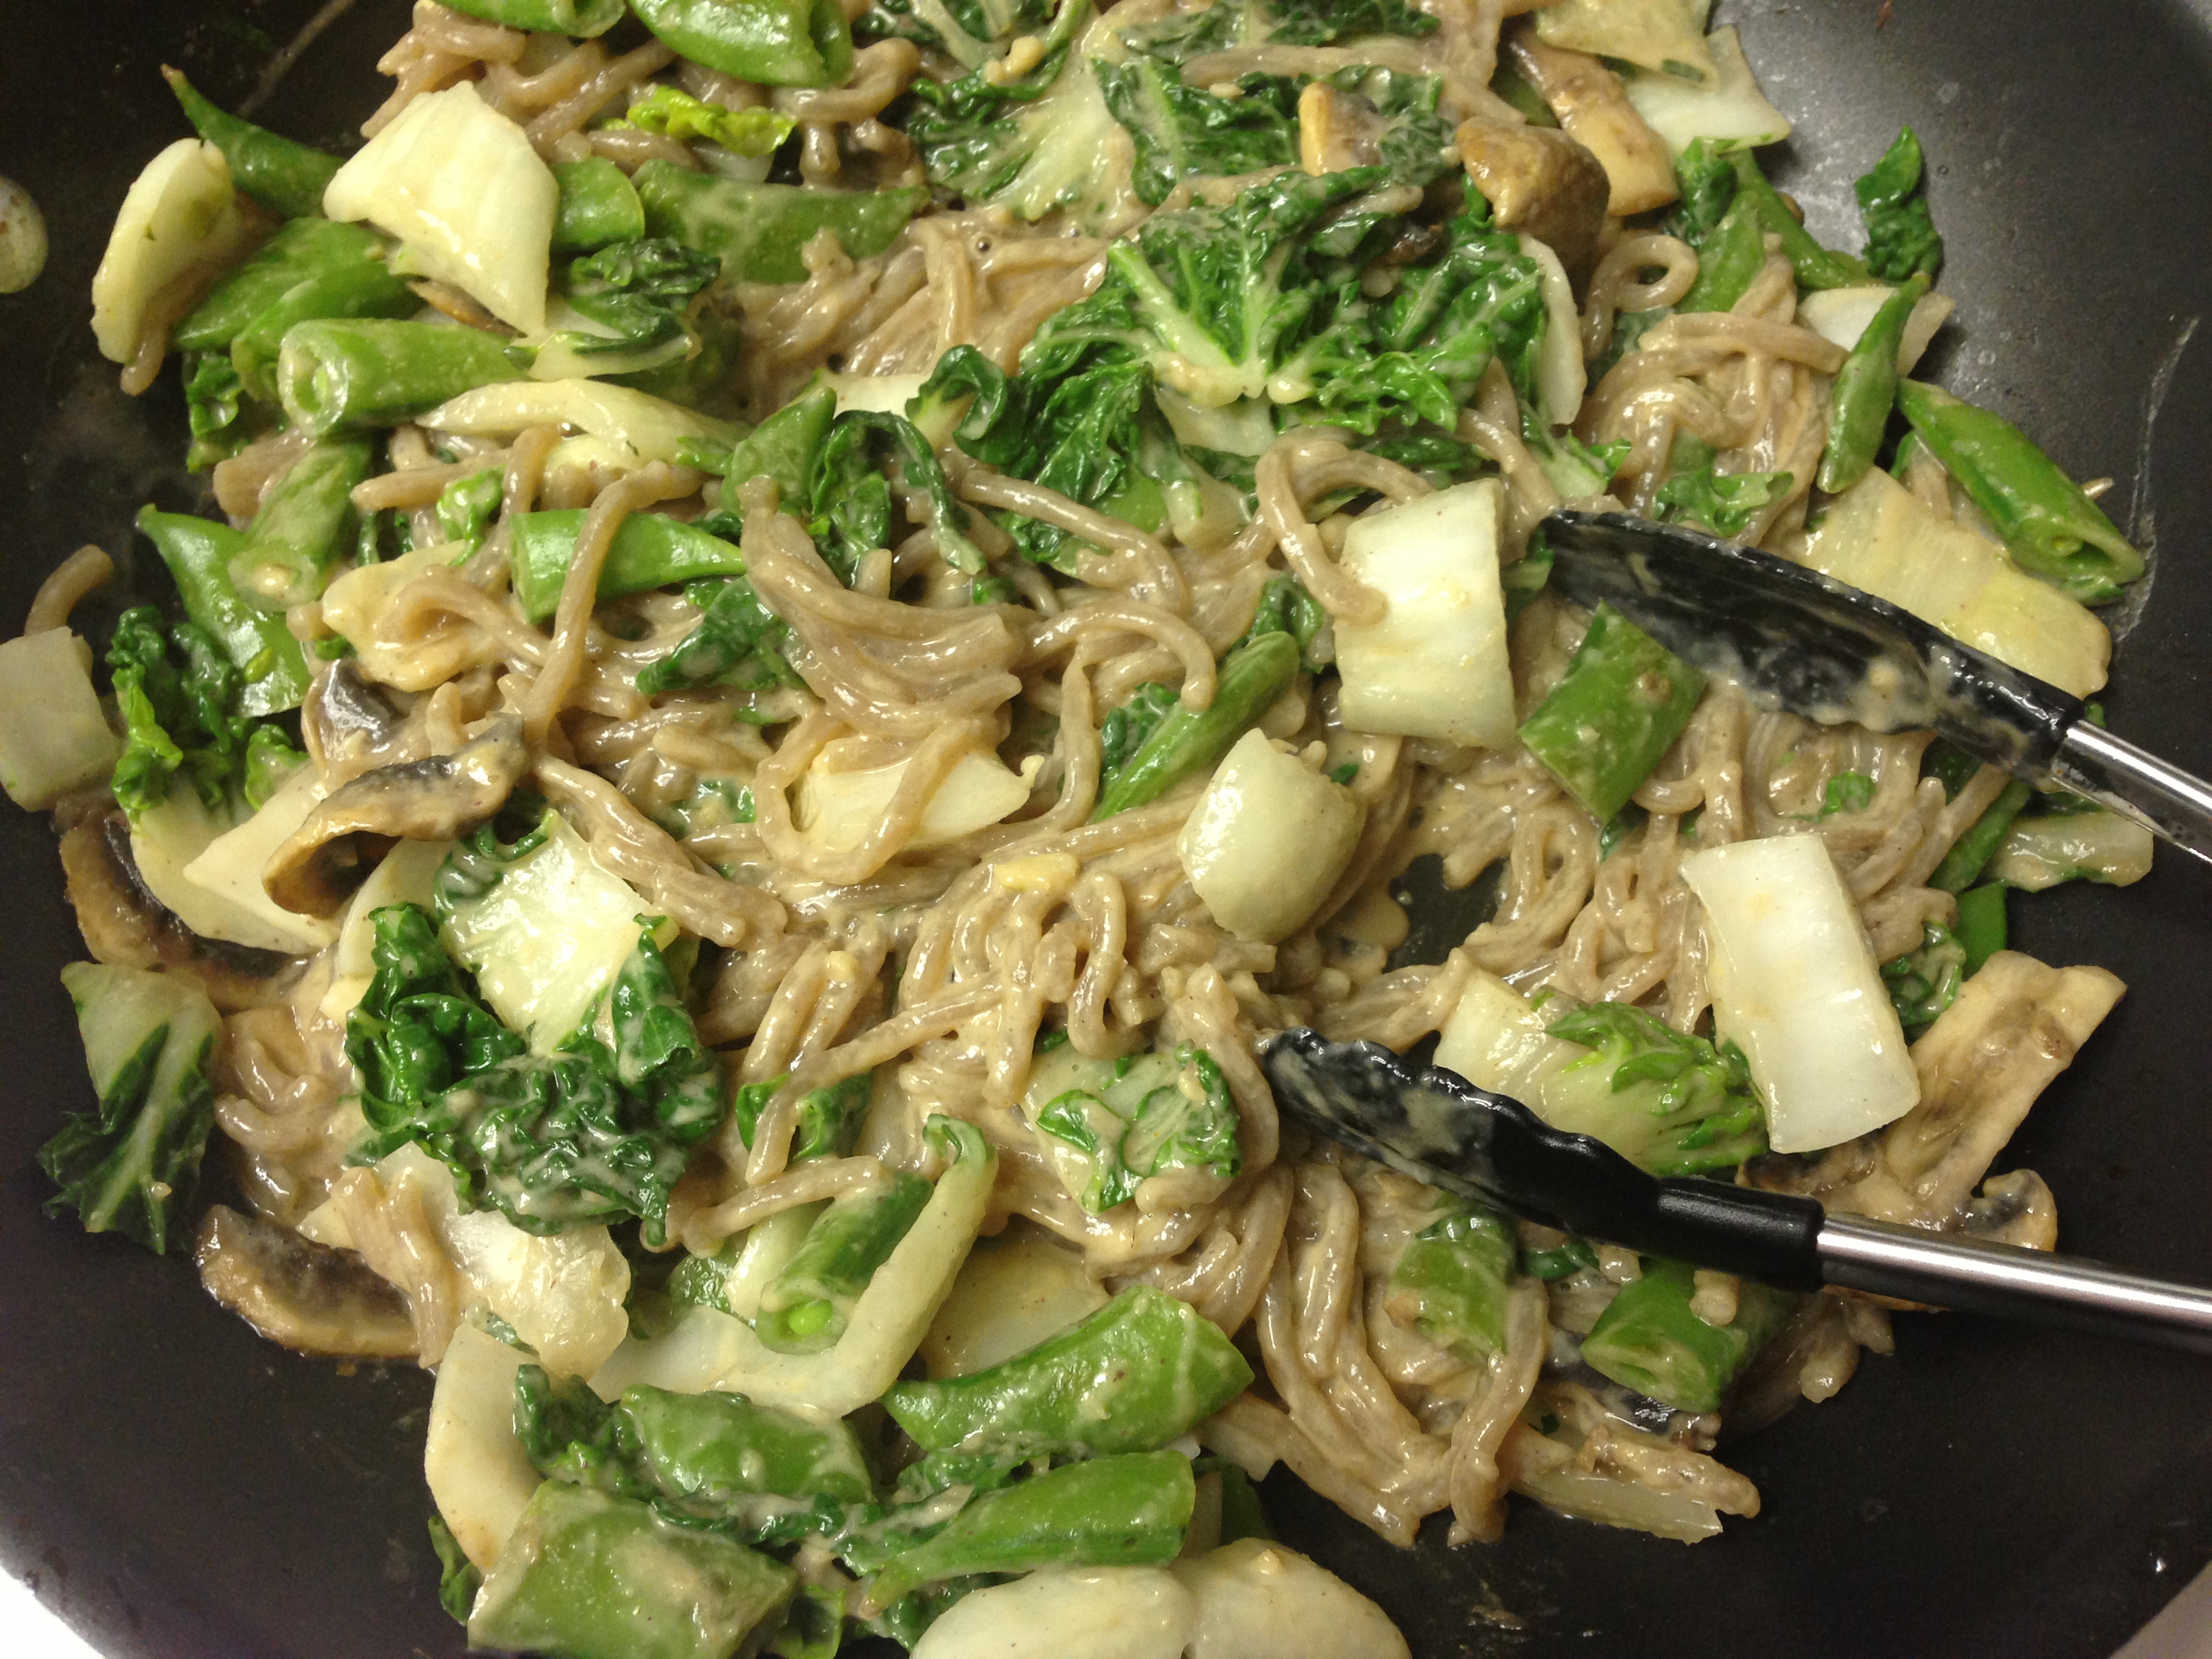
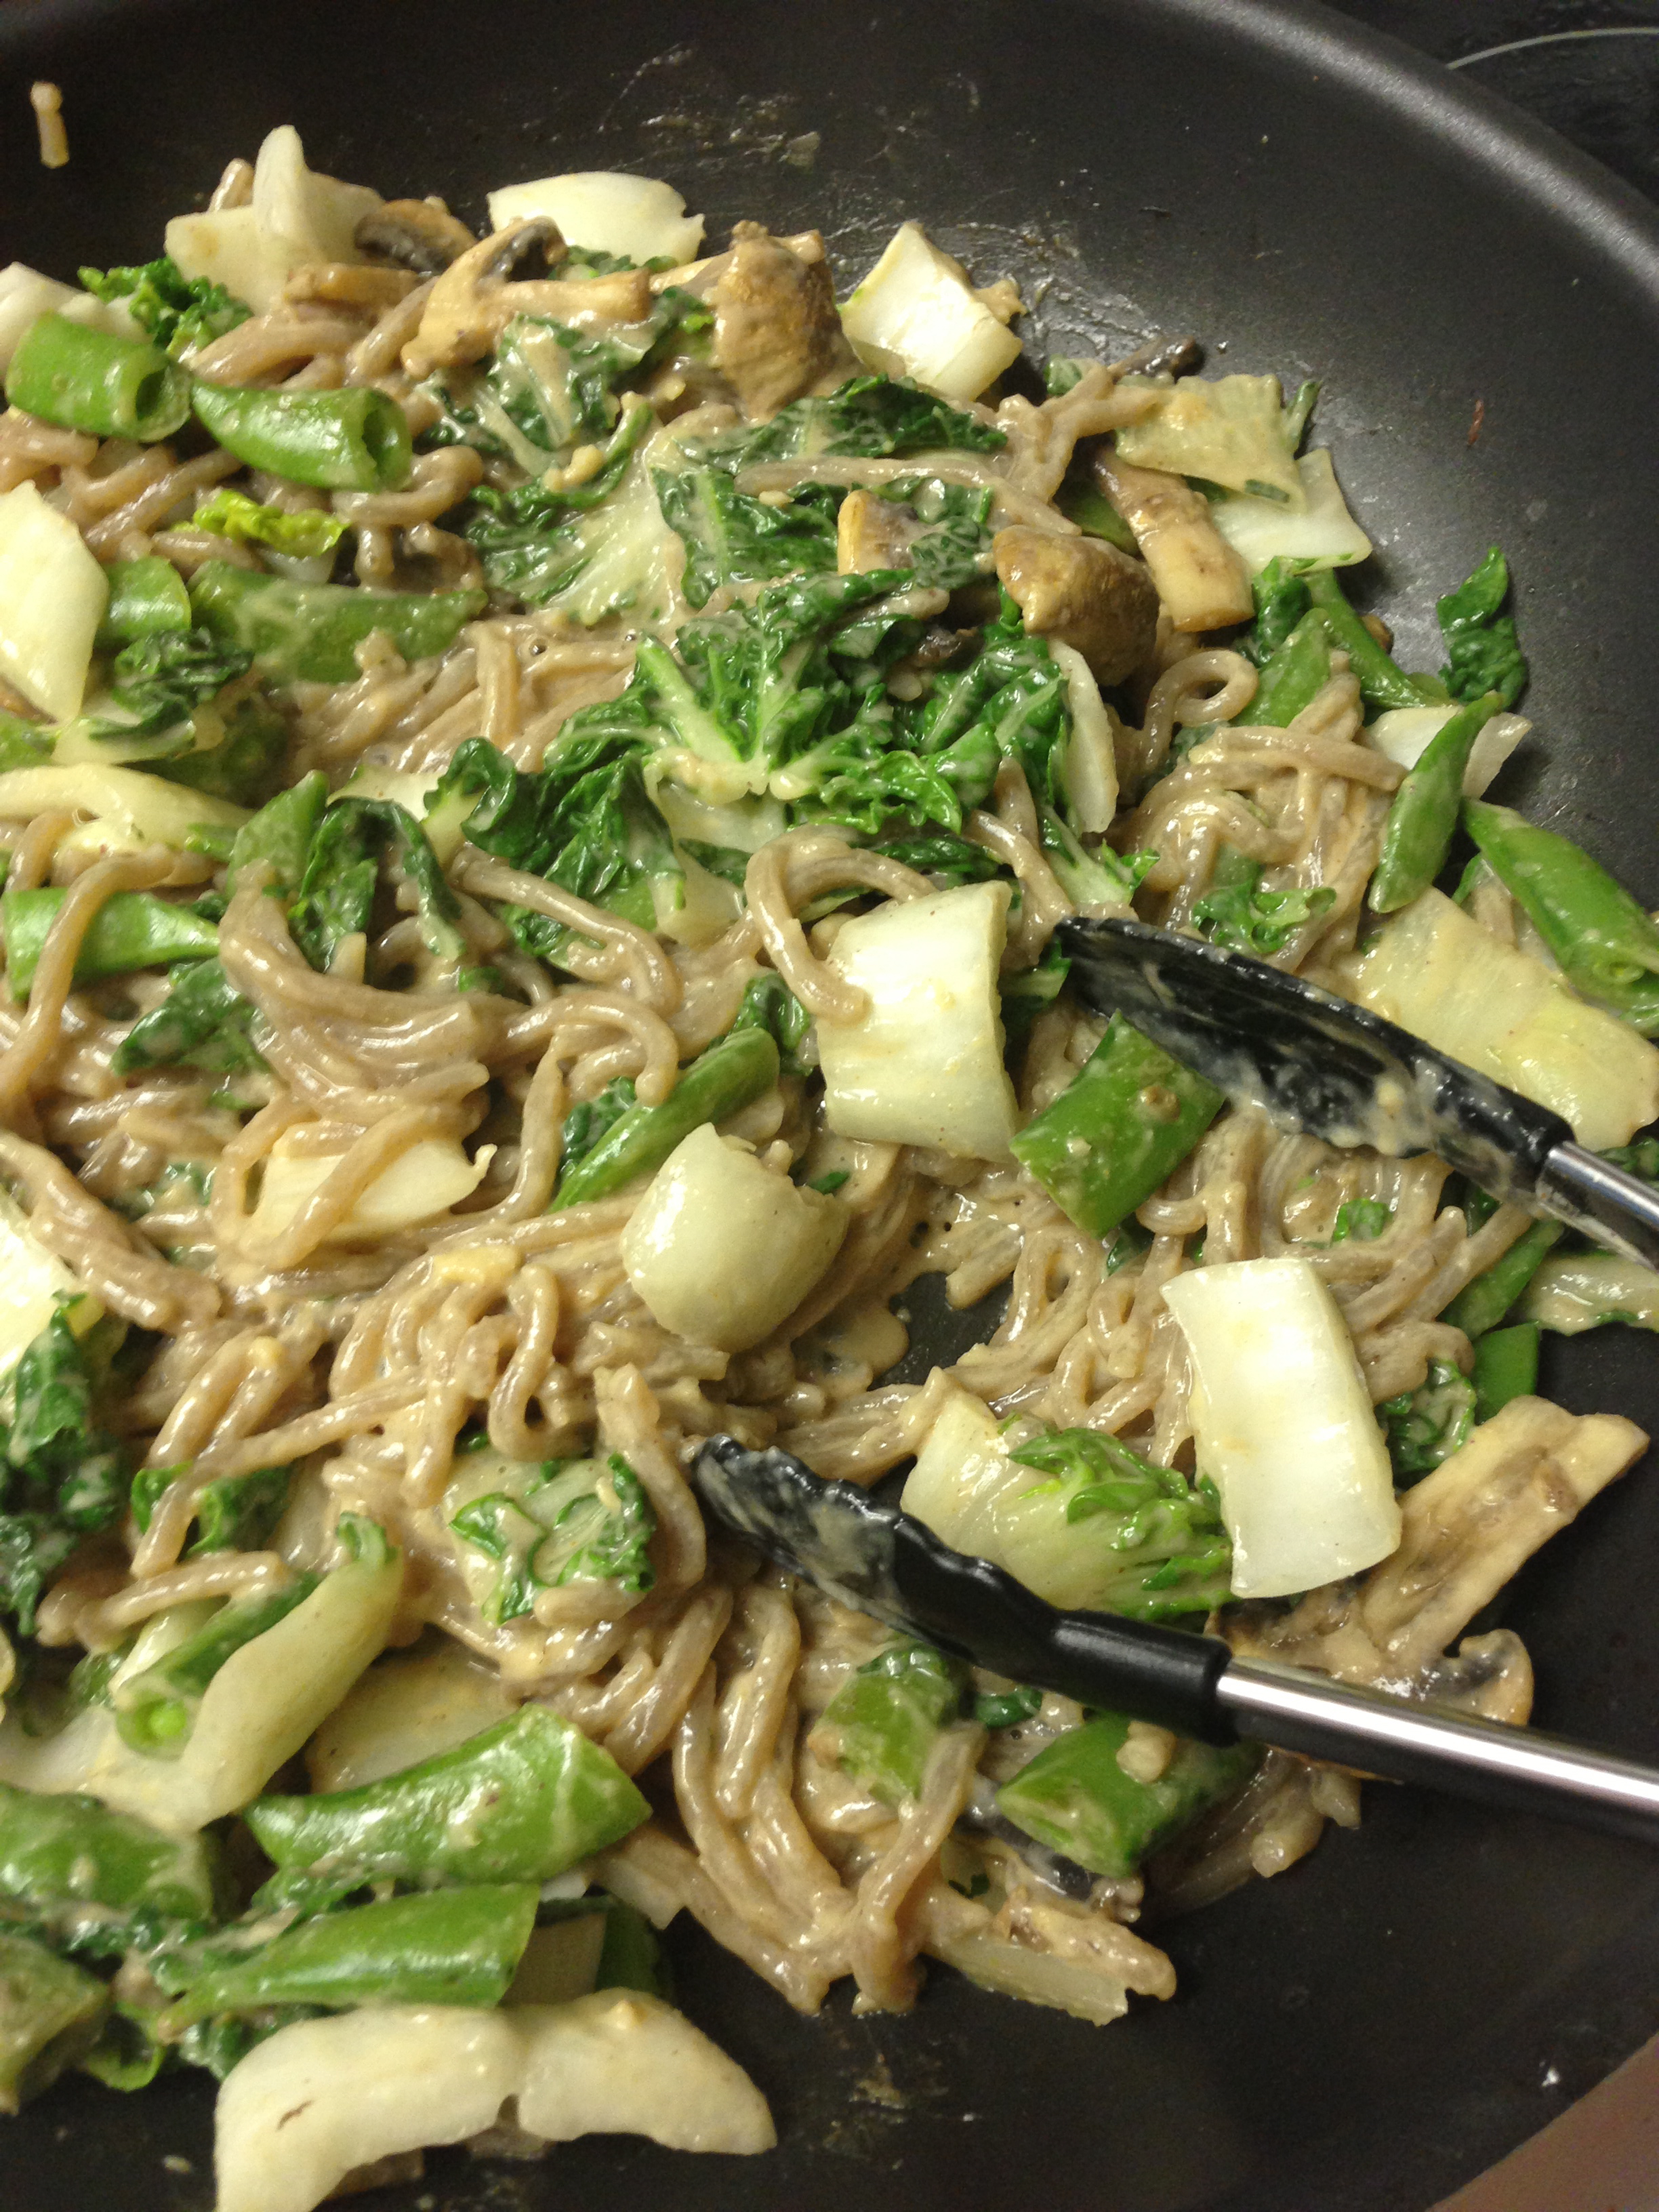
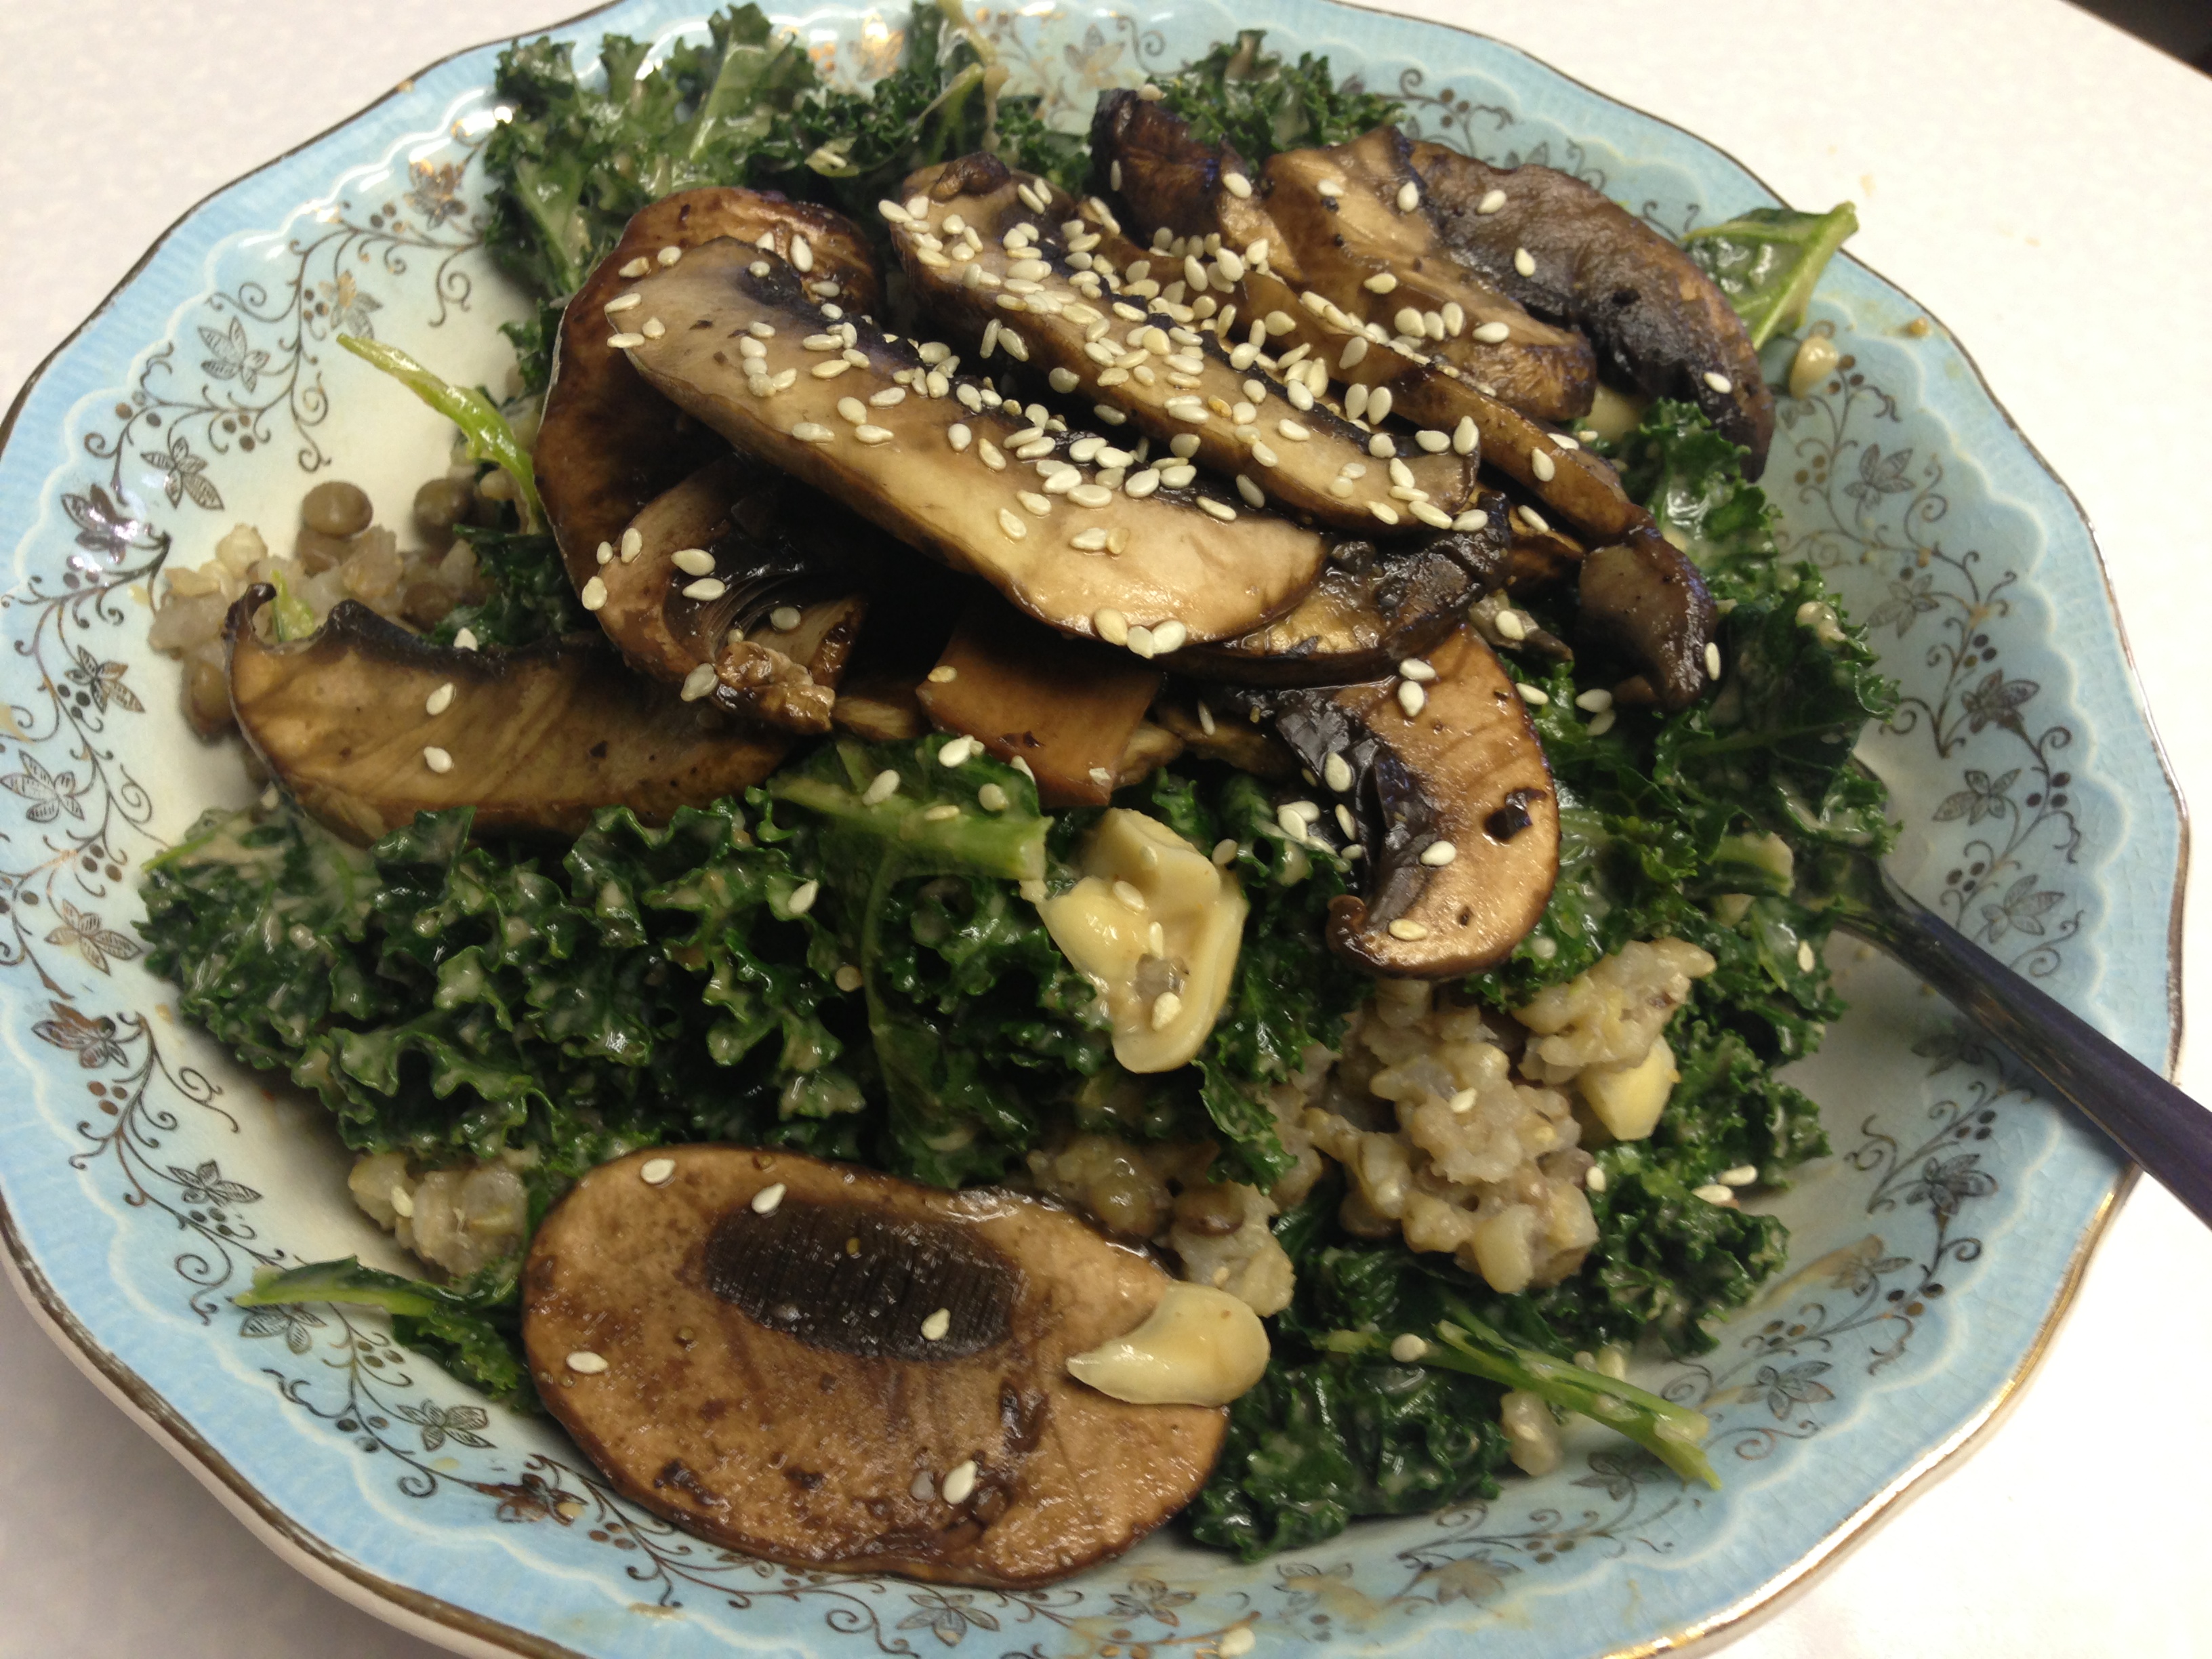
 Crispy Kale and Mushroom Fried Rice