These lemony little gems were dreamed up out of necessity. I had three lemons in the fridge that needed to be used before I left for Victoria for five days. I had been meaning to try a raw lemon bar recipe with them, but I never got around to it. As lemon bars aren’t really portable I knew I had to save that recipe for another time. So I decided to use most of the same ingredients that would have gone into the lemon bars (lemon juice, coconut, oats, and dates) to make some energy bites for my trip.

I have to say that I am very happy with how these turned out! Bright lemon flavour, a hint of coconut and nuttiness, and a natural sweetness from the dates and coconut. These lemony little bites of chewy goodness are perfect for travel and on-the-go snacks. Or you may just want to stand by the fridge and scarf a few down! Don’t worry, that’s okay too.

Lemon Coconut Energy Bites (Yields 32 small squares)
1 1/2 cups oats
1 cup unsweetened shredded coconut
1 cup sliced/slivered/chopped almonds (raw or blanched)
Zest of 2 lemons
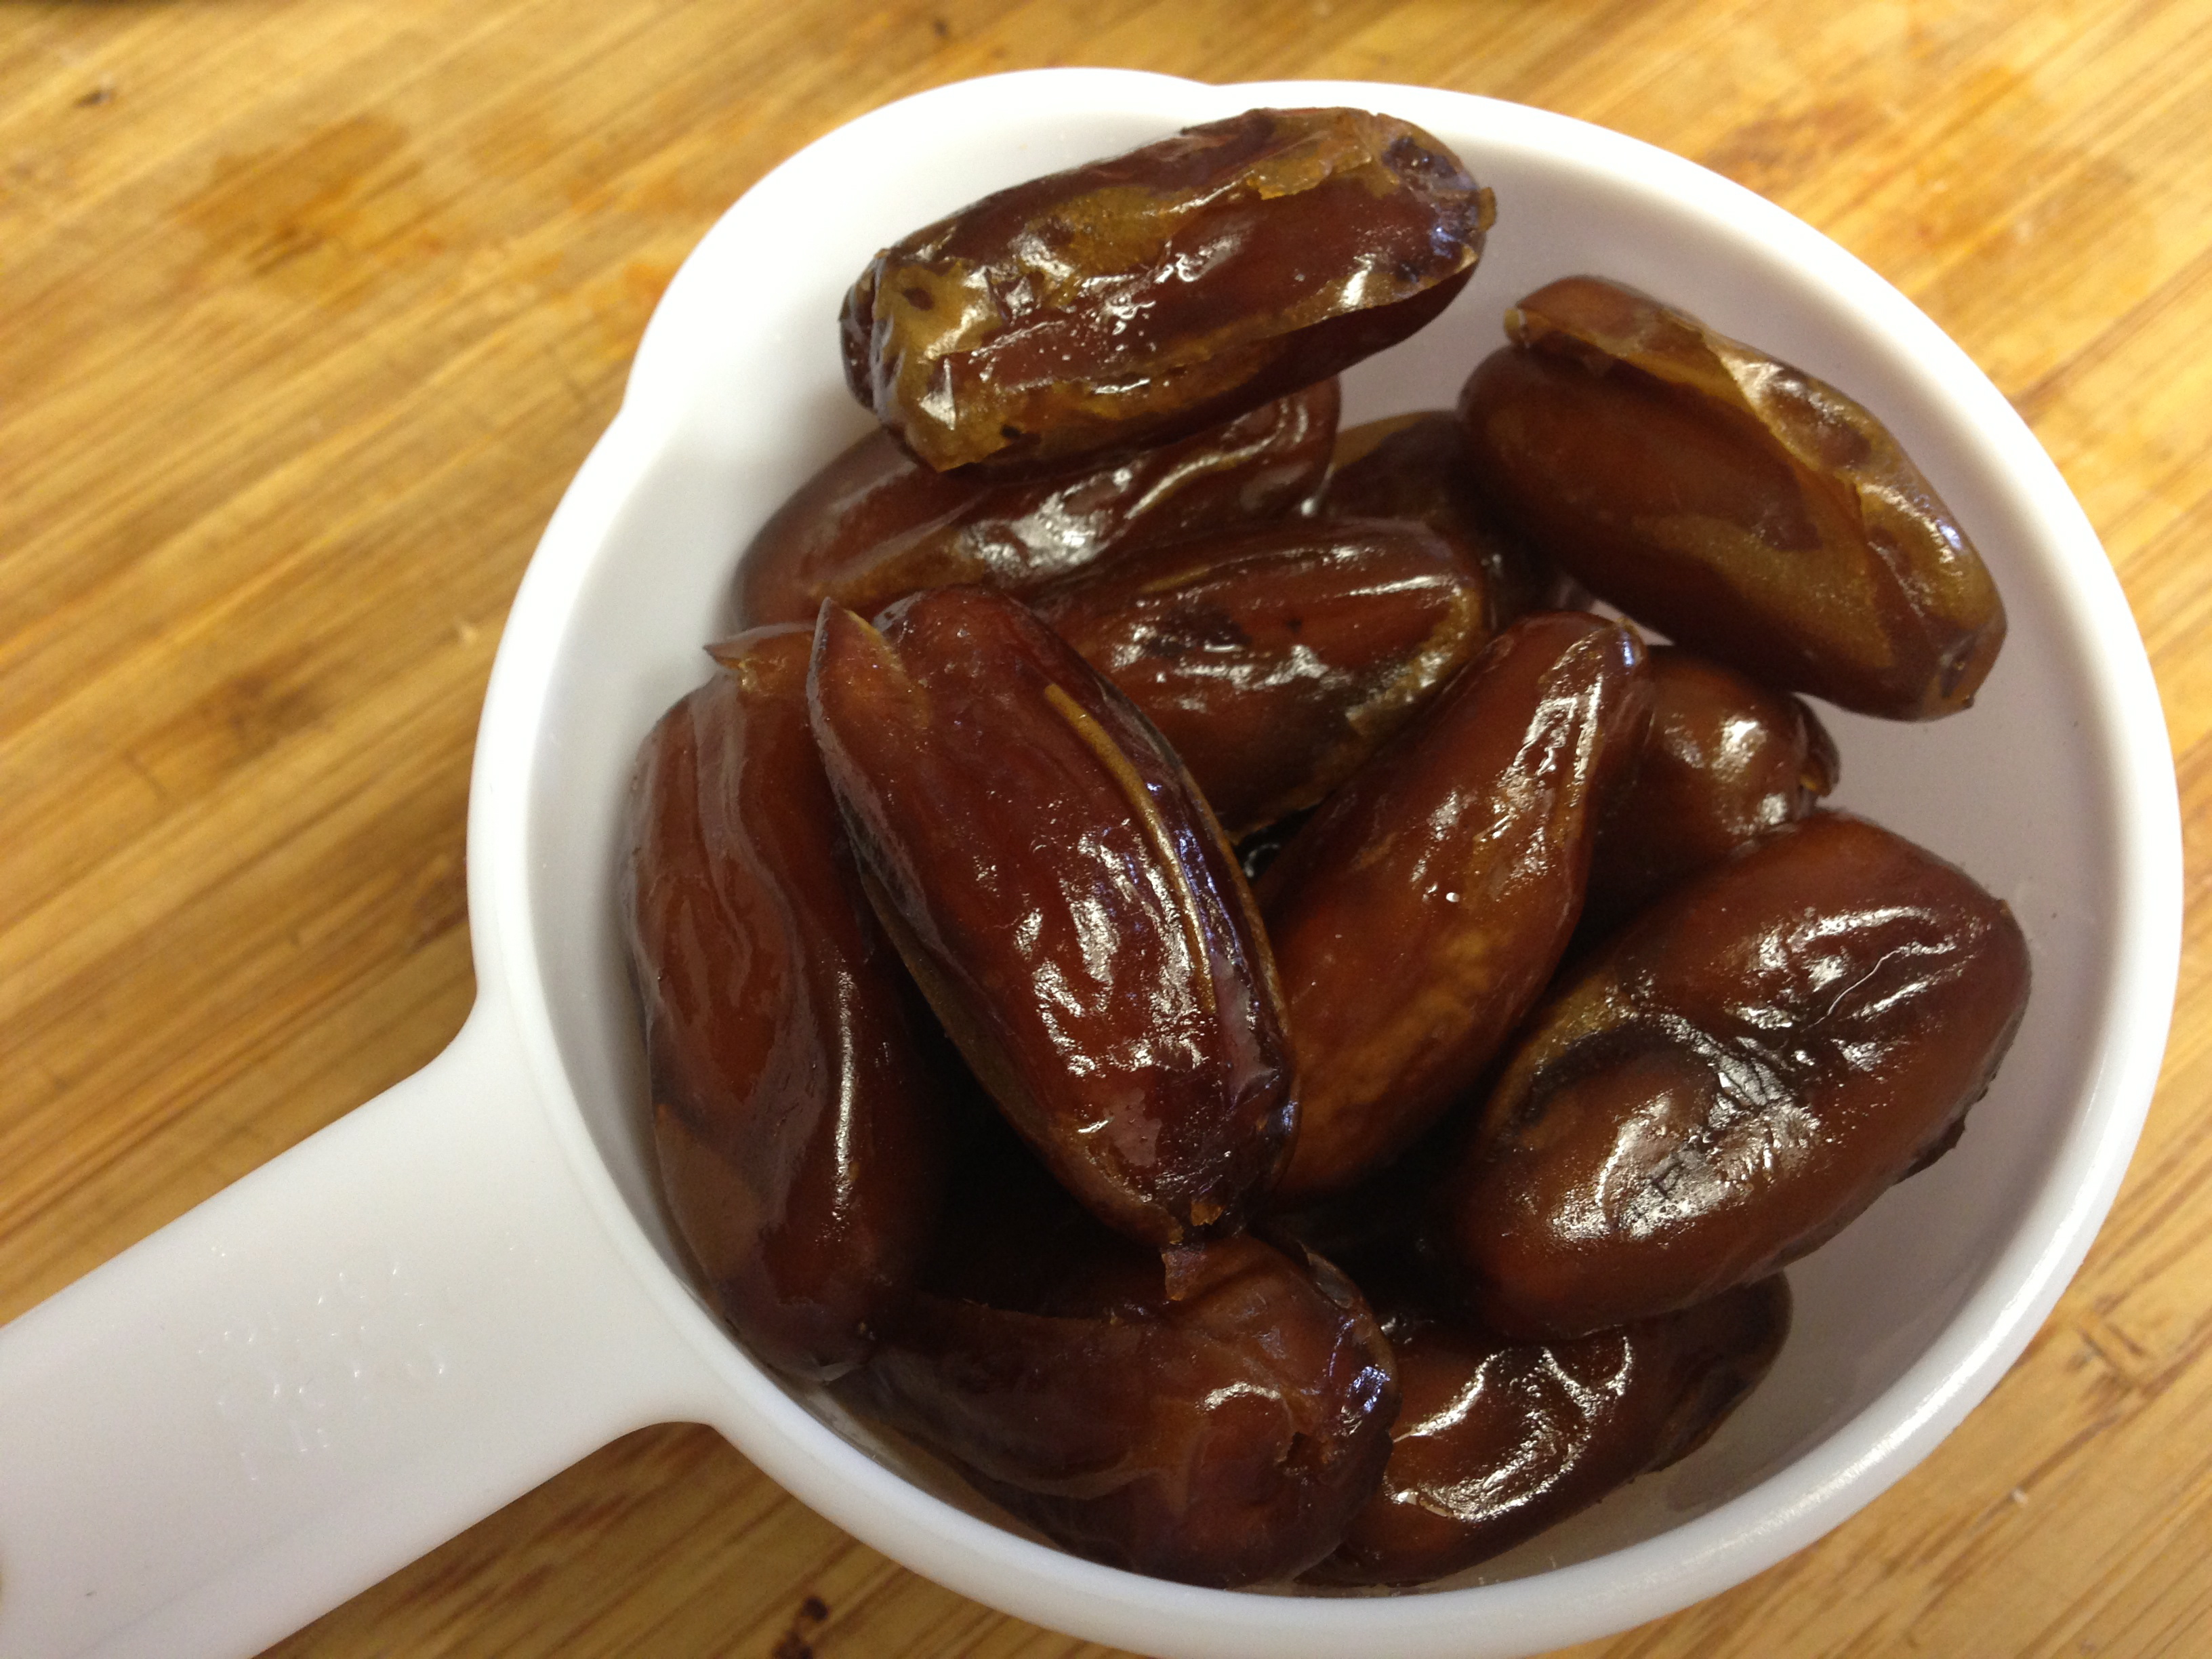
1 1/2 cups pitted dates (20-25 dates)
Juice of 3 lemons (about 1/2 cup)
Optional: 1/4 cup vanilla or berry flavoured protein powder (I like Vega One)
Notes:
If your dates aren’t soft then you should let them sit in a bowl of hot/warm water for at least 15 minutes before using.
I prefer to cut these into small squares because they pack easily into storage containers and I can choose the size of my snack better, however you could also make larger bars, or roll the dough into small balls. Totally up to you.
For gluten-free, just make sure your oats and protein powder are gluten-free.
For nut-free, use sunflower seeds or more oats, in place of the almonds.
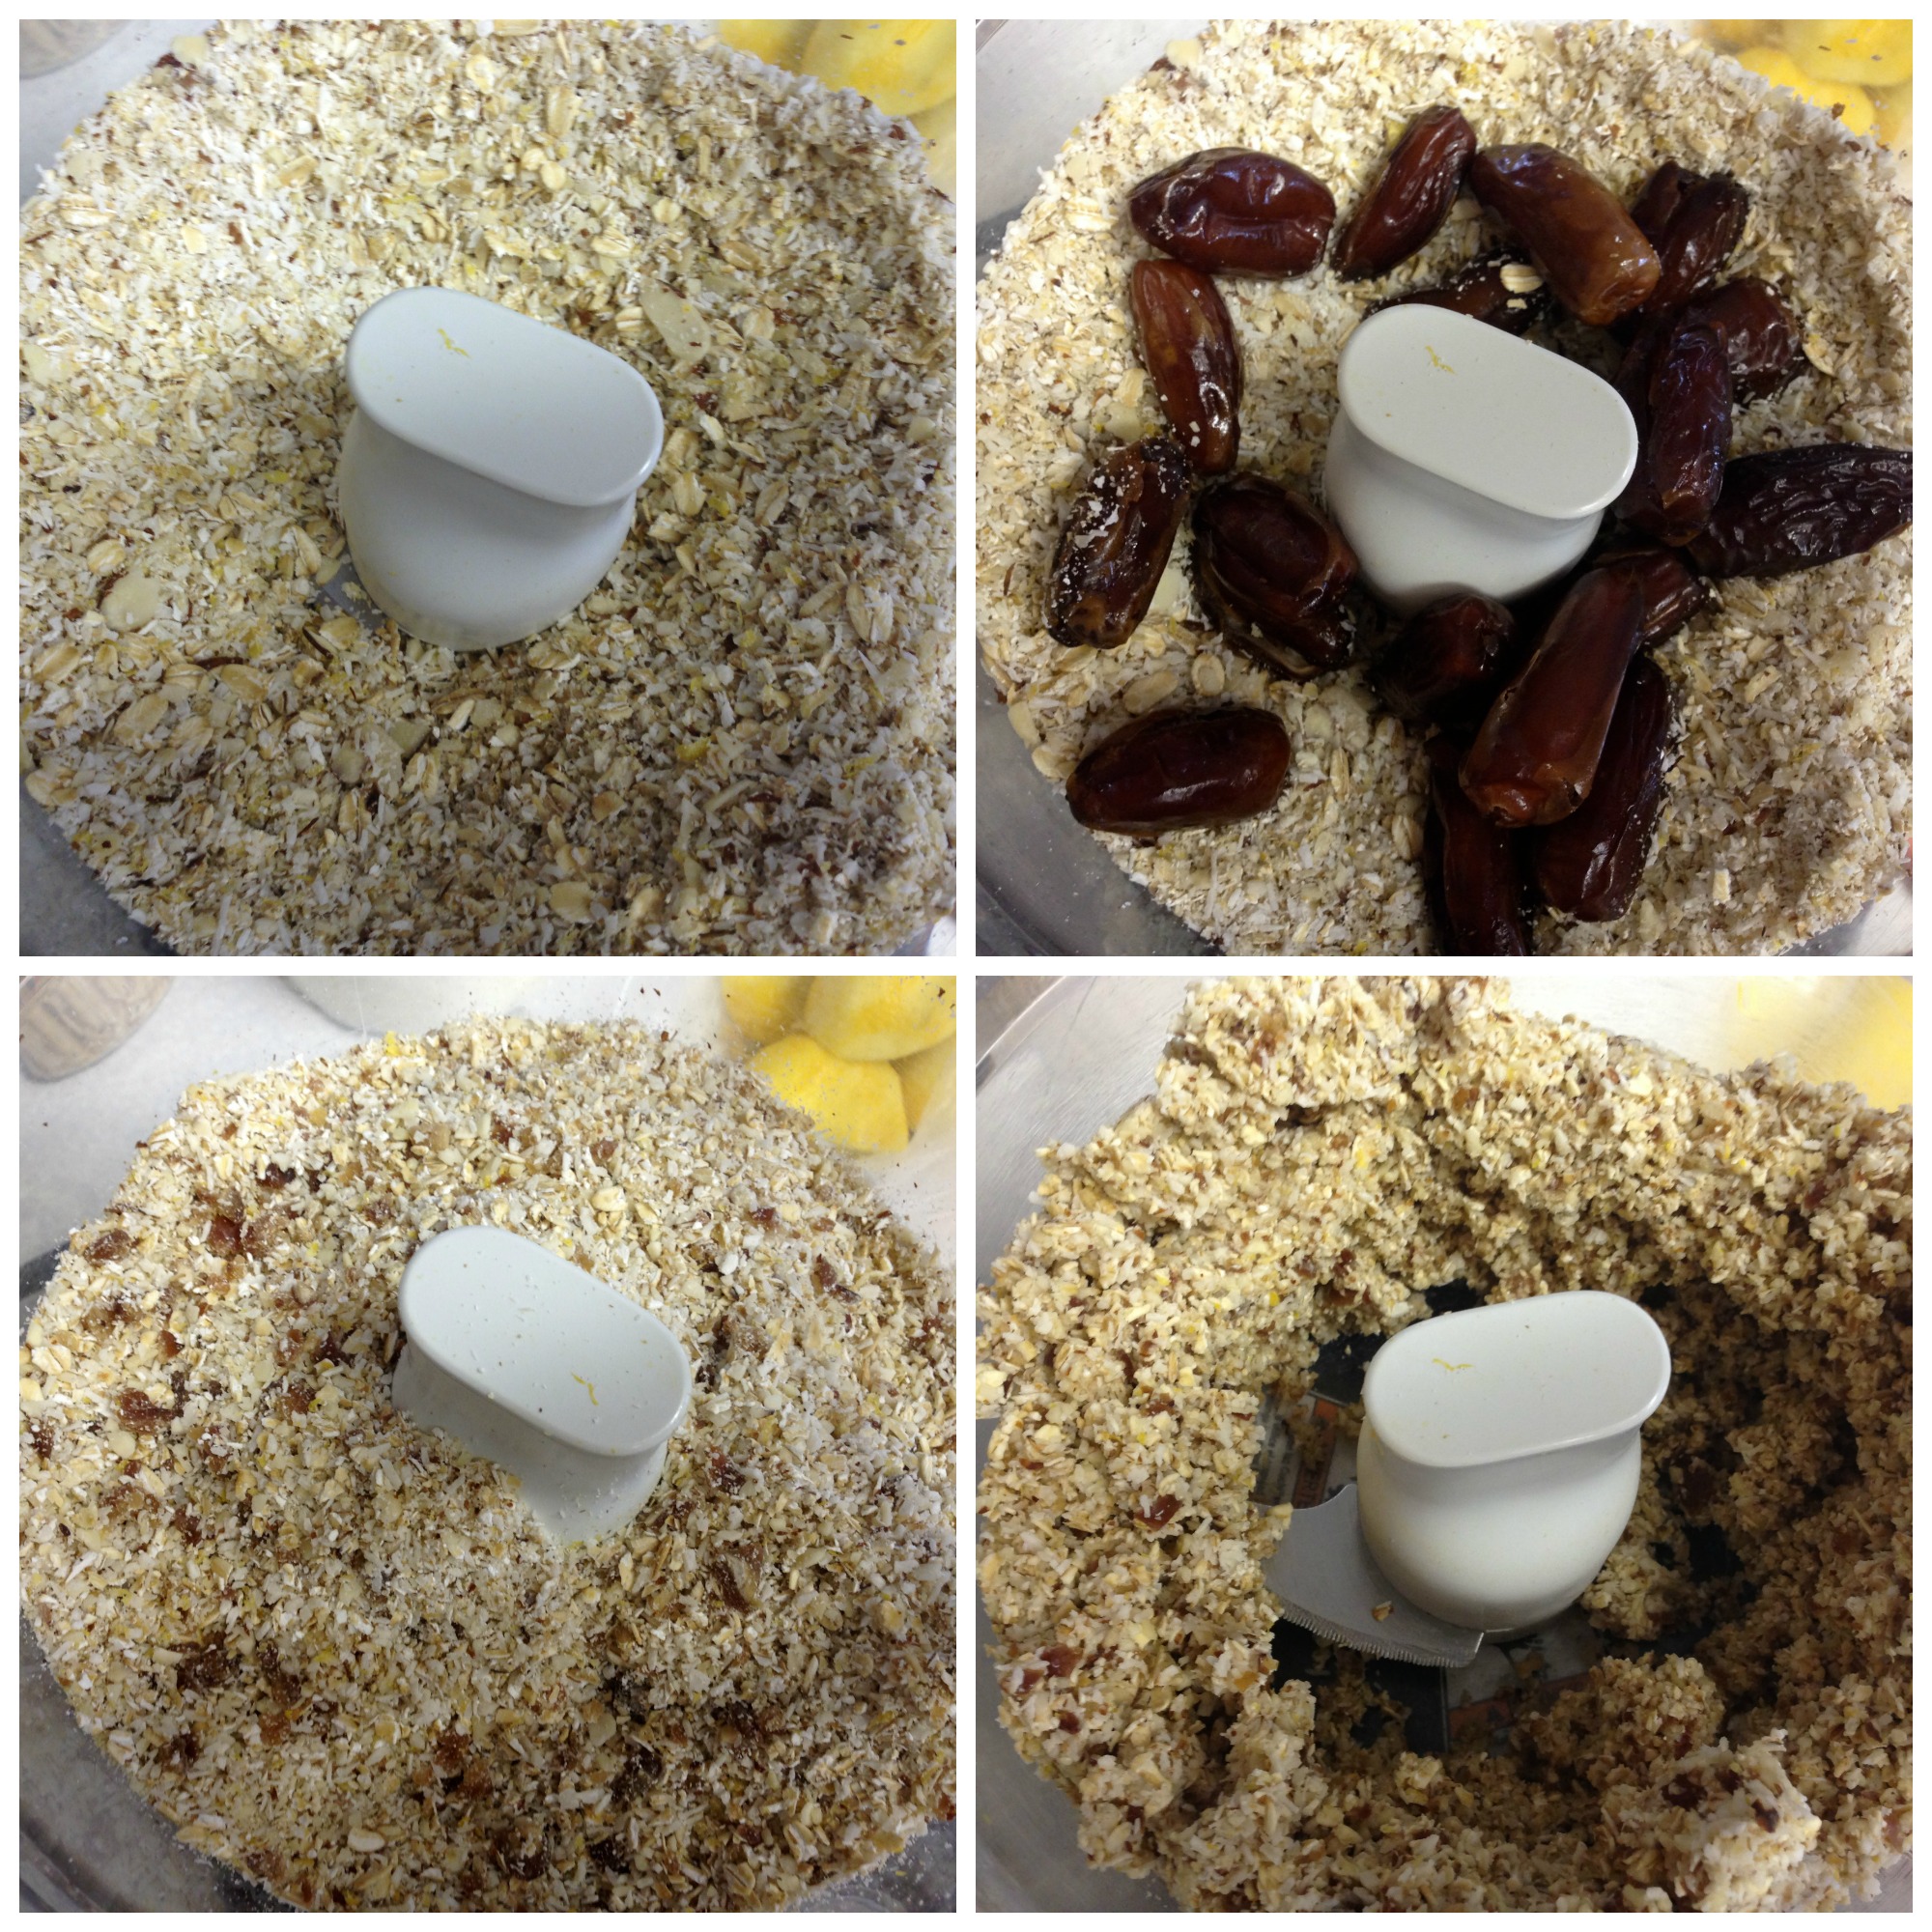
Add the oats, coconut, almonds, lemon zest, and protein powder (if using) to a large bowl of a food processor and pulse until it is at your desired consistency: less if you like a chewier bar with larger pieces, or more if you’d like a finer texture.
Add the dates and process until they are in small pieces and mixed up with the other ingredients.
Add the lemon juice and process until everything is thoroughly mixed and clumping together. It may be crumbly, but should stick together when pressed.
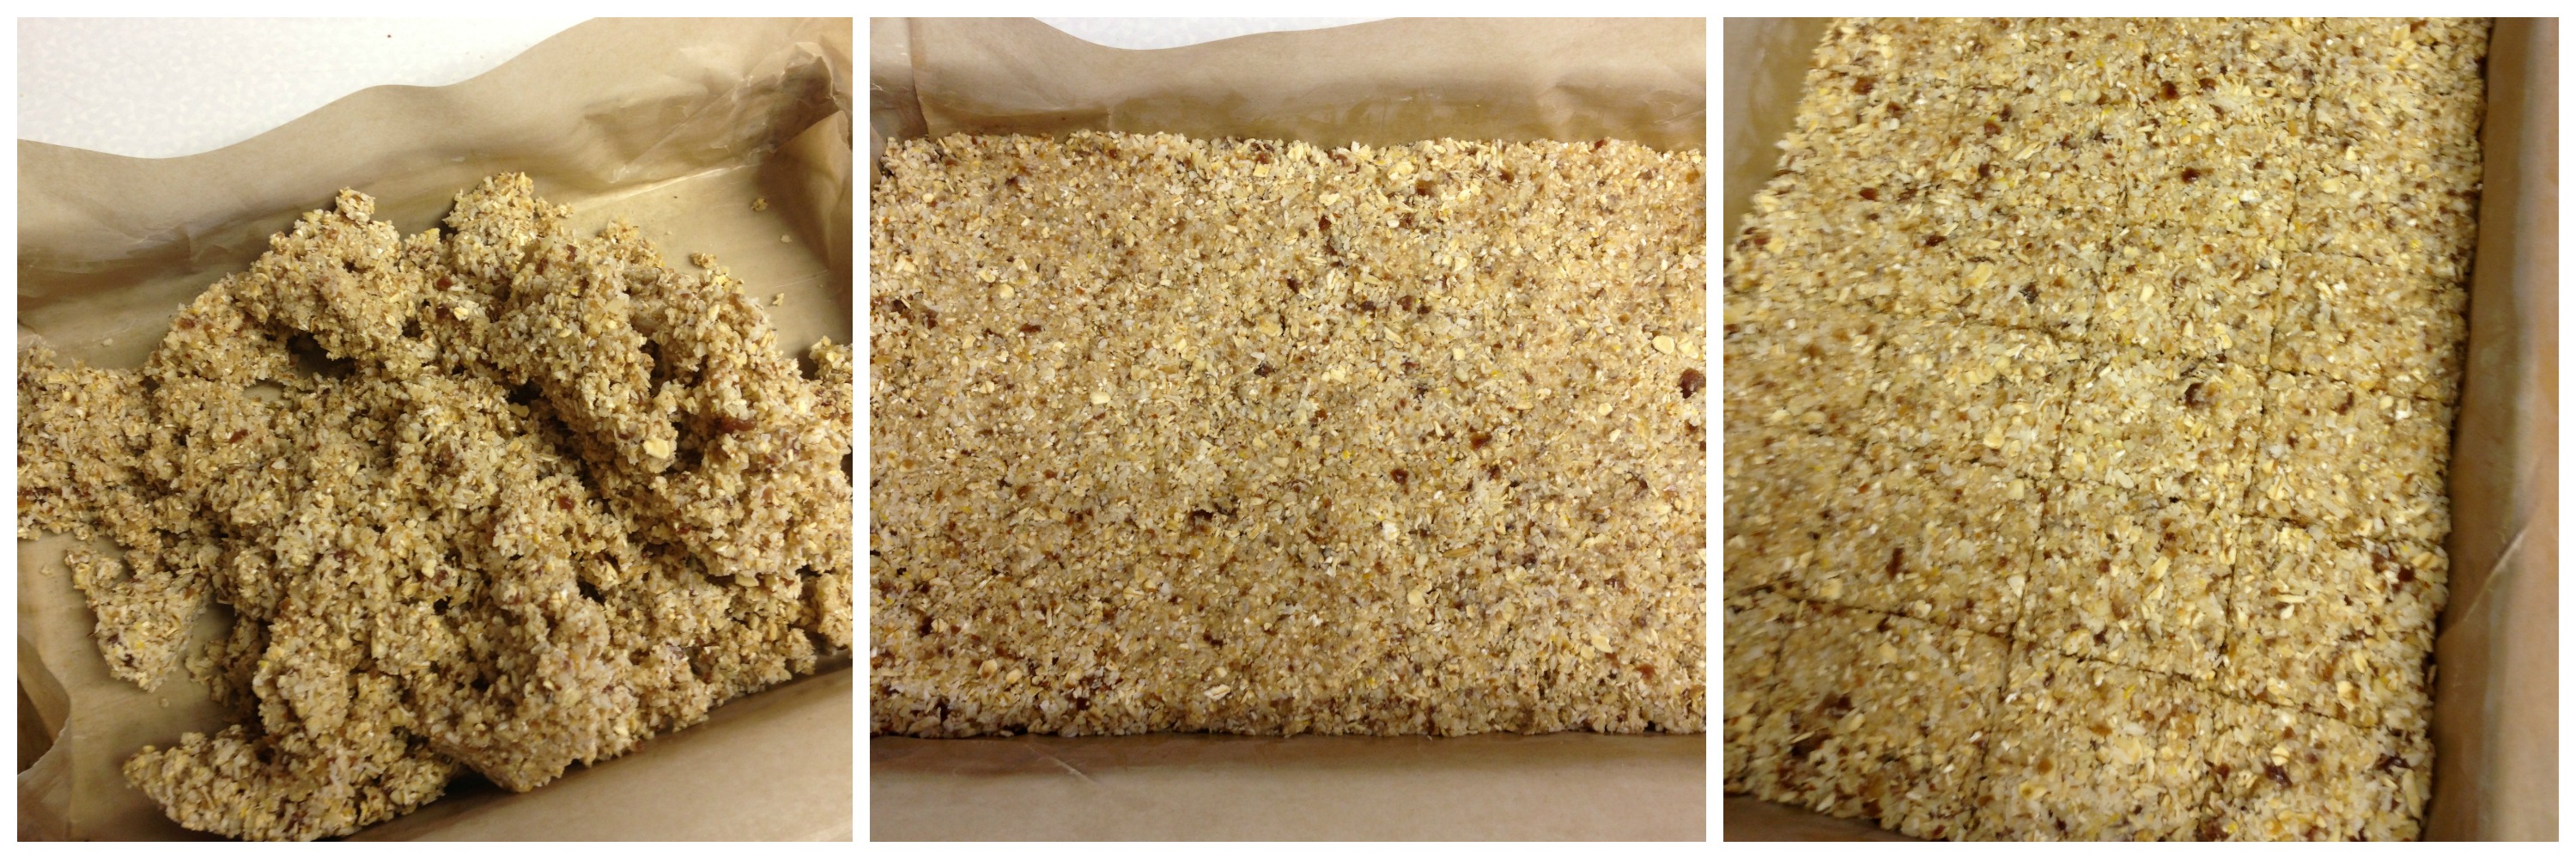
Line a baking dish with parchment paper. I use a 11″x7″ pan, but the size doesn’t really matter as long as it is at least 8″x8″. Dump the mixture into the lined pan and press down until the top is relatively flat and even. With a sharp knife, cut into small squares or bars. Place the pan in the fridge for at least an hour, then transfer the squares or bars into an airtight container. Store in the fridge or freezer.
The energy bites will soften a bit when at room temperature, but they shouldn’t fall apart. Enjoy!


I’ve shared this post with Slightly Indulgent Tuesdays (8/27/13), Allergy Free Wednesday (8/28/13), Gluten-Free Wednesdays (8/28/13), Raw Food Thursday (8/29/13), Healthy Vegan Friday, Wellness Weekends (8/29-9/2/13), Gluten Free Friday #55.